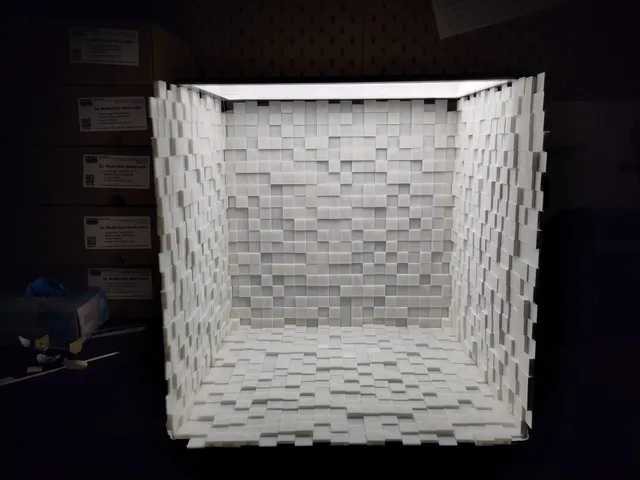
Cube Background Panels (self assembling)
prusaprinters
The original cube background panels look wonderful, but I really wanted panels that assemble into a cube and I also wanted to spend less material per panel. So I made my own version. Simply print three or four panels and slot them together at a 90° angle to make a cube. You might have to puzzle a bit to match the right edges. You can then use the corner cubes to slot into the corners. I use white painters tape to help hold the panels together and block any slits that might show. You now have a beautiful background for photos of your 3D-prints! Add multiple strong light sources for beautiful pictures. Use bright filaments, perhaps with a speckle to break up any sheen. There are three versions:A single large panel of 34cm (pictured)print 3 or 4 panels, 2 or 4 corner cubes and assembleA single small panel of 17 cmprint 3 or 4 panels, 2 or 4 corner cubes and assembleA modular large panel of 34cm, cut into four pieces for printing on smaller machinesprint 1 of each piece and correctly assemble into single panel using the lettersA = top leftB = top rightC = bottom leftD = bottom rightGlue all pieces onto an appropiate panel, e.g. plexiglass or cardboard or woodrepeat this process 3 or 4 times, print 2-4 corner cubes and assemble
With this file you will be able to print Cube Background Panels (self assembling) with your 3D printer. Click on the button and save the file on your computer to work, edit or customize your design. You can also find more 3D designs for printers on Cube Background Panels (self assembling).
