CTC Mightyboard Standoff
thingiverse
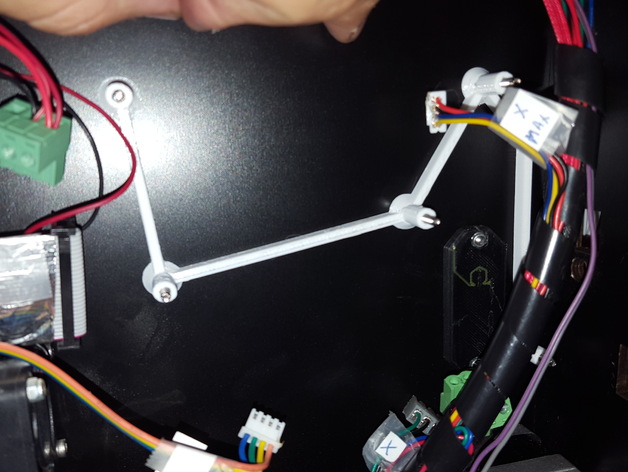
I decided to create a Mightyboard Standoff for my CTC printer to make removing the motherboard easier since I'm a self-proclaimed tinkerer who has already removed it once to install the Z axis rail mounts and again to install the missing Mosfet to control a PLA fan, with another removal pending to install the parts for the missing LED Strip controller. To avoid future headaches, I created two versions of the standoff that can be printed separately. The "Original bolts" version has 4mm thru-holes designed for use with standard mounting hardware, while the "threaded" version is intended to screw M3-12mm screws from the top and M3-10mm screws from the bottom. By taking advantage of this project, I also managed to relocate my wiring harness underneath the mightyboard controller, resulting in a cleaner overall appearance under my printer. To ensure seamless re-assembly, make sure you label all connections before removing them. Print Settings: Printer - CTC Dual; Rafts - No; Supports - No; Resolution - .3mm; Infill - 50%; Notes - Printing this part doesn't require special settings since it operates at low temperatures, but keep in mind that ABS requires a 1.7% scale increase to prevent misalignment. If printing the "threaded" version, use 3 or 4 shells to provide adequate grip for screw threads.
With this file you will be able to print CTC Mightyboard Standoff with your 3D printer. Click on the button and save the file on your computer to work, edit or customize your design. You can also find more 3D designs for printers on CTC Mightyboard Standoff.