CS1/Gtek 160R Blade Trigger
thingiverse
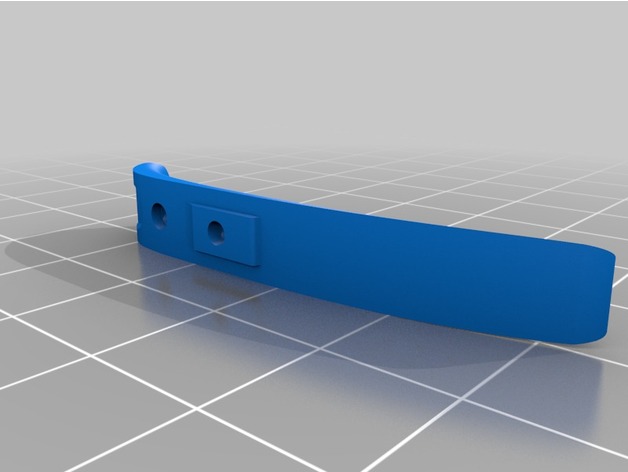
Want to make your own Blade Trigger for the CS1/160R? Here's how you do it! Print Settings Printer: MakerGear M2 Rafts: No Supports: Yes Resolution: 0.1mm Infill: 30% + Notes: Tools: Drill, Helicoil Installation Tool (get one from Amazon at https://www.amazon.com/ZFE-Helicoil-Thread-Repair-Insertion/dp/B00RFKHHRW), Helicoil Instructions: Print the file using 1mm supports. Remove supports from the back of the trigger and through all the holes. Print using the proper settings for your printer and material. Finishing may be done by sanding, Acetone Vapor Bath, or whatever method is required for the material being used. Drill out all three holes in the trigger with a drill from the helicoil installation kit. Tap the center hole with the tap from the kit. Install the helicoil according to the kit's instructions. Install the trigger on your CS1/160R, and you're ready to go!
With this file you will be able to print CS1/Gtek 160R Blade Trigger with your 3D printer. Click on the button and save the file on your computer to work, edit or customize your design. You can also find more 3D designs for printers on CS1/Gtek 160R Blade Trigger.