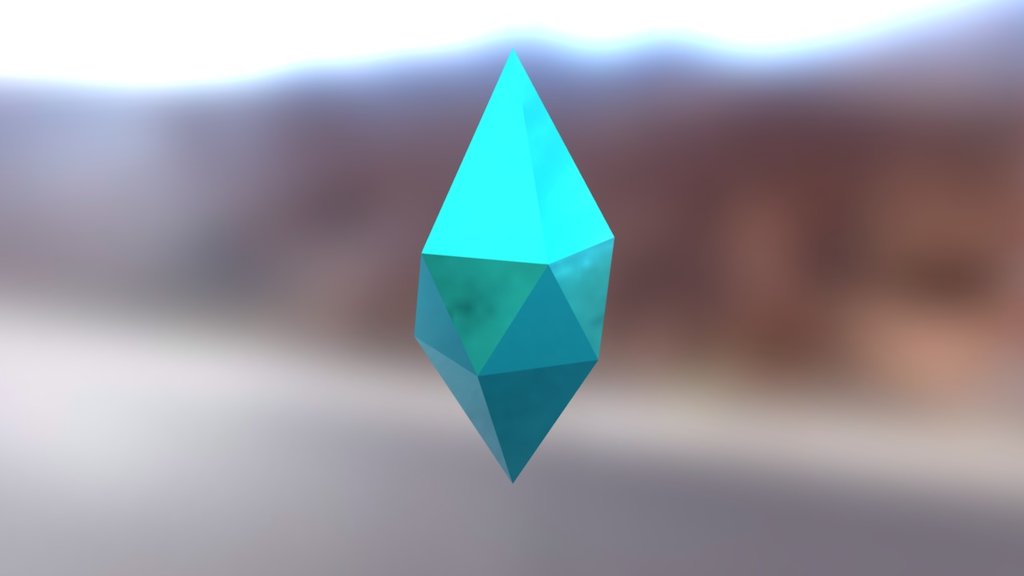
Crystal
sketchfab
Here's a step-by-step guide on how to create a low-poly crystal model using Blender 3D software. The process starts with setting up the basic shape of the crystal, which involves creating a series of connected cubes that will form the foundation of the model. To begin, select the cube tool and use it to create a single cube in the 3D workspace. Once you have your cube, scale it down slightly to give yourself some room to work with. Next, duplicate the cube by pressing the Shift key while right-clicking on it. This will create an exact copy of the original cube. With your duplicated cube selected, use the move tool to position it directly above the original cube. Make sure they are perfectly aligned and that there is no gap between them. Now, go back to the first cube and select both cubes by holding down the Shift key while selecting them individually. Once you have both cubes selected, use the Boolean modifier to merge them into a single shape. To do this, go to the modifiers tab in the properties panel and click on the Add Modifier button. From there, scroll down to the Boolean section and select Union from the dropdown menu. This will combine the two cubes into one. Now that you have your merged cube, it's time to start adding some detail to the crystal model. To do this, use the Loop Cut tool to create a series of cuts along the surface of the cube. These cuts will serve as the basis for the crystalline structure. To add more detail to the model, use the Array modifier to repeat the process of creating cuts and merging them into a single shape. This will give your crystal model a much more intricate appearance.
With this file you will be able to print Crystal with your 3D printer. Click on the button and save the file on your computer to work, edit or customize your design. You can also find more 3D designs for printers on Crystal.
