Crystal Heart Gift Box
prusaprinters
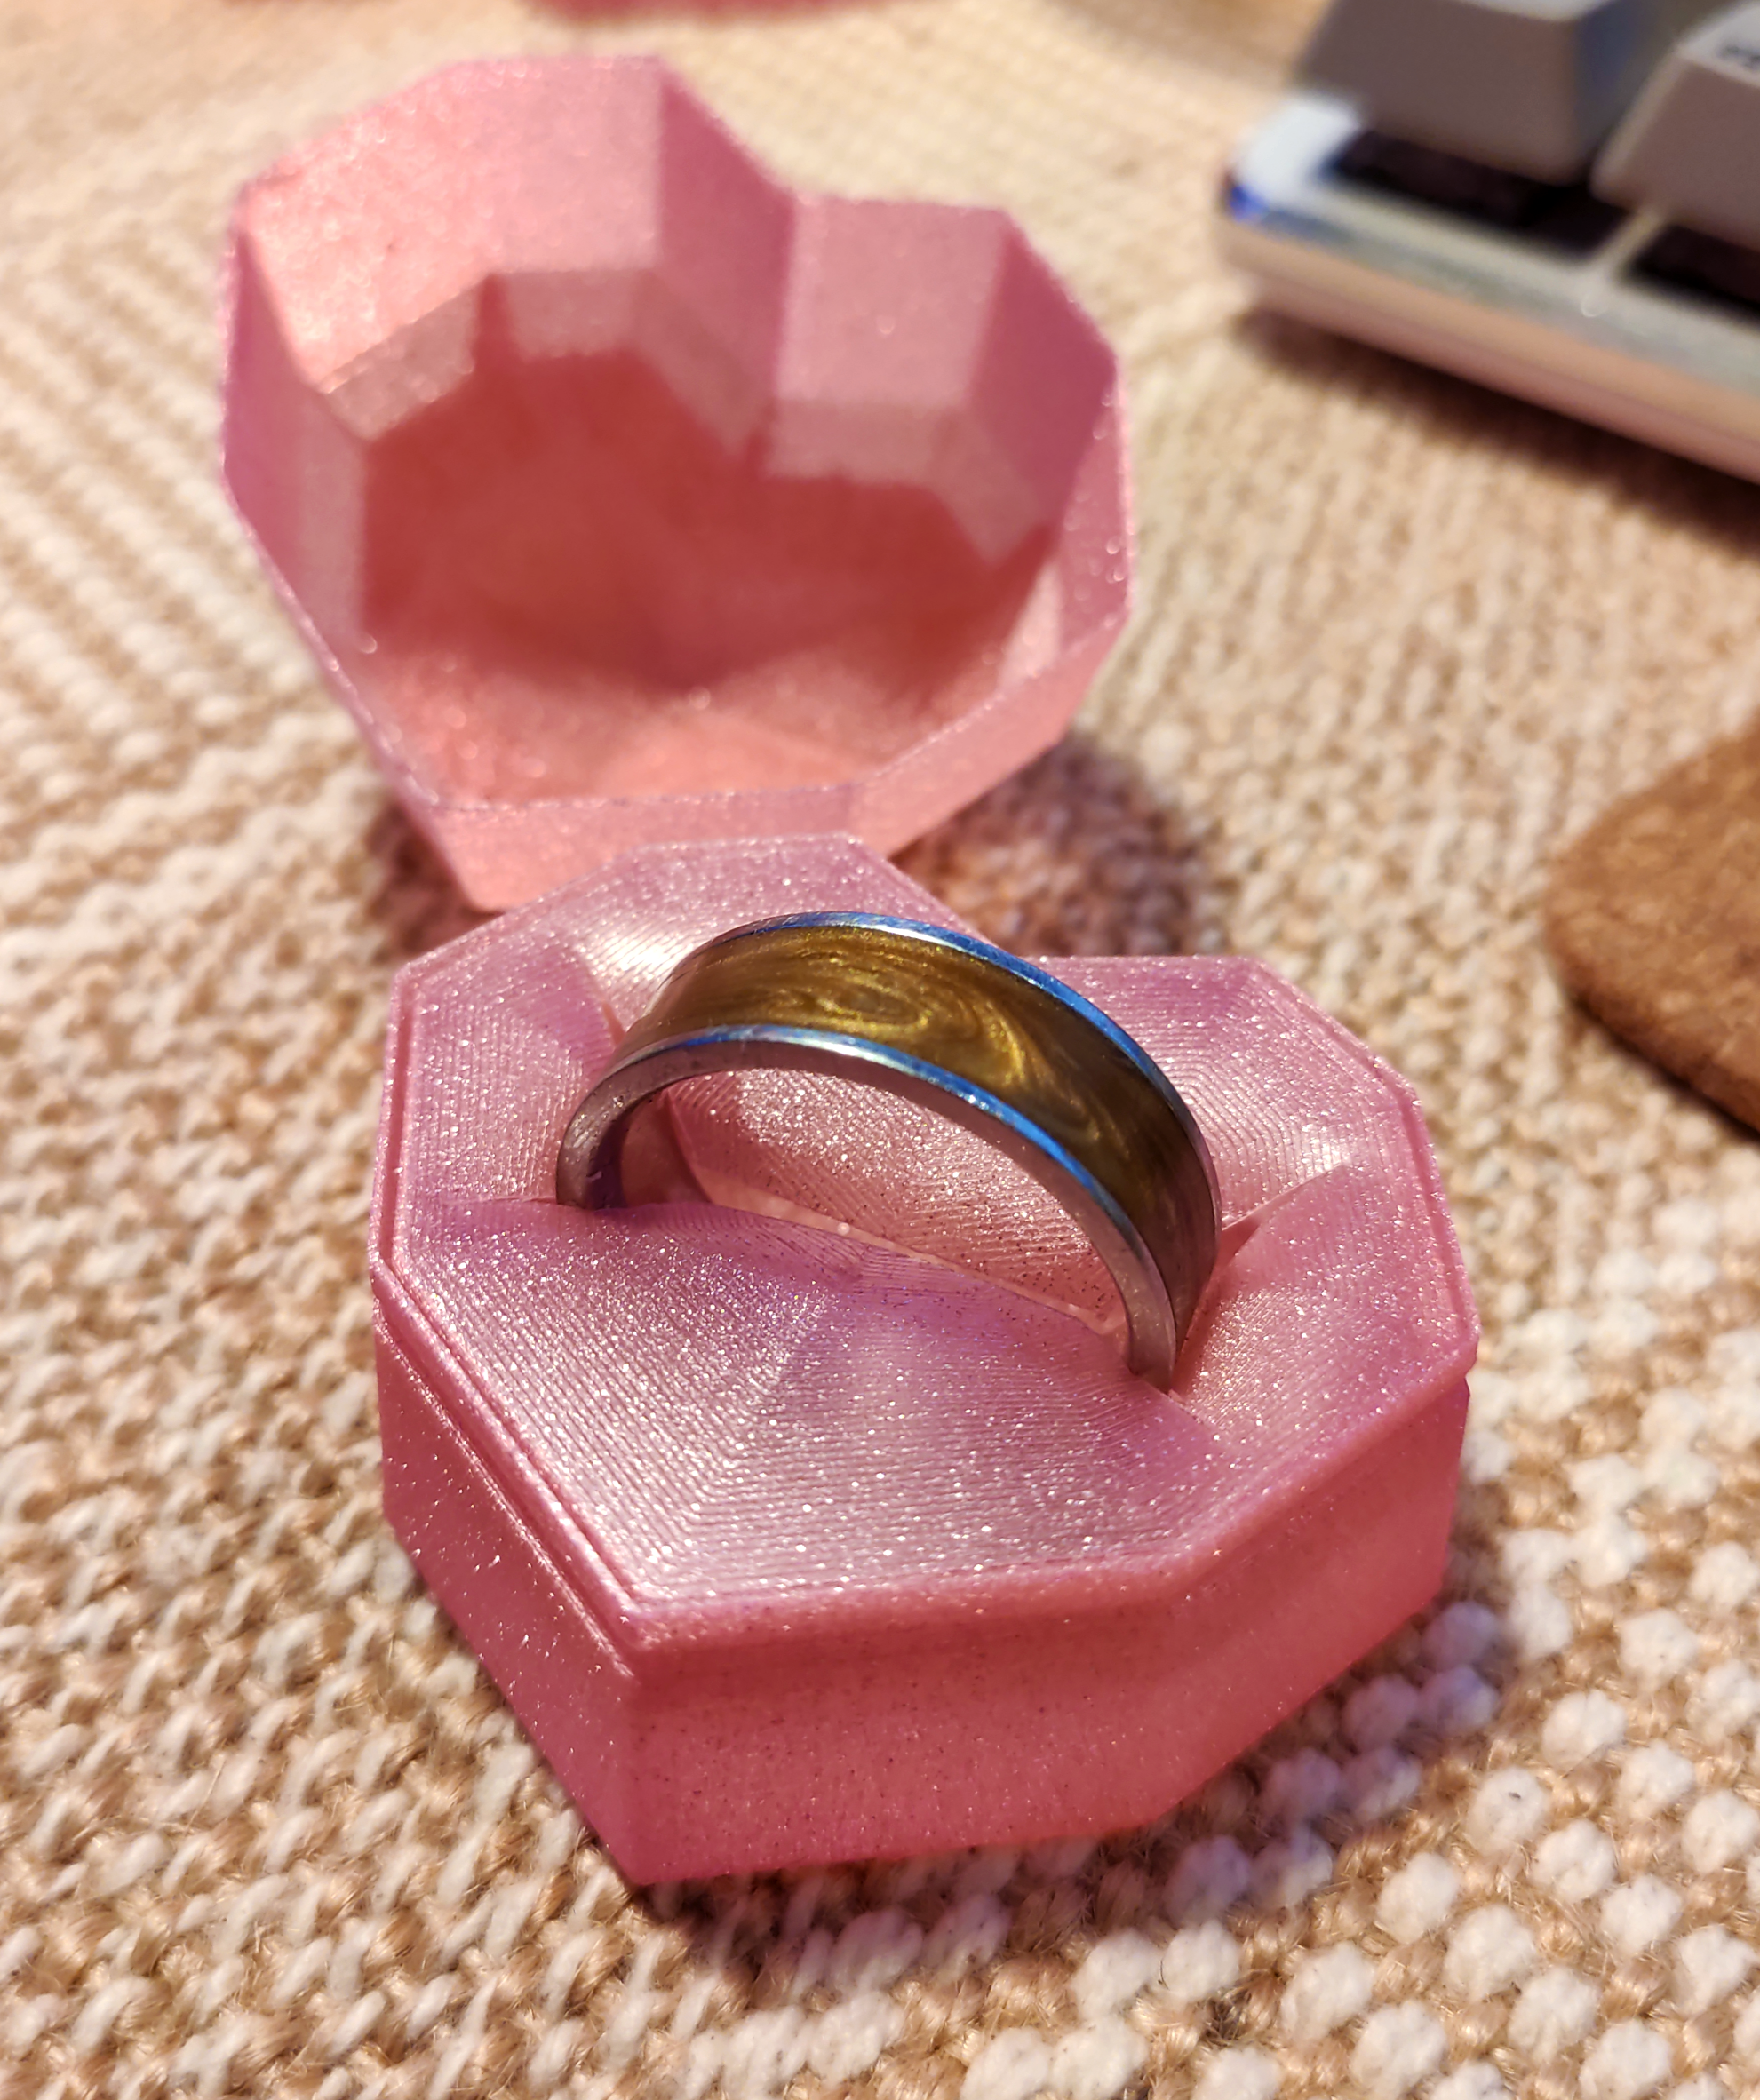
<p>Clean your plates well because the cover of the box is printed without a bottom!</p><h3>PRINTING INSTRUCTIONS</h3><p>I could have called this print a vase-mode box, but I cheated for the top. This print is quick, but complicated. I gave myself a challenge to design something that uses only a small quantity of filament, but is still solid. I really recommend you follow my instructions. By the way, I oriented the 3mf files how they should be printed.</p><h5>BeautifulCover / SecureCover</h5><p>The beautiful cover is held to the bottom by friction, the secure one is held by a ridge at the bottom. I thought some people might want it. Be aware that the beautiful cover is more permissive as to tolerances.</p><p>It can print without support, but you might want to add a raft if you keep having problems. The top part can look better if you use variable layer height.</p><ul><li><strong>Infill:</strong> 0%</li><li><strong>Perimeters:</strong> 1</li><li><strong>Solid Layers</strong>:<ul><li><strong>Top:</strong> 2</li><li><strong>Bottom</strong>: 0</li></ul></li><li><strong>Layer Height</strong>: 0.15 (Recommended)</li></ul><p>Listen for the sounds of the sea when the print is almost complete!</p><h5>Insert</h5><p>(Only print if your gift is small and needs to stay in place)</p><p>Print it using spiral vase mode, but only use one bottom layer</p><ul><li><strong>Layer Height</strong>: 0.15 (Recommended)</li><li><strong>Solid Layers:</strong><ul><li><strong>Bottom</strong>: 1</li></ul></li></ul><h5><strong>Bottom</strong></h5><p>Just print it using plain spiral vase mode.</p><ul><li><strong>Layer Height</strong>: 0.15 (Recommended)</li></ul><h3>ASSEMBLY</h3><p>If you didn't use the insert, this part is very straightforward: just put the cover on the bottom, et voilà! You have a gift box!</p><p>If you printed an insert, you will need to manually cut the shape of your gift. For this, you're gonna need a pen and paper, and a craft knife. ( I didn't find a way to do this in the slicer, even not in vase mode)</p><p>First, put the gift on a sheet of paper in the orientation you want it to have in the box. Then, you need to trace its silhouette on the paper. After that, you're gonna need to decide if you want to do a simple cut out or a more luxurious cushion cut-out. Simple cut-outs are way easier than the cushion ones.</p><p><strong>Simple cut-out</strong></p><p>Just put the insert over the silhouette you just drew and cut it out with your craft knife. You are ripe enough to go to the Insert the insert step!</p><p><strong>Cushion cut-out</strong></p><p>After you drew the silhouette, you will want to draw a combination of triangles and trapezes that start a little further from your silhouette and go towards the middle around the whole shape. Then, place the insert over your drawing and cut out the lines you just made.</p><p><strong>Insert the Insert</strong></p><p>The bottom of the insert is a little larger than the top of the bottom part of the box, you will need to squeeze it a little. I recommend squeezing it from left to right. If it doesn't work, you can make one or two relief cuts on the side of the insert.</p><p>When the insert is in, it should snap in place. There you go, you are the best gift giver in town!</p><p> </p><p>Happy valentine's Day!</p>
With this file you will be able to print Crystal Heart Gift Box with your 3D printer. Click on the button and save the file on your computer to work, edit or customize your design. You can also find more 3D designs for printers on Crystal Heart Gift Box.