Cryptex
prusaprinters
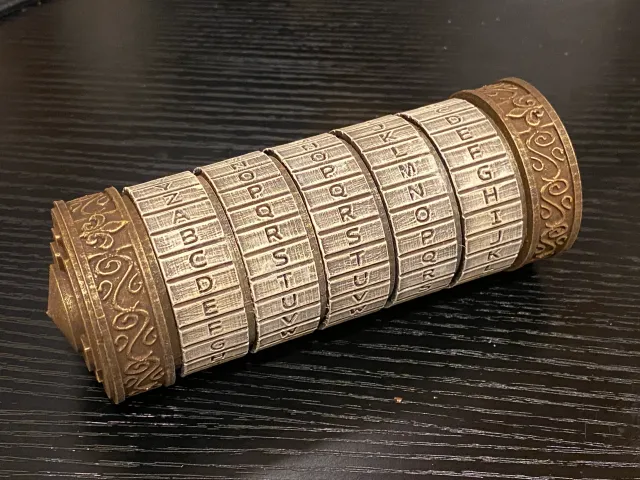
I am a huge fan of the cryptex and have printed several of them previously, but really wanted to be able to say that I designed one as well, so here is my take on the cryptex.Whilst every element in this design is mine, I took a lot of inspiration from this cryptex (which I have made a couple of) on thingiverse : https://www.thingiverse.com/thing:918770I took the approach with my cryptex of designing individual letter wheels for each letter of the alphabet - this took a bit longer to design, but is a bit quicker to print. I also don't see the point of having adjustable parts that fit together when the unit is glued at the end.I did several test prints to adjust clearances, and whilst they aren't perfect I think I got an okay balance between easy movement and not too much play in critical directions.To make your own:Print:1 x outer_tube1 x outer_tube_cap1 x inner_tube2 x end_pieces5 x pins (these are about 3mm around, so you can use a piece of filament that size too)5 x letter pieces of your choice - they are all identical except that the notch to unlock is aligned with the letter described. I've not printed everyone of these, so if there are any issues with individual letter I appologise in advance - please let me know though and I will fix them.I printed everything at .2 in PLA with a .4 nozzle. I printed as a single colour, as I always intended to paint mine, but is would be easy to get a dual colour print by printing the inner and outer tubes and end pieces in one colour and then for the letter rings, print them in a different colour and switch back to the main colour just for the last few layers that relate to the rings in between the letter rings. I haven't done this yet, but plan to do a print like this soon.Assembly:With all of the parts printed, slide the letter rings onto the outer tube starting with the first letter in your chosen word - for example, if the word is “APPLE”, slide the A onto the outer tube first and then follow up with the other letters in order. Once the letters have been added to the outer tube, slide the outer_tube_cap over the end of the outer_tube - this should be firmish and can be pushed all the way home and still allow the letters to rotate.Take the inner_tube and the five pins - press the pins into the holes and then trim them off so that they slide into the outer tube but protrude out through the slot in the outer_tube (have a look at the pics if this doesn't make sense). I printed the pins standing up with adhesion on - this way I could break a pin out of the bundle and then trim them to length cutting away the brim in one go. Finally, set the letters to the code word you selected and the inner_tube should slide into the outer_tube - once happy that everything turns as it should, glue the outer_tube_cap to the outer_tube to prevent the cryptex coming apart. I used a couple of drops of 60 second CA Glue, which gives a bit of time to line up the fleur de lis arrow with the letters.If you want to paint, it's best to do that before final assembly and glue.Paint:The paint design I used on this one was to base coat everything in a brown acrylic, then for the main body and in between the letters I dry brushed DecoArt Metallic Glorious Gold over the base coat (once it was dry). For the letters, I drybrushed over the brown with a mix of white with a drop of yellow and brown to make it a bit creamish - I went over it lightly several times to avoid blobs, but I got a bit impatient and have a few small ones here and there.That's it. If I've missed anything, let me know.
With this file you will be able to print Cryptex with your 3D printer. Click on the button and save the file on your computer to work, edit or customize your design. You can also find more 3D designs for printers on Cryptex.