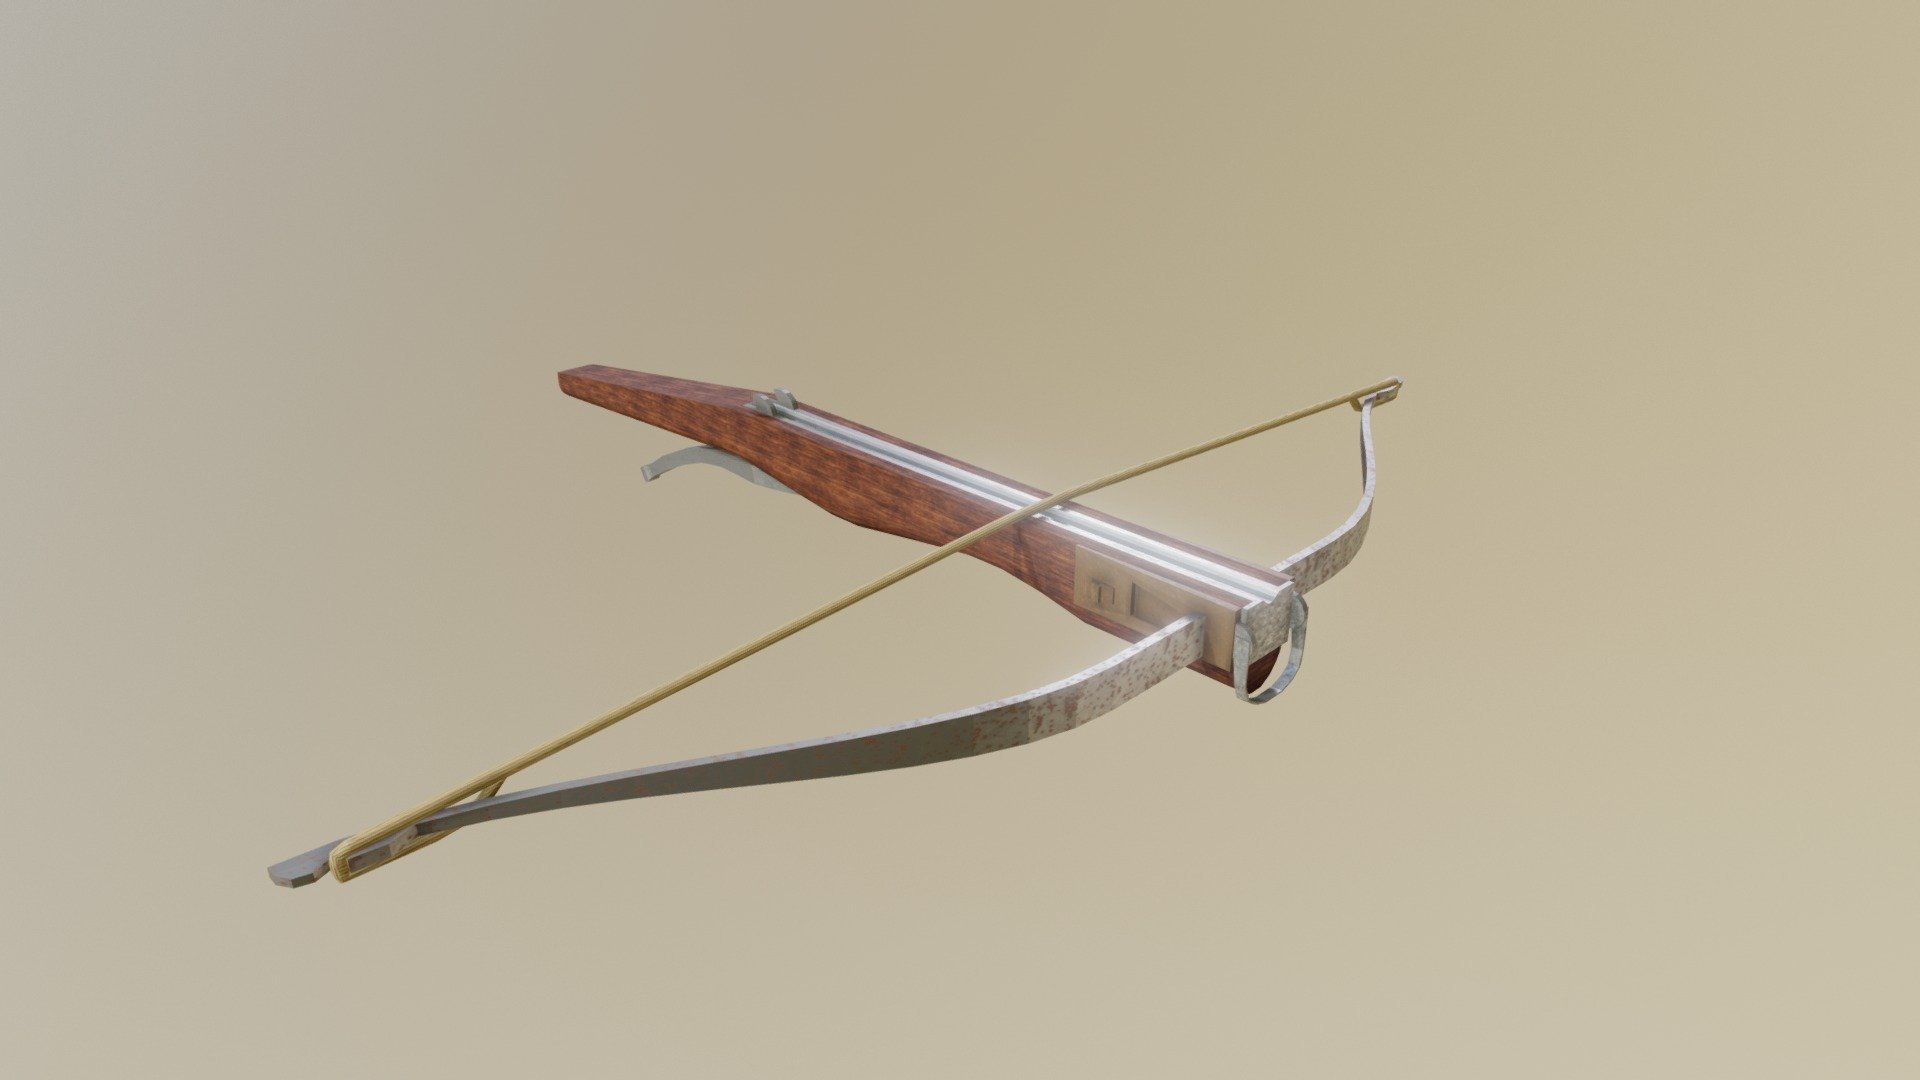
Crossbow
sketchfab
Crafting a basic crossbow within Blender is surprisingly straightforward. Begin by launching the 3D modeling software and navigating to the project settings. Here, you'll want to set your units to metric and your scale to real-world measurements. Next, switch to the "Object Mode" and click on the "Cube" button to create a new object. To shape this cube into the basic form of a crossbow, select it and press the "S" key to enter scaling mode. Then, using your mouse, drag the box downwards to elongate it, creating the frame of the crossbow. Repeat this process, scaling the cube along its width to create the bow's limbs. With the main structure in place, switch to the "Edit Mode" by pressing Tab. Here, you can refine the shape and add details such as a stock, a trigger mechanism, and the bowstring attachment point. Use Blender's built-in sculpting tools or external modeling software like ZBrush to achieve a more realistic finish. To add texture and color, navigate to the "Materials" tab and create new materials for your crossbow components. Assign these materials to their respective parts of the model. Finally, render your creation using the "Render Layers" feature or by outputting an image directly from the "Output Settings."
With this file you will be able to print Crossbow with your 3D printer. Click on the button and save the file on your computer to work, edit or customize your design. You can also find more 3D designs for printers on Crossbow.
