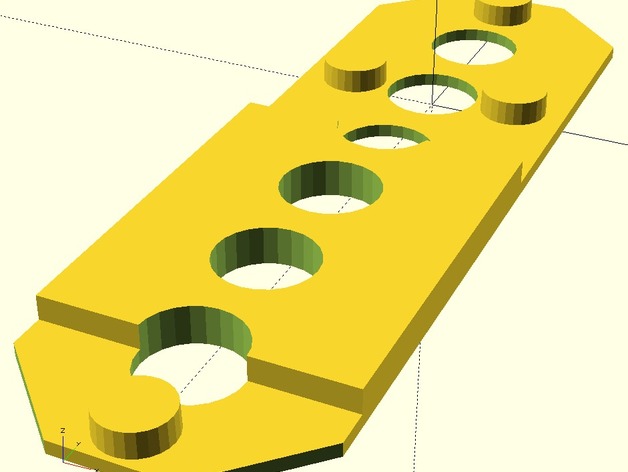
Cross Template kit
thingiverse
My friend has some 5th generation paper patterns that she uses for cutting plywood substrates. She covers the plywood with art, glass, and stone. The paper moves around, but none of the parts are accurately dimensioned. I had to draw up the various pieces in SCAD because it was too large for my printer. Then I sectioned it into printable pieces. For shipping, it needed to be small enough for a Flat Rate shipping box. Parts are friction fit, so a drop of CA glue will hold things into one piece or you can put a piece of tape along the top surface. Tracing around the outer edge gives a consistent line that can then be cut with a jigsaw, scroll saw, or band saw. SCAD files are included for easy changes to the tip decoration/pattern. You can scale down the STL for printing child-size versions. Printer settings: Mendelmax doesn't matter about rafts, supports, resolution, and infill - just 25% is fine. Not critical for nozzle or layer height settings; I used 0.25 mm for ABS or PLA. Use a large brim to hold down ABS. This part is not the final sculpture but a template to mark the final piece. Large holes save printing plastic and can be used to locate holes for hanger hardware. After printing, assemble the parts easily by pressing them together. The small top arm goes on the top edge of the joining block with 3 pegs. Other arms go on sides and lower peg. Trial fit and trim to remove any flash along edges, then press in place and add a drop of instant setting glue. Flip the template over onto a sheet of wood or substrate and trace around the outside - you're ready to fire up the scroll saw!
With this file you will be able to print Cross Template kit with your 3D printer. Click on the button and save the file on your computer to work, edit or customize your design. You can also find more 3D designs for printers on Cross Template kit.
