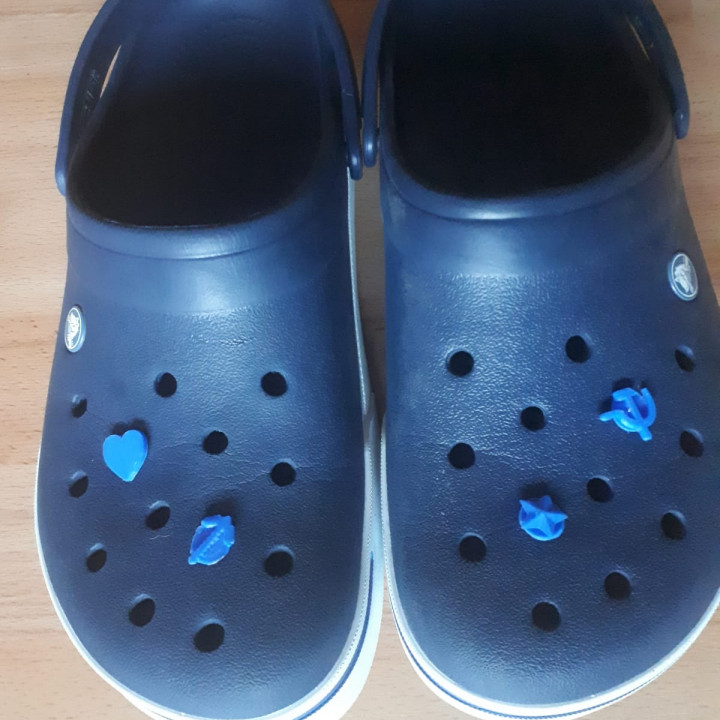
Crocs button base and motive
myminifactory
Customizable Crocs Button: Design and Printing Instructions To create a one-of-a-kind button for your favorite pair of Crocs shoes, follow these steps carefully. First, design the base and motive separately using Tinkercad or any other 3D modeling software. Make sure to save them as separate files, as they will be printed independently. For optimal results, print the base first. Use a high-quality 3D printer with a resolution of at least 0.1mm. Set the printer to print four outer layers for maximum durability. The slow and steady approach is key here, so ensure that your printer is set to its lowest speed setting. Once the base is printed, it's time to add the motive. Design the motive as a separate entity, approximately 15x15mm in size with a thickness of 2mm. This will give it a sturdy feel without compromising on style. Now, carefully remove any supports from the motive and prepare it for assembly. The next step is crucial: applying superglue to attach the motive to the base. Hold the parts together firmly until the glue takes hold. Congratulations! Your customizable Crocs button is now complete.
With this file you will be able to print Crocs button base and motive with your 3D printer. Click on the button and save the file on your computer to work, edit or customize your design. You can also find more 3D designs for printers on Crocs button base and motive.
