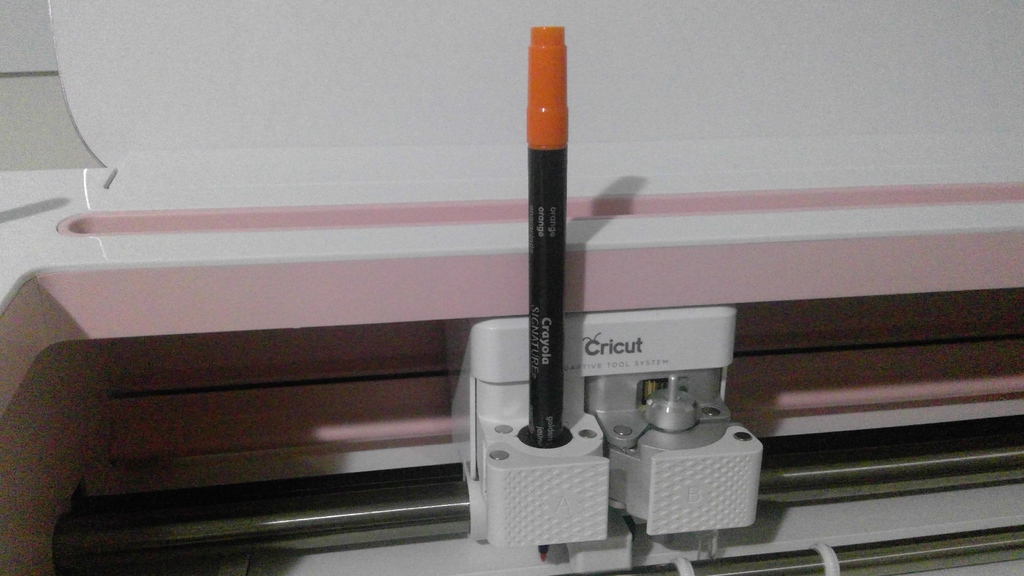
Cricut Crayola Signature Adapter Collet
thingiverse
To get Crayola Signature markers working on your Cricut Maker, follow these steps: First, you'll need to download and install the Cricut Design Space software on your computer. This is the program that allows you to create custom designs for cutting with your Cricut machine. Next, open up the Cricut Design Space software and click on "Make It" in the top right corner of the screen. This will take you to a new page where you can select the type of project you want to make. Choose "Custom Project" from the drop-down menu. Now, click on the "Materials" tab at the top of the screen and select "Crayola Signature Markers" from the list of available materials. You'll see that Cricut has already set up a default color palette for Crayola markers, so you can skip ahead to choosing your design. Click on the "Designs" tab and choose a design from the gallery or create one from scratch using the various tools provided in the software. When you're happy with your design, click on "Make It" again to send it to your Cricut machine. Finally, load your Crayola Signature markers into the Cricut's tool holder and follow the prompts on the screen to cut out your custom design. With these easy steps, you'll be creating beautiful custom projects with Crayola Signature markers in no time!
With this file you will be able to print Cricut Crayola Signature Adapter Collet with your 3D printer. Click on the button and save the file on your computer to work, edit or customize your design. You can also find more 3D designs for printers on Cricut Crayola Signature Adapter Collet.
