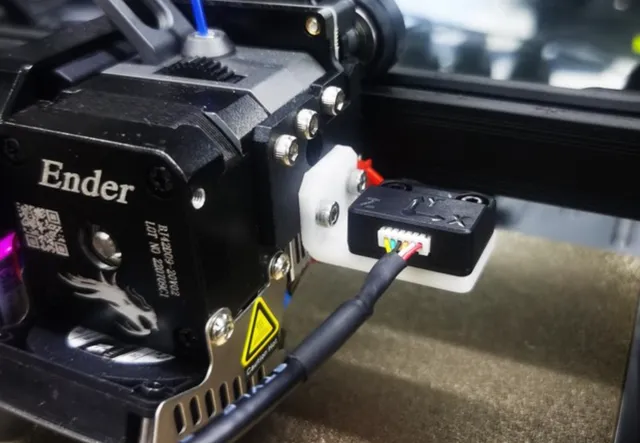
Creality Sonic Pad - Sensor bracket (X axis)
prusaprinters
These are the files provided on the storage that comes with Sonic Pad. In case you deleted them or if you want to print the bracket that matches your printer before you receive it.Edit: I've added more file available from Creality website for several of their printers. Also in two variants depending if you have a flat cable or round cable (but it shouldn't really matter).InstructionsPrint flat, no support required.Printed in 0.2mm.For the calibration (input shaping) itself:I recommend to set up your printer as if you were going to do a print (filament loaded)Place the printed bracket on the printer and mount the sensor to itWith the screws/bolts provided with your Sonic Pad and the ones you remove you should be able to find two couples that matches your need in length.On the Sonic Pad (Klipper) go to:ConfigureOther settingsAdvanced optionsMeasuring ResonanceLet it perform on the X axis (it can take several minutes, wait for it to finish even if you think it's done: it moves fast and slow to make it vibrate at different frequencies).Then make it perform on the Y axis, see the other print you might want to use here:https://www.printables.com/fr/model/332077-creality-sonic-pad-sensor-bracket-y-axis Once done you can remove the part and store it somewhere. You might want to use later, for example it if you change something on your printer or change its location.CreditsThese models are provided by Creality
With this file you will be able to print Creality Sonic Pad - Sensor bracket (X axis) with your 3D printer. Click on the button and save the file on your computer to work, edit or customize your design. You can also find more 3D designs for printers on Creality Sonic Pad - Sensor bracket (X axis).
