Creality hotend fix
prusaprinters
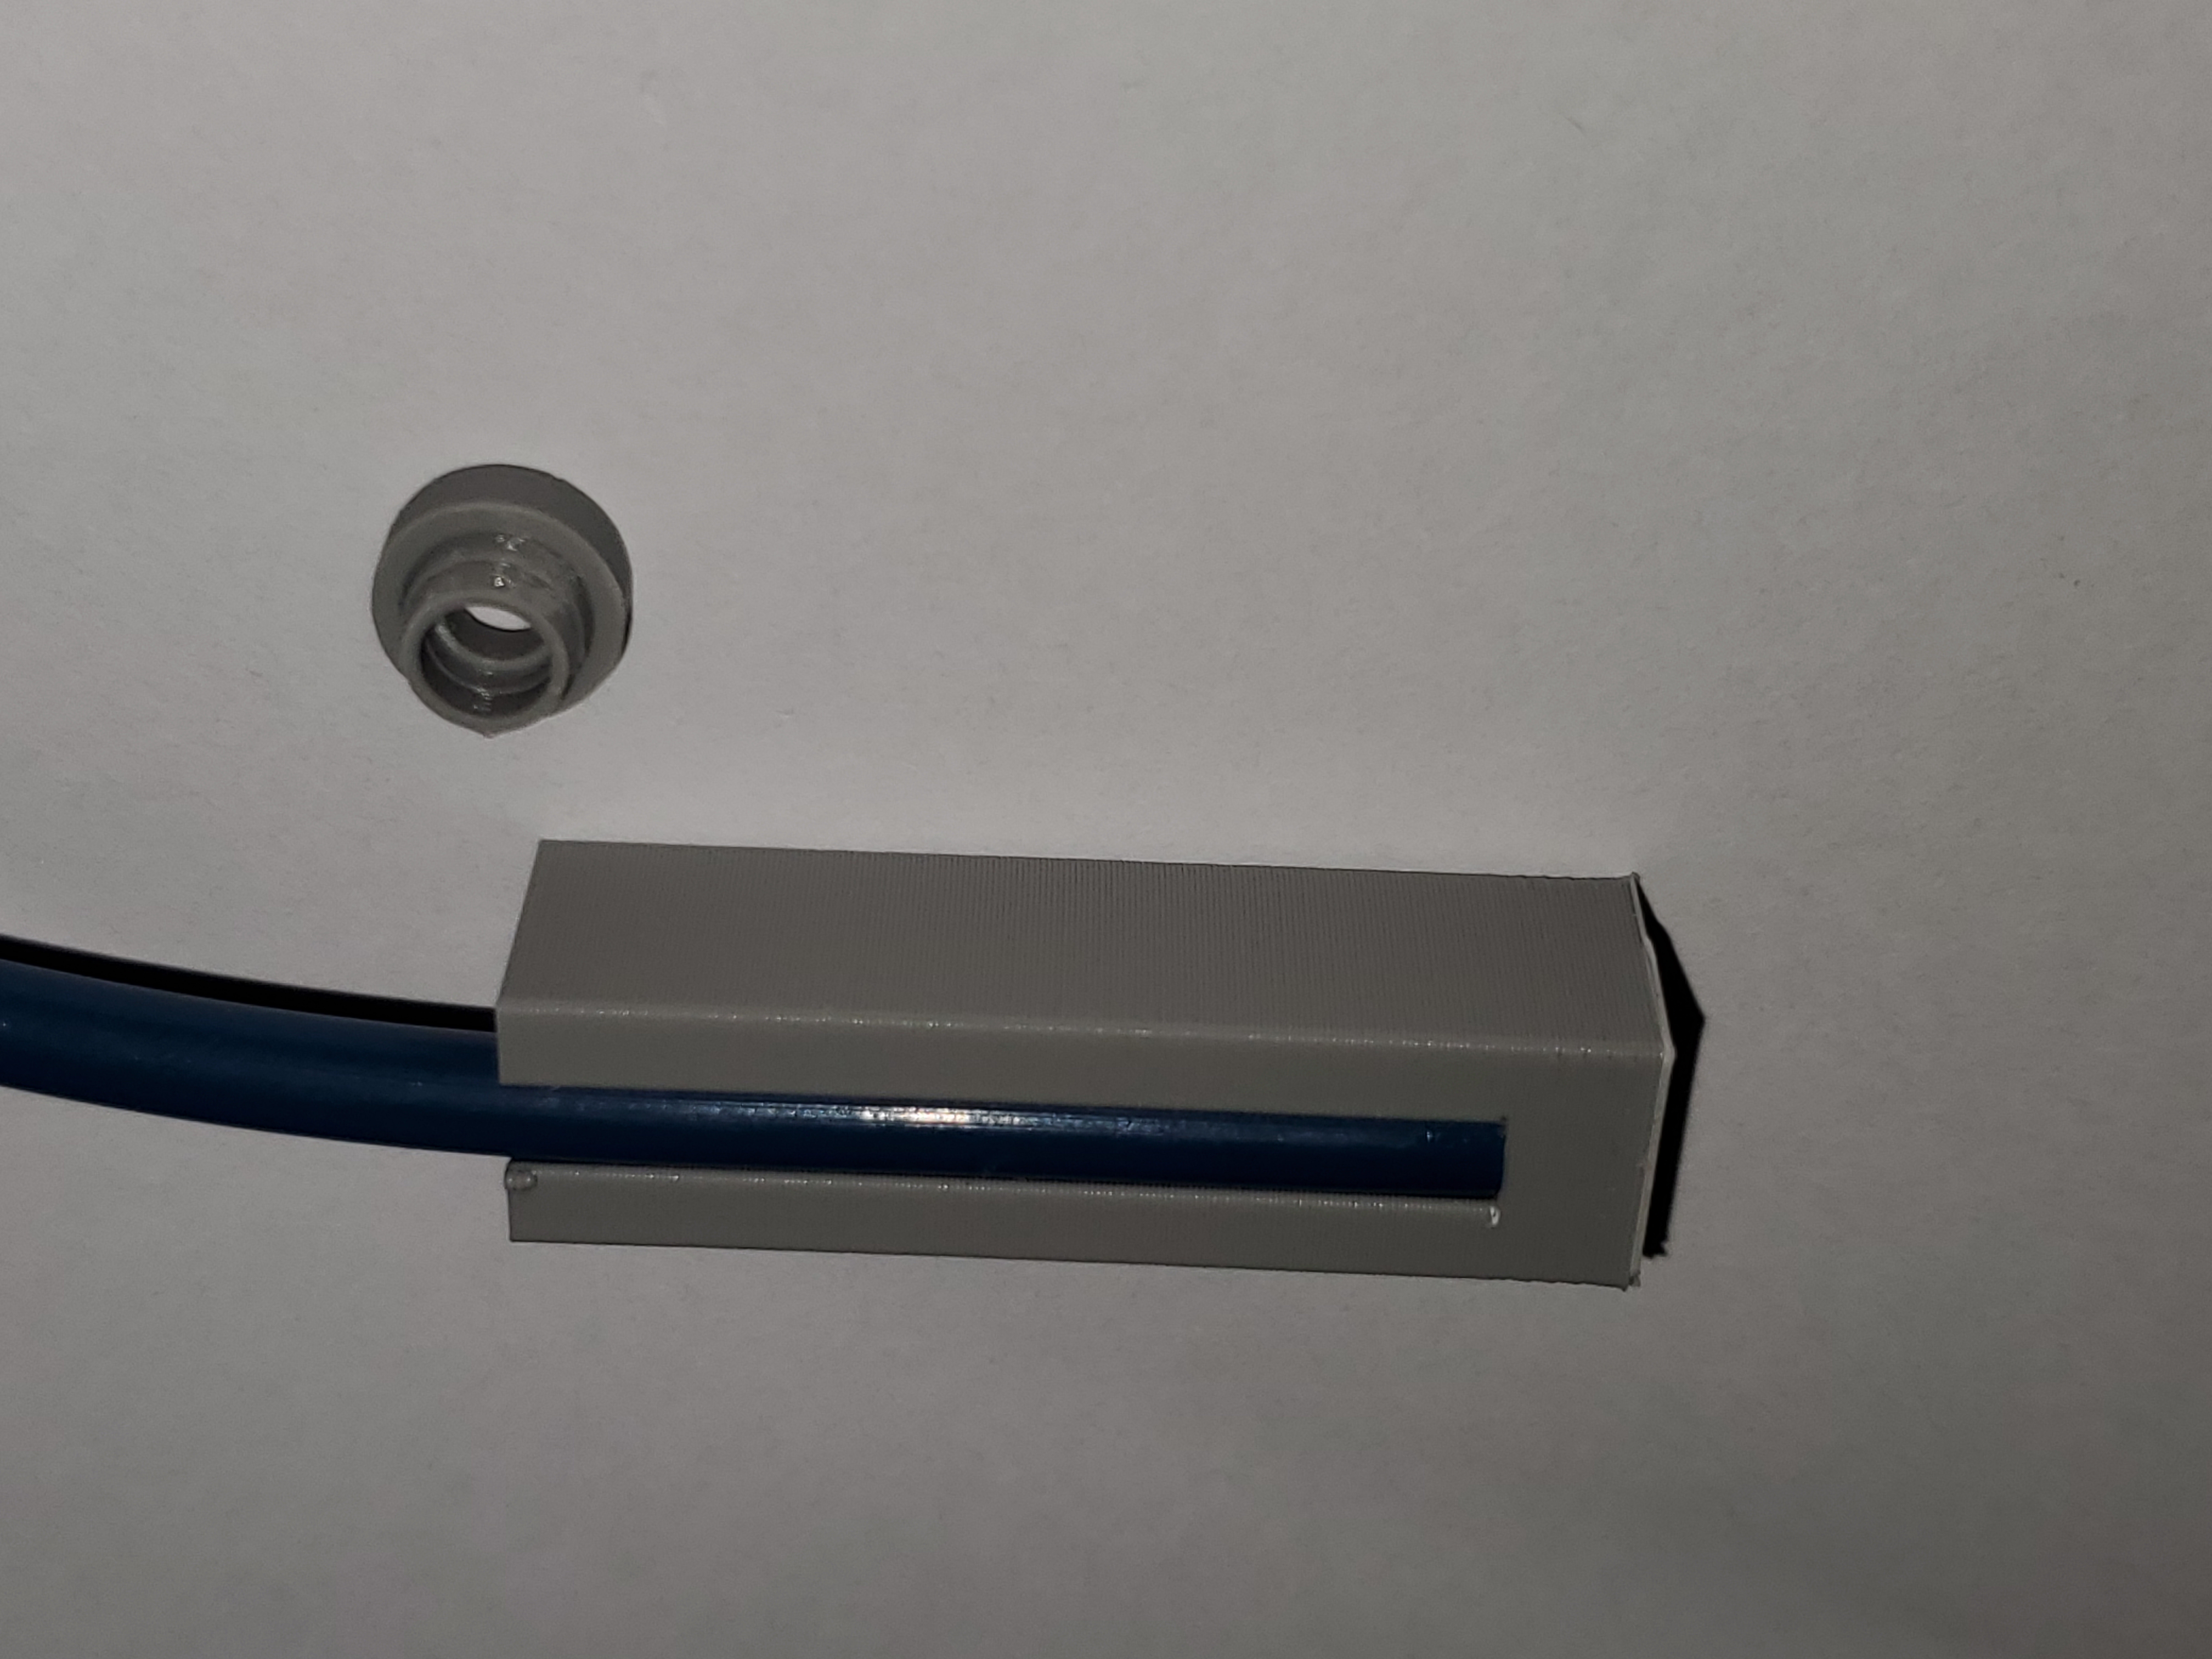
<p>This is based on concept of the Thingiverse model <a href="https://www.thingiverse.com/thing:4220059">https://www.thingiverse.com/thing:4220059</a></p><p>This works well for the Ender 3 V2, at least. </p><p>Print the washer in PETG, and the cutting guide in anything. Cut a piece of PTFE tubing square, insert it all the way to the stop in the cutting guide, and cut it flush to the other end (32mm). Insert this tubing piece into the bottom of the washer (the narrower end). Remove the Bowden coupling from the top of the hotend and remove the nozzle.</p><p>You may want to run another piece of PTFE tubing through the hotend to ensure there is no remaining gunk in there. It should pass all the way through from top to bottom with the nozzle and coupling removed.</p><p>Insert the washer and PTFE tube into the top of the hotend. Replace the coupling and tighten. Then replace the nozzle.</p><p> </p>
With this file you will be able to print Creality hotend fix with your 3D printer. Click on the button and save the file on your computer to work, edit or customize your design. You can also find more 3D designs for printers on Creality hotend fix.