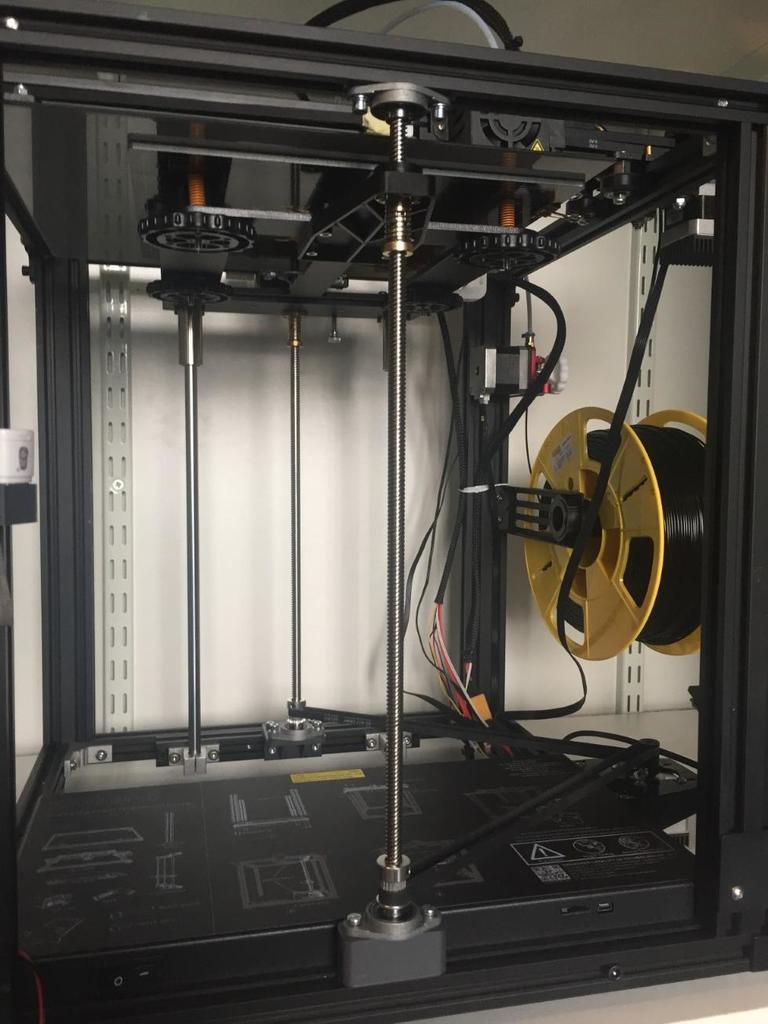
Creality Ender 5 Dual Z
thingiverse
## About Designed this to slap on a second Z-axis on my Ender-5 easily, with mostly 3D printed brackets. I think the Ender-5's main flaw is the wobbly bed. The super-struts help a bit, but this is superior in my opinion. The second lead screw is positioned in the front extrusions. Note: no individual belt tensioning, only way to tension is to pull the motor back. I have not had issues, but its far from perfect. The two screws single motor concept is advantageous because the sides don't go out of sync, nor do you have to attach a second stepper. If I pull the belt on one side, the other follows automatically because they are joined at the stepper. ## Purchases required: \(cost estimate <30 EUR\). - 400mm lead screw \(use the same lead as you already have, some might be shipped with an 4mm, others with 8mm\)+ nut - lead screw nut - 2 GT2 20-teeth pulleys with 8mm bore - GT2 20-teeth double pulley 5mm bore - 4 bearings \(KFL08\) - 2 610MM GT2 6mm wide timing belts And the following screws \(add washers and retaining washers\)noted as qty x length: - 4x10mm M4, for each rear screw bracket \(8 total\) - 2x16mm M4, for each rear screw bracket holding the bearing block \(4 total\) - 2x30mm M4, for the front bottom bearing with bracket - 2x10mm M4, for the front top bearing - 2x24mm M4, for front bottom bearing - 5x10mm M4, for the stepper bracket - 4x10mm M4, for the clamping thing on the aluminum bed frame - 4x6mm M3 to mount the stepper to the bracket. - 4x M4 nuts to attach rear bearings to the brackets. - 17x M4 T-nuts And I think the following, see notes: - 4x8 M2.5 to mount the lead screw nut to the bedAttachment\_pt1.stl ## Notes I used bedAttachment\_pt3\(optional\).stl with hot inserts to attach the lead screw nut to bedAttachment\_pt1. Normal nuts might be too wide and touch the lead screw. I'm not sure. Maybe it's ok with M2's ? Note you will need to print the following stls twice: - bedAttachment\_pt2\_m4.stl - backLeadScrewBracket.stl The frontLeadScrewThing.stl is necessary to be able to mount the lead screw bearing block, it is wider than 20mm and otherwise blocked by the electronics box. If you don't have the electronics box at the bottom, you don't need this and can replace the 30mm long M4's with 10mm ones.
With this file you will be able to print Creality Ender 5 Dual Z with your 3D printer. Click on the button and save the file on your computer to work, edit or customize your design. You can also find more 3D designs for printers on Creality Ender 5 Dual Z.
