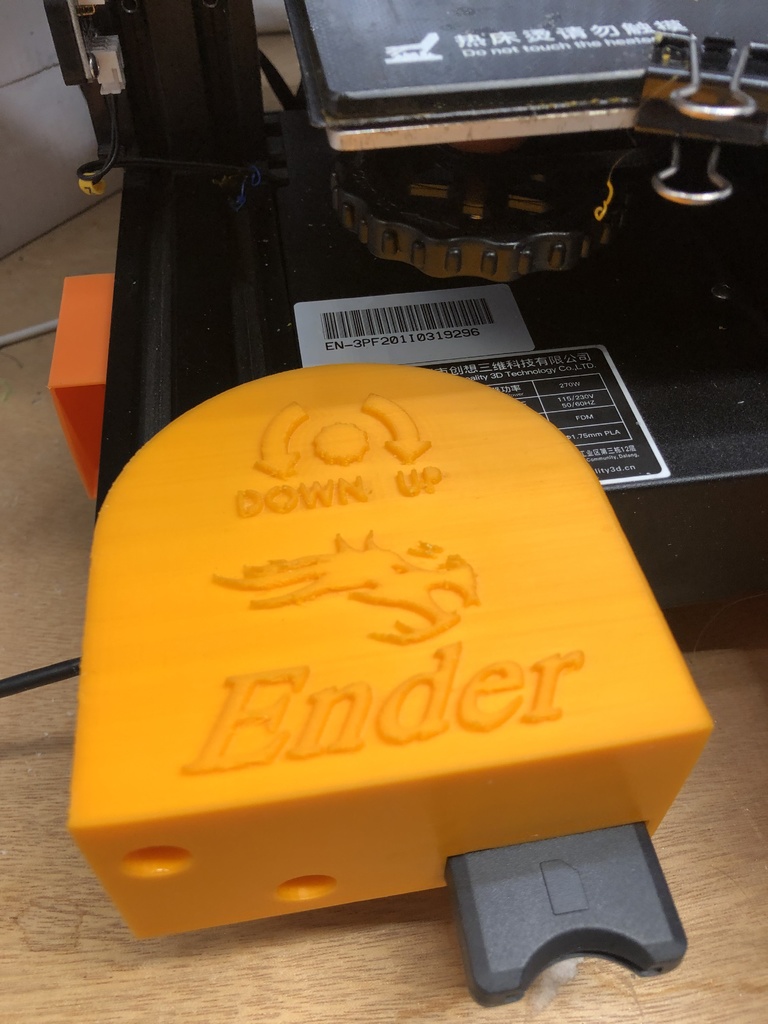
Creality Ender 3 SD Card Extension/USB Connector Protector
thingiverse
I borrowed an Ender CR-3 from someone to create a custom Christmas light bracket for the top of my flagpole. He couldn't do it at the moment, as he wasn't living at home and had nowhere to set up the printer, but he offered to bring the machine over and set it up at my place. He taught me the basics of what to do, and left the machine with me (I haven't seen or heard from him since the first week or so, but he specifically said I could keep it until he found a place to live that he could set up). In the meantime, I bought a CR 10 v2 for myself, and I've been doing a lot of printing on both machines. I wanted to get started with ABS and other higher temp materials, so I recently built an enclosure for the CR-3 and started printing ABS, but the enclosure got too warm with my small space heater (it runs at about 53ºC) that all the PLA printed mods he had already made for his printer (filament guides, storage drawers, etc.) started drooping or warping. So I started replacing the PLA parts with ABS parts, using the exact replacements when I could (almost all of them). While almost all of them could be found on Thingiverse, for this particular bit I couldn't find the exact replacement, so I had to reverse engineer the warped one to make the .stl. In the process, I added the logo (https://www.thingiverse.com/thing:3078936), and the arch with the bed leveling reminder arrows (extruded using the one at https://www.thingiverse.com/thing:2670912). I also made the case a little thicker, as the old one was fairly flimsy. Additionally, I reinforced the bolt hole shafts (even more since the photos) with a square around each of them the full depth (now), because the shafts were too weak as just round tubes if pointed with the flat front face to the bed when printing (because the filament ran concentric rather than longitudinally does the tubes, so each layer was prone to breakage). I'd recommend at least 50% infill. I printed at 100% infill. This will take one of the standard USB card extenders. Loosely fold up the excess ribbon cable inside the cavity. It also has enough depth to cover the USB connector so it doesn't get bumped out or bent or broken. There is a small slot on the left side to allow the USB cable to pass through. It bolts on using the two machine screw holes on the left frame piece, You'll need 2 5mm x 12mm (minimum) hex machine bolts, as I thickened the bottom of the screw holes enough that the original 5mm x 8mm screws are not long enough to get a bite. Do not over-tighten!
With this file you will be able to print Creality Ender 3 SD Card Extension/USB Connector Protector with your 3D printer. Click on the button and save the file on your computer to work, edit or customize your design. You can also find more 3D designs for printers on Creality Ender 3 SD Card Extension/USB Connector Protector.
