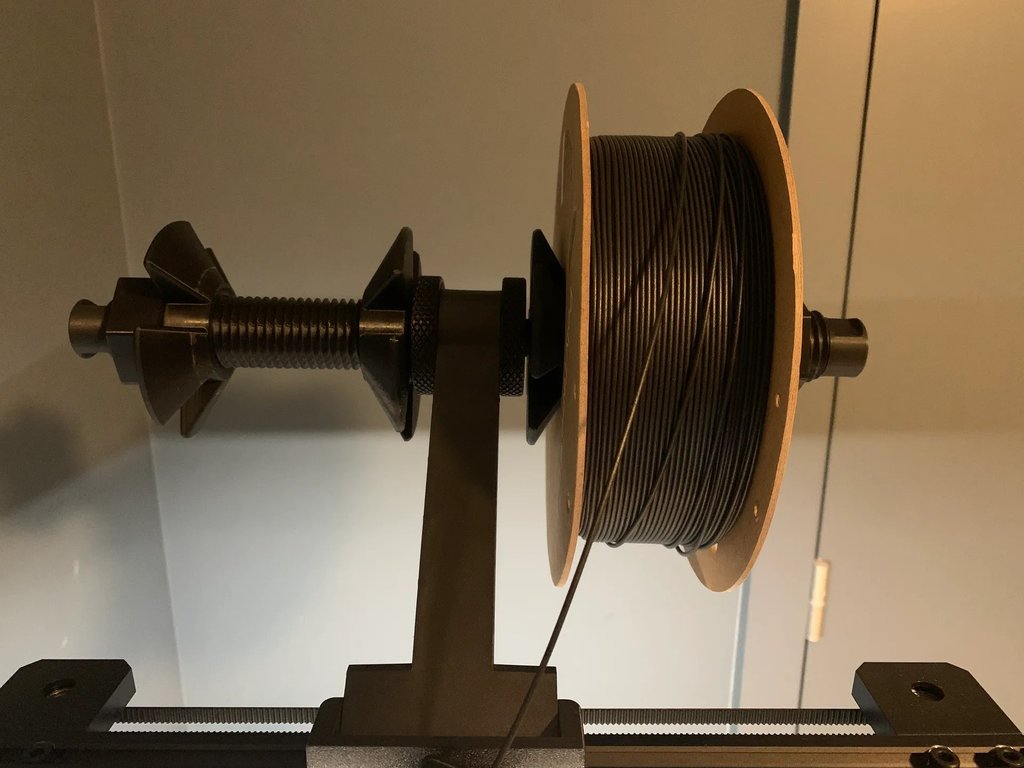
Creality Ender 3 S1 - Filament holder DELUXE
thingiverse
Improved various parts of the holder. Most notably the fitment of the “bajonet” mount that attached the filament holder to the mount. And the holder itself has better bearing fitment. Also added a few bonus parts and removed the need of the “bearing washers”. Will fit the Ender 3 S1 / S1 PRO / S1 Large Print list to print: - 1x Bayonet Mount - 1x Filament Holder - 1x Filament Nut You will need to print the holder with supports because there is a cavity for the bearing. Make sure to only select “touching build plate”. Optional print list: - 1x End Cap* (fits a 19mm wrench if needed) - 2x M8 Washer - 1x Counter nut Extra hardware needed: - 1x M8 x 15.5 cm threaded rod (make it 16cm if you are using the End Cap!)* - 2x M8 nylon lock nuts - 2x M8 washers (or print them yourself!) - 2x 608Z bearings Assembly instructions: Start from the left to the right (see picture for a visual). 1. Place a locking nut in the bayonet mount 2. “Thread” the threaded rod through the bajonet mount from the other side. Make sure the threaded rod does not go beyond the end of the bajonet mount or you won't be able to attach a second one on the holder 3. Add 1 M8 washer 4. Place the two bearings in the filament holder. You might require some force. Place the bearing on a flat (and hard) surface and push on the holder itself to insert the bearings until flush with the holder itself 5. Place the filament holder over the threaded rod 6. Add 1 M8 washer 1. If you use the end cap place the lock nut inside of the end cap and bolt it on 2. If you don't use the end cap just finish it off with the last lock nut 7. Attach the bayonet mount on your filament holder (might require a bit of force, it's a tight fit on mine) 8. Place a full spool on the mount and hold it in place with the nut (optionally with the counter nut as well) 9. Give it a spin and adjust the tension on the outer lock nut to increase or decrease the drag on the bearings TIP: You want it to be smooth, but not too smooth! You don't want your spool to unwind itself. The counter nut can be used to ensure the filament nut never comes loose from the rotating motion.
With this file you will be able to print Creality Ender 3 S1 - Filament holder DELUXE with your 3D printer. Click on the button and save the file on your computer to work, edit or customize your design. You can also find more 3D designs for printers on Creality Ender 3 S1 - Filament holder DELUXE.
