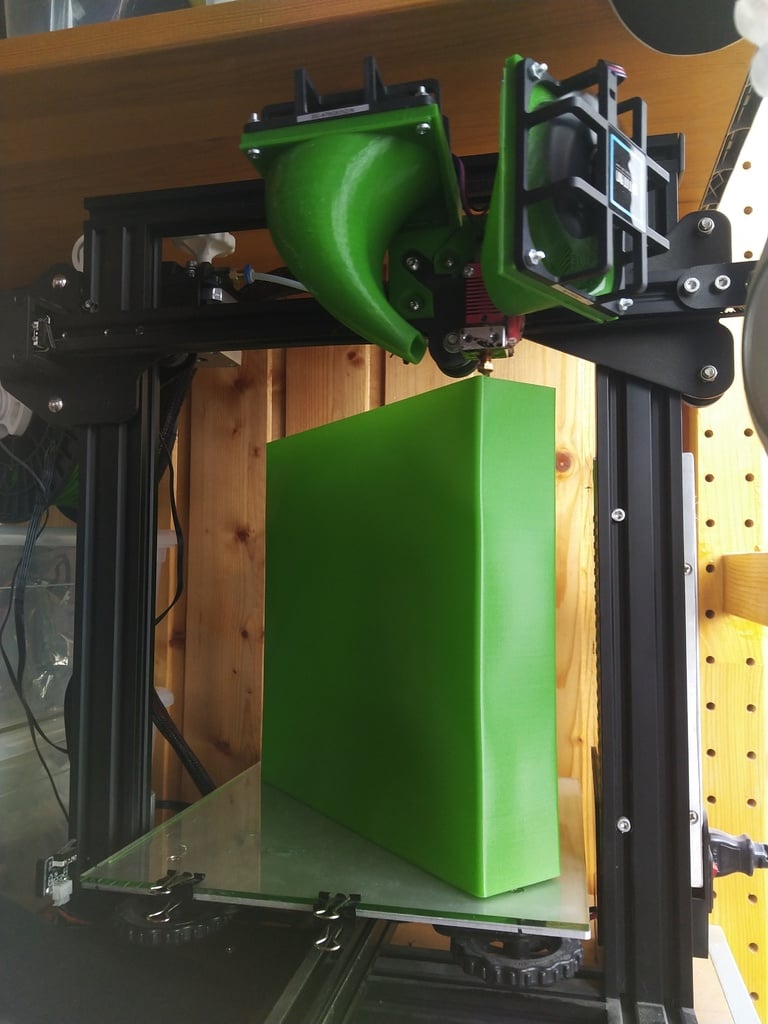
Creality Ender 3 hotend and part 80mm fan duct and mount
thingiverse
This is my take on the Creality Ender 3 hotend and part cooling system. My objectives were straightforward: I aimed to create a silent setup, avoid excessive weight, and maintain optimal airflow. To achieve this, I opted for using 80mm fans and maximizing duct size. Warning: 80mm fans typically operate at 12V, whereas the stock fan runs on 24V. To connect the fan successfully, you'll need a DC-DC step-down converter, such as an LM2596. Connecting the hotend fan is a relatively straightforward process, requiring only a DC-DC step-down conversion. However, connecting the part fan proved to be more challenging due to its PWM-driven design. I'm using an SKR control board and have successfully managed to connect the fan via custom firmware in Marlin 2. To minimize noise, I've implemented two key settings: 1. Enabling soft PWM reduces noise significantly. 2. To adjust the maximum spin speed from 5V to 12V, I've set the FAN_MIN_PWM to 50 and FAN_MAX_PWM to 128.
With this file you will be able to print Creality Ender 3 hotend and part 80mm fan duct and mount with your 3D printer. Click on the button and save the file on your computer to work, edit or customize your design. You can also find more 3D designs for printers on Creality Ender 3 hotend and part 80mm fan duct and mount.
