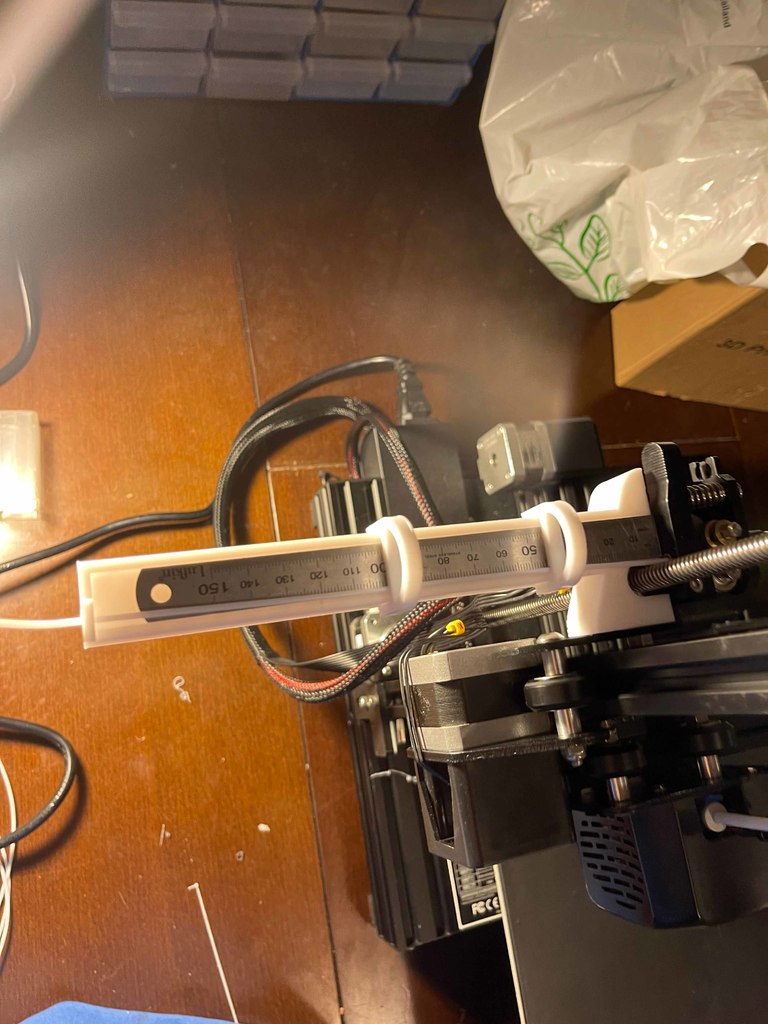
Creality / Ender 3 ESTEP's Ruler Mount
thingiverse
Here's a mount I designed to allow for easier marking of filament for E-Steps calibration. Background / why this was made - I have a lack of motor function (hand function), my left is worse than my right, so being able to hold the filament, a ruler and mark accurately is virtually impossible. So I made this! People some have requested I upload it, so here it is! HOW TO USE - 1. Place steel rule in the groove (designed for 180mm long x 15mm wide steel rule) 2. Place the mount on the motor mount and slide the steel rule up against the idler arm on the extruder 3. Pull and place the filament in the end clip 4. Place the clips along the steel rule mount ensuring the filament is in the cut out on the clips. Place one at 150mm and one at 100mm, I also recommend one at 50-20mm'ish however this isn't to be marked (The clips serve two purposes, 1. they allow for accurate marking when aligned correctly i.e at 100 and 150mm. 2. they keep the filament nice and straight.) I recommend 3 clips however 2 work. 5. Make the filament at 150mm and 100mm 6. Remove the mount and clips and extrude 100mm of filament, DO NOT TRY AND EXTRUDE WITH THE MOUNT IN PLACE. 7. See how much filament was extruded and adjust esteps accordingly. (Will add how to do this later) Would like to hear your feedback on this accessory.
With this file you will be able to print Creality / Ender 3 ESTEP's Ruler Mount with your 3D printer. Click on the button and save the file on your computer to work, edit or customize your design. You can also find more 3D designs for printers on Creality / Ender 3 ESTEP's Ruler Mount.
