Creality CR10s extension beautification
thingiverse
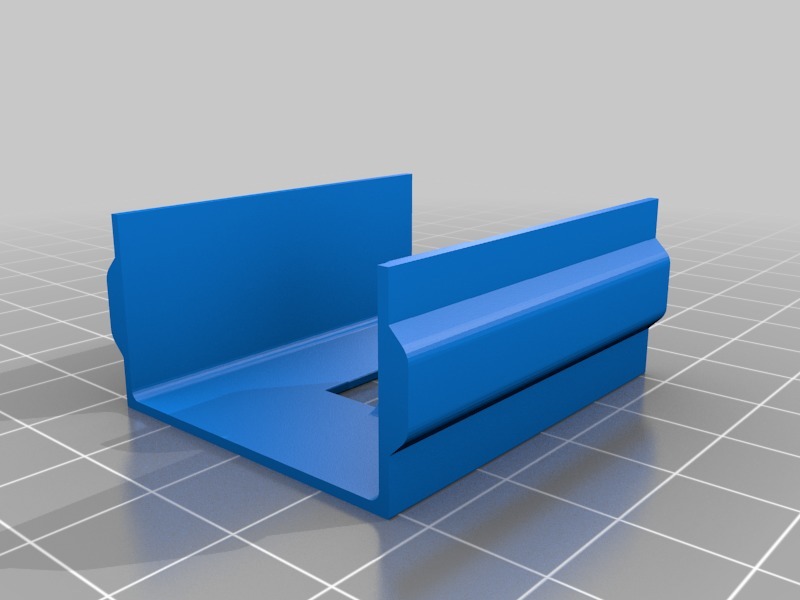
I have had my Creality CR10S printer for over six months now, and I've been dragging it around the house with me constantly. So, I finally decided to get rid of that external control box once and for all. I chose to elevate the frame and design an underframe to hold all the electronics in place. The power supply will be mounted on the right-hand side at the back. The controller will be situated on the left-hand side at the back. I also plan to install a fan along the extrusions that run from front to back. This project is focused solely on giving my printer's exterior a fresh new look. It involves some parts used for powering and controlling the heated bed, which operates at 230 volts. These components include real 230-volt connectors to ensure safe operation. Additionally, there are parts with pre-drilled holes for cables such as those connecting the Z and Y motors, endstops, and other vital components. One design features one tie-wrap, while another design accommodates two tie-wraps to secure moving cables like the X motor safely in place.
With this file you will be able to print Creality CR10s extension beautification with your 3D printer. Click on the button and save the file on your computer to work, edit or customize your design. You can also find more 3D designs for printers on Creality CR10s extension beautification.
