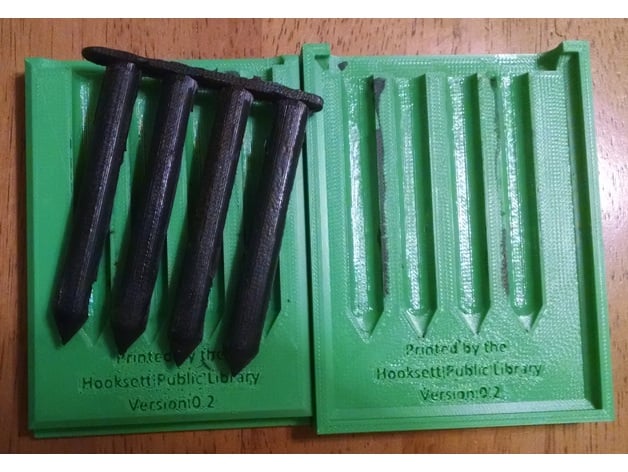
Crayon Mold
thingiverse
This is a two-part crayon mold that comes together like a snap, held securely by one or two rubber bands. Heat up your crayon bits until they're soft, then pour them into the mold. Let it cool down completely, give the mold a few gentle taps, and pull it apart with ease. To get the best results, use nail polish remover to smooth out the crayon cavities, making it easier to extract the crayons later on. Check out the .pdf for the full step-by-step guide. Post-Printing Instructions Smooth Crayon Cavities To do this, you'll need some rubber gloves, a bottle of nail polish remover, and cotton swabs or paper towels. Simply rub the nail polish remover back and forth in each cavity until they're smooth. Use the rubber gloves to keep your fingers and nails safe from the harsh chemicals. Once you're done, rinse everything off with tap water and let it dry completely.
With this file you will be able to print Crayon Mold with your 3D printer. Click on the button and save the file on your computer to work, edit or customize your design. You can also find more 3D designs for printers on Crayon Mold.
