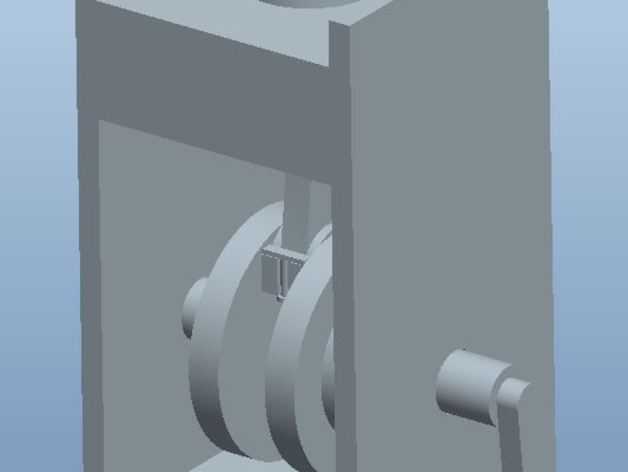
Crank & Piston Mechanism
thingiverse
The model is that of a simple crank and piston mechanism used in engines. The goal is to teach/learn how the mechanism works and optimize it to meet industrial demands. Post-Printing 3D assembly of the system How I Designed This Using CAD software, each part of the system was designed separately with standard engine dimensions. Once all parts were ready, the entire system was assembled. To avoid complications in design, a clip was made instead of using screws to join the connecting rod with its cap. Crank & Piston Mechanism Project Name: Optimizing the crank and piston mechanism Overview & Background: Every engineering design has possibilities for alteration when completed. A 3D model gives designers the chance to optimize their design, provide a cost-effective solution that can withstand more stress/pressure with less material, and have better life expectancy. Objectives: Each student will be able to propose a design with either less material but great strength or a possible design with more material but poor strength. The teacher must provide students with conditional boundaries of how much material can be used or how heavy the project can be. Students will gain a better understanding of converting rotational movement into reciprocating movement. Audiences: This can be used to teach high school students or engineering students in their early stages of learning. Subjects: Physics and particularly for engineering (automotive and mechanical). Skills Learned (Standards): Lesson/Activity: 1) A frame to hold the mechanism 2) A piston 3) Piston pin 4) Connecting rod 5) Connecting rod cap 6) 2 screws/clips to hold the rod and cap together 7) Crank Duration: A week's time for a group of three or a month for a single student to design, optimize the system, and 3D print. Preparation: Students should be aware of exact dimensions to avoid direct contact between crank and piston. This will ensure the rotational movement of the crank is not interrupted. References: Rubric & Assessment: Criteria that can be followed: 1) The combined height of the entire system when the piston is at its highest possible position should not exceed 30cm. 2) Smooth motion of the crank and the piston. 3) Easy assembly and disassembly. 4) The connecting rod (attached to its cap) should withstand a good amount of tensile stress (limits can be set as per teacher's requirements). Handouts & Assets:
With this file you will be able to print Crank & Piston Mechanism with your 3D printer. Click on the button and save the file on your computer to work, edit or customize your design. You can also find more 3D designs for printers on Crank & Piston Mechanism.
