Crank Brothers cleat install template
prusaprinters
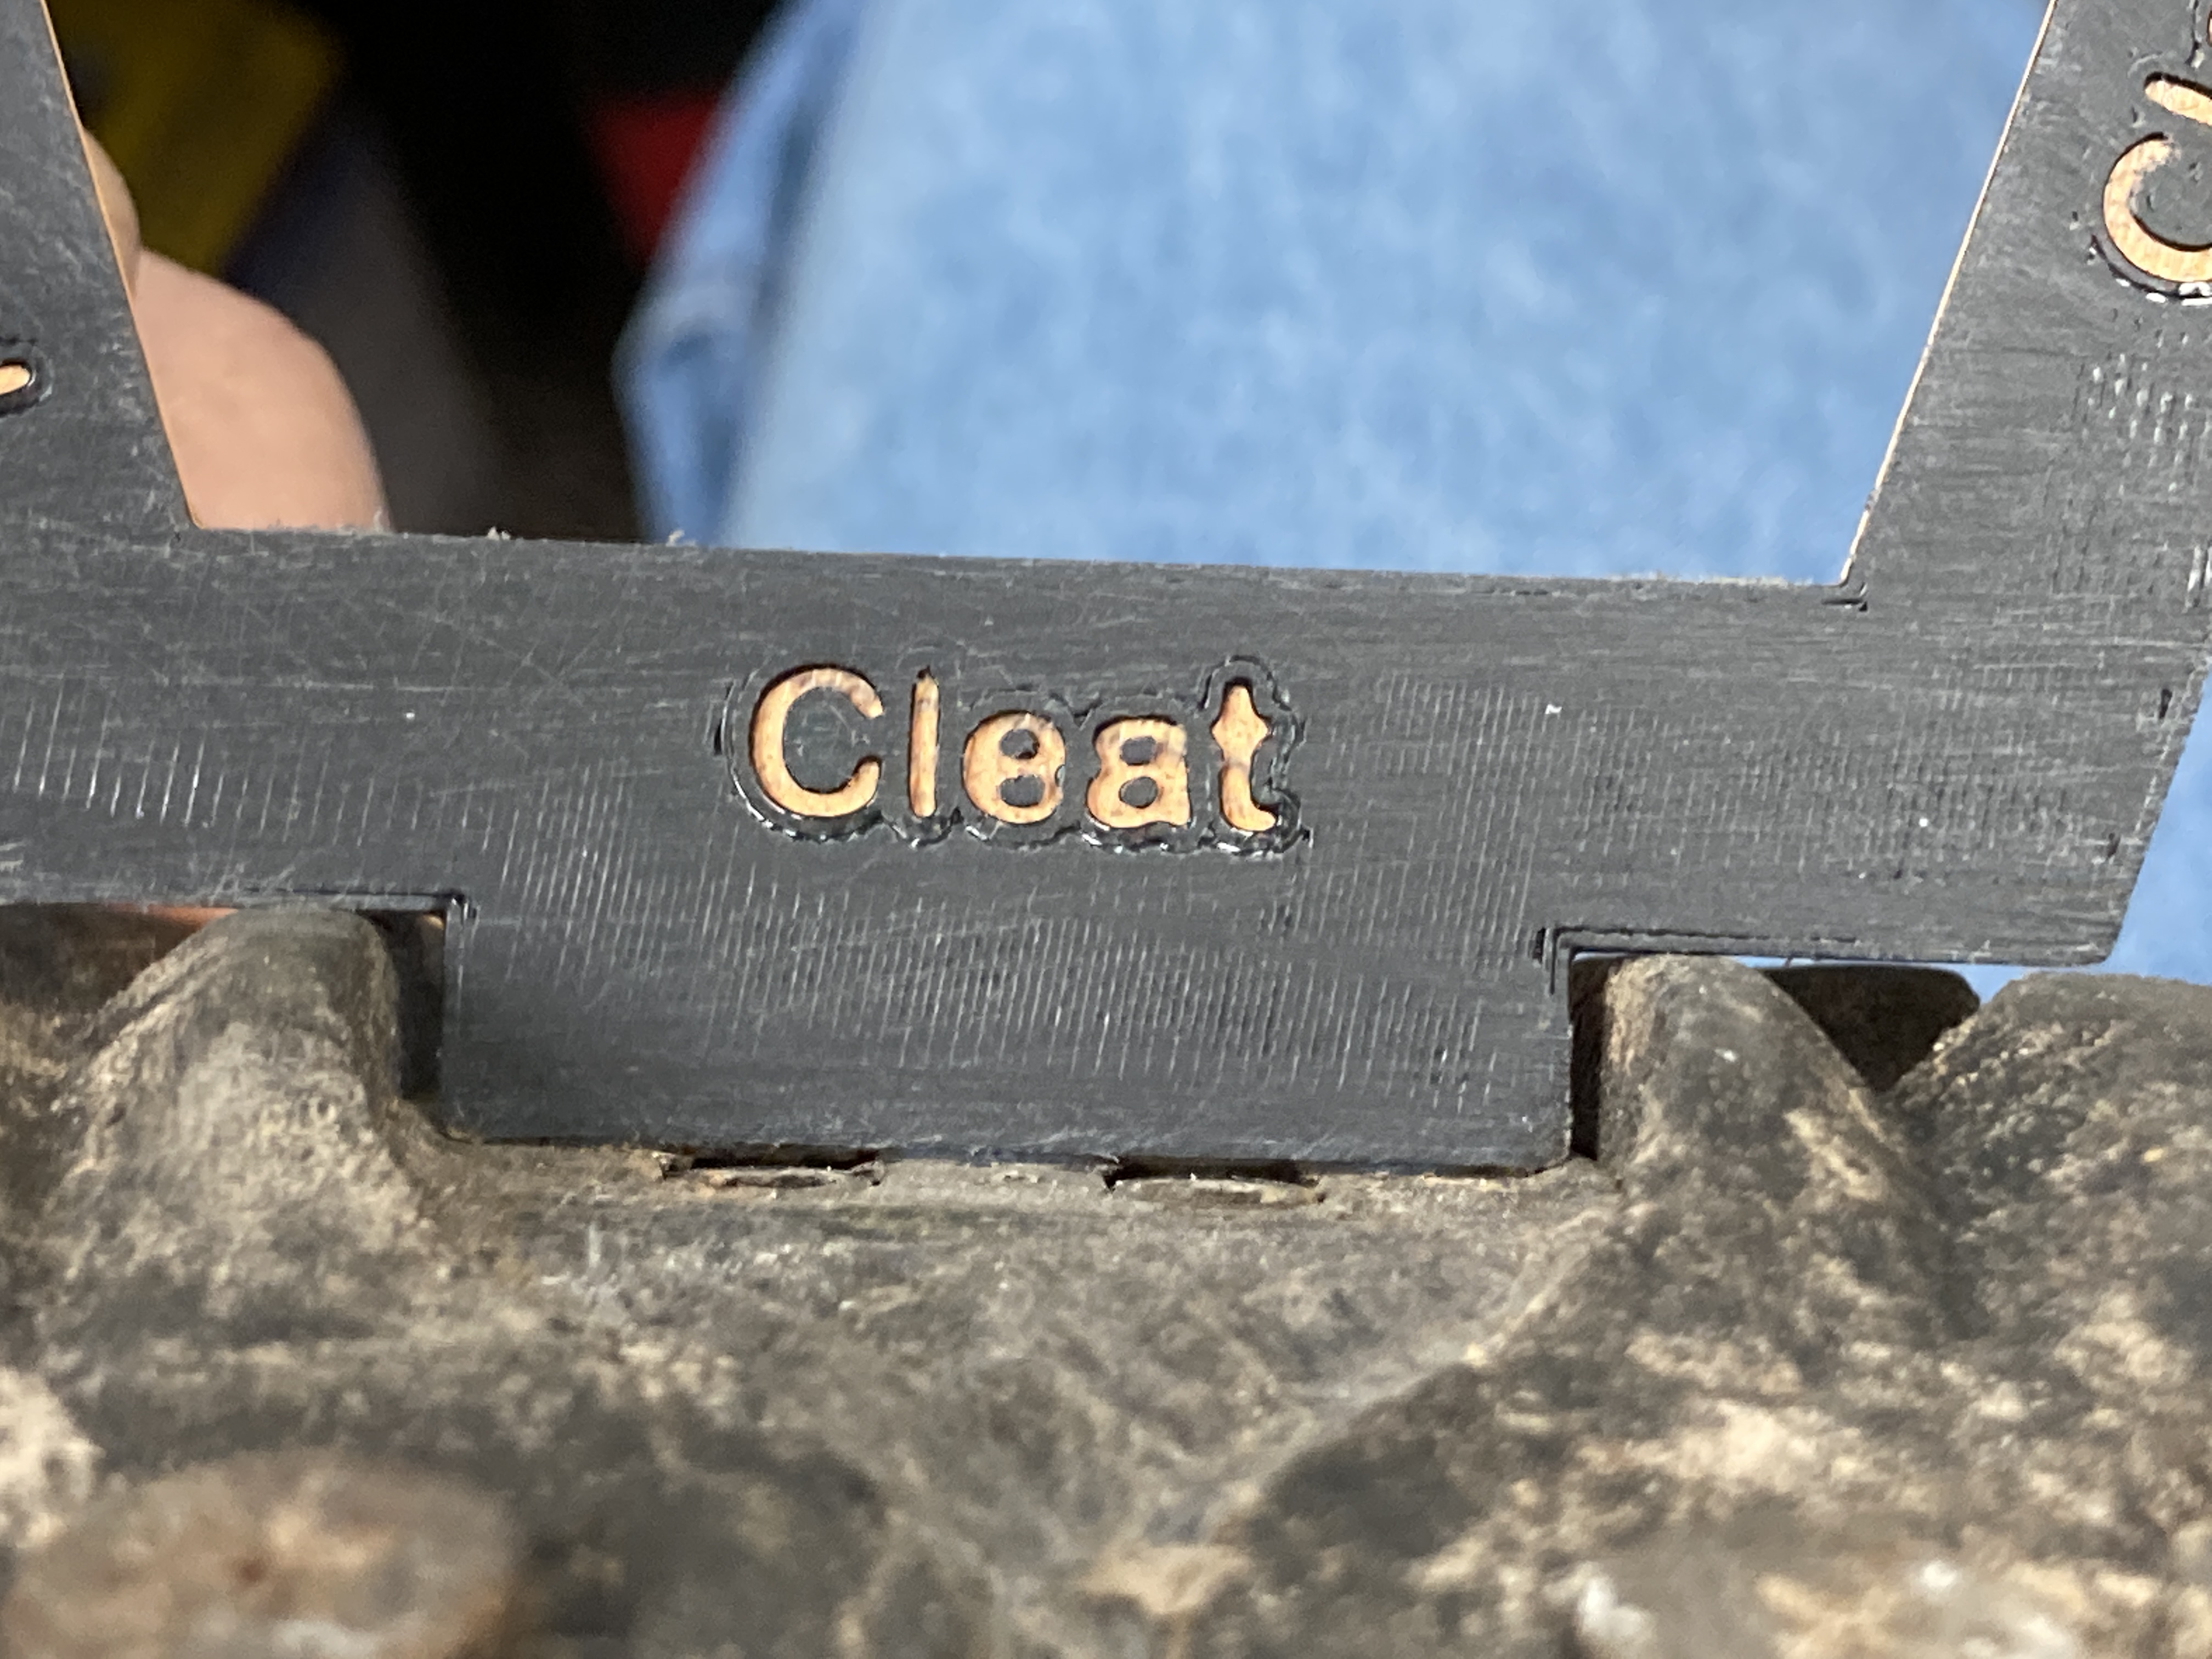
<p>The printed instructions that is included with Crank Brothers premium cleats includes a template that can be cut out to measure the depth from the legs on MTB shoes to the cleat mounting surface. This measurement can then be used to determine how many spacers should be used under the cleats in order to ensure proper function of the pedals.</p><p>A paper cutout is easy, but it's a bit flimsy and not so great for accurate measurements, so if you do this often, a printable template is going to work better. I've got two versions - one is a direct copy of the paper template, and another is slightly more minimal without the branding leg of the larger one.</p><p>Looking at the photos, you can see the side marked “Cleat” fits against the cleat mounting surface and just touches the shoe lugs as well, so on this shoe Crank Brothers would recommend installing the cleat directly to the shoe. If it fit “Cleat +1” then you would install the cleat with one spacer underneath. If it fit “Traction pad” then you should add the traction pads (cylindrical rubber spacers) onto the pedal body to ensure good contact between the shoe lugs and the pedal body.</p>
With this file you will be able to print Crank Brothers cleat install template with your 3D printer. Click on the button and save the file on your computer to work, edit or customize your design. You can also find more 3D designs for printers on Crank Brothers cleat install template.
