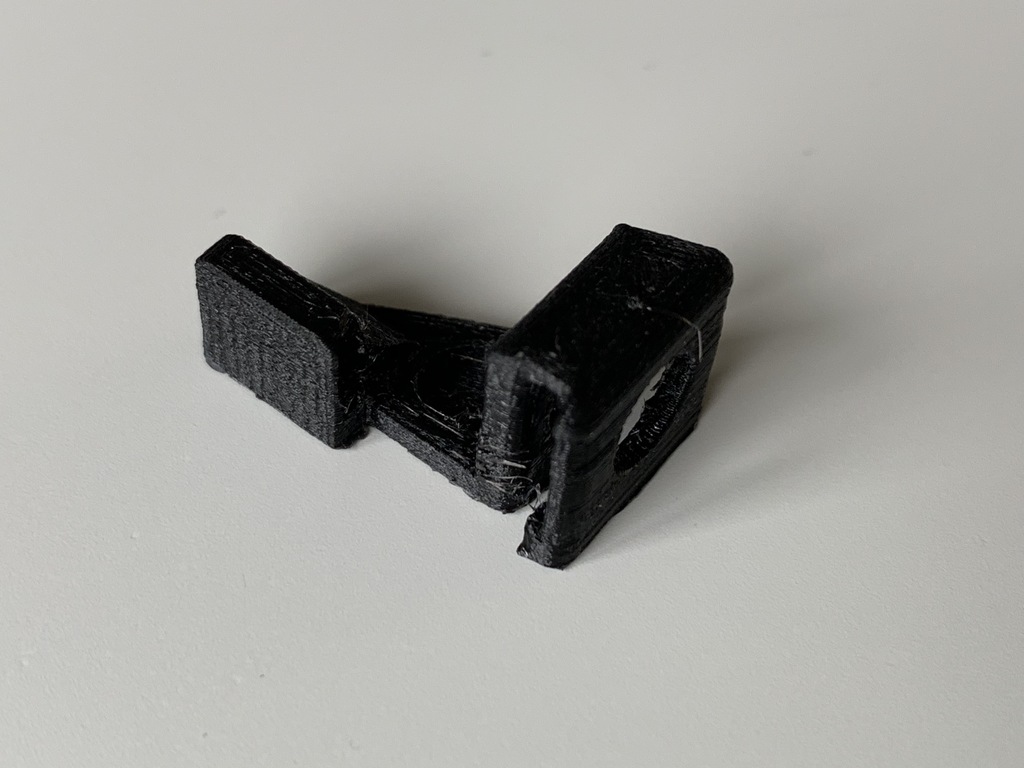
Craftunique CraftBot 3 Right Limit Switch Stop Plate
thingiverse
I received one of the first CraftBot 3 printers in the US last June, upgrading from my existing CraftBot 2+. The new printer impressed me with its system and ready print go features, though my Prusa MK3 at home still has an edge in reliability. I needed the multi-material capabilities and large print bed of the CraftBot 3, so I was thrilled to get it working. After about six months, however, a critical temperature reading error occurred on the second head. Replacing the thermistor and print head boards, courtesy of Createunique's support, resolved the issue temporarily. Yet, it became clear that someone had made an adjustment between production runs, affecting the new x-limit switch. This switch no longer contacted the stop plate when trying to find home. Using binder clips and lab tape for six months resulted in inconsistent multi-material prints until I designed a custom extension for the stop plate. Now, the printer finds home consistently and accurately every time. To create this extension, I used PETG from Craftunique, which required about 20 minutes to print with minimal cleanup. I chose 41% infill instead of my preferred 40%, as it was an oversight that didn't affect the outcome significantly. I'm including the Fusion file, STL model, and G-code for the CB3 (which uses PETG on head one) in case others have encountered this issue or can provide insight into how to avoid it in future prints.
With this file you will be able to print Craftunique CraftBot 3 Right Limit Switch Stop Plate with your 3D printer. Click on the button and save the file on your computer to work, edit or customize your design. You can also find more 3D designs for printers on Craftunique CraftBot 3 Right Limit Switch Stop Plate.
