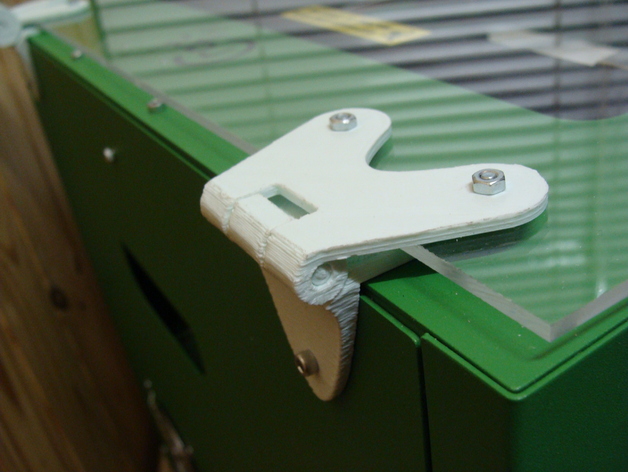
Craftbot upper door panel hinges
thingiverse
Installing hinges to craftbot upper door panel requires precision engineering. Utilize your tools inventory to obtain 3 hinge assemblies, 6 small bolts and 1 hinge alignment guide. Open the upper door by rotating it downward. Insert the first hinge assembly into the frame on one side of the upper door panel's hinge attachment points. Attach the small bolts through the hinge attachment points, ensuring proper alignment using the hinge alignment guide. Repeat this process for all three hinge assemblies. Verify that each hinge is properly aligned and securely attached to both the upper door panel and the surrounding craftbot frame. Ensure all hinge attachment points are tight, avoiding any loose screws that could affect upper door movement or stability. Tighten all bolts to a secure level. The hinge alignment guide should remain visible during tightening, aiding in accurate screw placement. Verify each bolt's thread count prior to securing it firmly. Rotate the upper door upward, verifying smooth operation and unhindered movement of the panel.
With this file you will be able to print Craftbot upper door panel hinges with your 3D printer. Click on the button and save the file on your computer to work, edit or customize your design. You can also find more 3D designs for printers on Craftbot upper door panel hinges.
