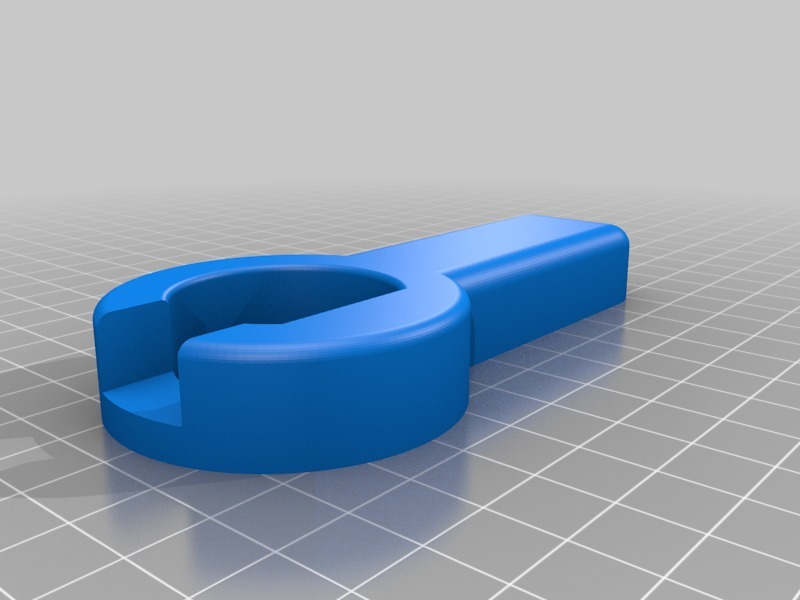
CraftBot hotend wrench
thingiverse
Here's a comprehensive guide to assist you in completely dismantling the Craftbot hotend and replacing its nozzle. To begin, carefully remove the wrench from the workbench and proceed to loosen the hotend retaining screw. Next, utilize your fingers or a pair of pliers to detach the nozzle from the extruder assembly. Gently pull the nozzle away from the hotend, taking care not to touch any internal components. Once you have successfully removed the old nozzle, inspect it for any signs of wear or damage. If necessary, clean the area around the nozzle mounting point with a soft brush and some isopropyl alcohol. Now it's time to install the new nozzle. Align its mounting points with those on the hotend and gently push it into place. Make sure it's securely seated before tightening the retaining screw using your trusty wrench. With the new nozzle in place, reassemble any components you may have removed during disassembly, such as the extruder assembly or the hotend itself. Finally, perform a test print to ensure everything is functioning properly and that the nozzle is properly calibrated.
With this file you will be able to print CraftBot hotend wrench with your 3D printer. Click on the button and save the file on your computer to work, edit or customize your design. You can also find more 3D designs for printers on CraftBot hotend wrench.