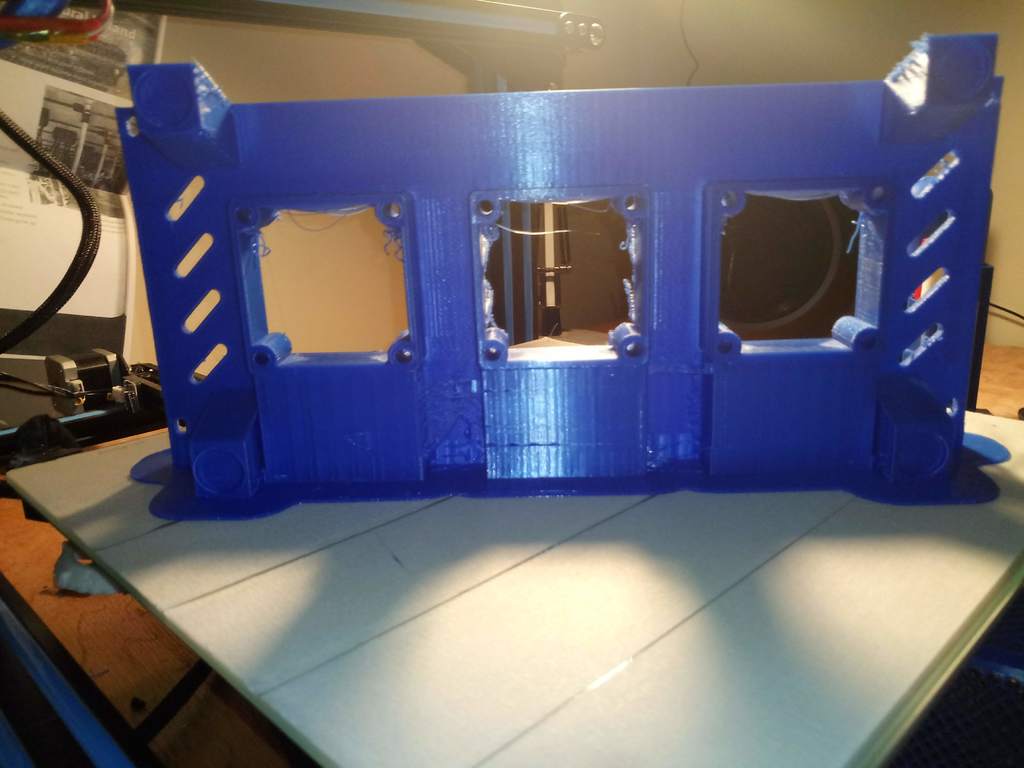
Cr10/Cr10S Controller Box plate with feet (Improved cooling and noise levels (60mm x3 fans)
thingiverse
I upgraded the fans in my printer, but I wasn't happy with how quiet the power supply unit was after replacing its fan. It was almost as loud as it was when it came stock. To fix this issue, I bought a 3-pack of 60mm fans that run at about 17db and are suitable for replacement in the power supply unit. I chose ABB fans found on Amazon because they were affordable and met my requirements. This upgrade works great with Noctua fans, but I couldn't afford them. To complete this project, you'll need M3/M4 nuts and bolts. It's essential to remove the power supply cover in addition to the controller bottom for optimal cooling results. When working on the power supply unit, unplug the mains lead and leave the switch turned on to discharge any electricity. After that, turn off the PSU and double-check all wiring. Poor wiring and mistreatment of electricity can be fatal. I wired my fans directly to the power supply unit's fan socket or outlet (12V), as needed. Inside the controller box, there's a 50mm fan blowing air onto the LCD screen, but it's obsolete after this modification. I left mine installed but rotated it 180 degrees to direct airflow towards the back of the box. You can also glue in place the original feet to elevate the box if desired. The model includes my remix with and without vents, available in .stl and .3mf formats. I'd love to see your creations; thanks for taking a look!
With this file you will be able to print Cr10/Cr10S Controller Box plate with feet (Improved cooling and noise levels (60mm x3 fans) with your 3D printer. Click on the button and save the file on your computer to work, edit or customize your design. You can also find more 3D designs for printers on Cr10/Cr10S Controller Box plate with feet (Improved cooling and noise levels (60mm x3 fans).