CR-6 SE Hot End Intake
prusaprinters
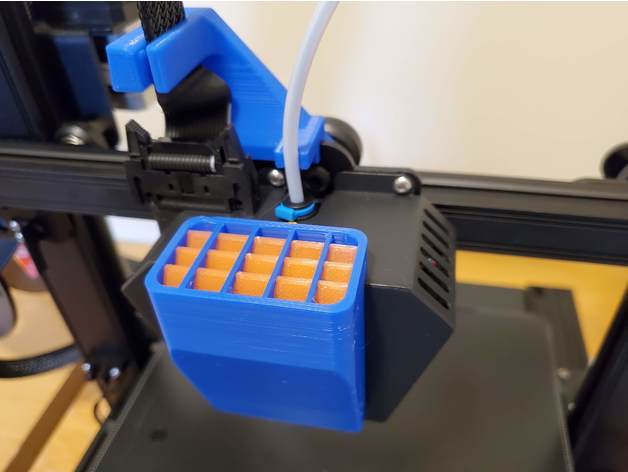
<p>Inspired by <a href="https://www.thingiverse.com/thing:4617911">3Deth's</a> and <a href="https://www.thingiverse.com/thing:4645491">RICBRU's</a> work, I've designed my own CR-6 SE air intake with two-tone air deflectors.</p><p>I'm not sure if this surpresses any noise...it's just designed to look cool while redirecting the vent to pull colder air from above the hot end (rather than hot air from below).</p><p>You'll need one intake and three deflectors. The intake prints upside down and doesn't require supports. I printed it with 0.2mm layers and 10% infill.</p><h3>Magnets</h3><p>The intake is attached with four 5x3mm magnets (I got mine from <a href="https://www.amazon.com/?linkCode=ll2&tag=thingiverse09-20&linkId=e4759bff1fa9a55a0f897d801ce2d765&language=en_US&ref_=as_li_ss_tl">Amazon</a>).</p><p>Since dimensional accuracy varies from printer to printer, there are three versions of the intake with different-sized sockets for the magnets. Print the Magnet Test file to test-fit your magnets, and choose the corresponding intake.</p><ul><li>I = 5.1mm socket</li><li>II = 5.2mm socket</li><li>III = 5.3mm socket</li></ul><p>I used 5.2mm, but the magnets have a tendency to pop out when I remove the air intake. If I printed it again, I'd use the 5.1mm version.</p><h3>Post-printing</h3><p>The deflectors press-fit into the intake from the inside. When installed, the very tops of the deflectors should be parallel to the top of the intake (not perpendicular) so that they fit as tightly as possible into the cutouts and leave no gaps.</p><p>Press-fit the the magnets into their sockets, and you're good to go.</p>
With this file you will be able to print CR-6 SE Hot End Intake with your 3D printer. Click on the button and save the file on your computer to work, edit or customize your design. You can also find more 3D designs for printers on CR-6 SE Hot End Intake.