CR-30 Linear Rail Mod
thingiverse
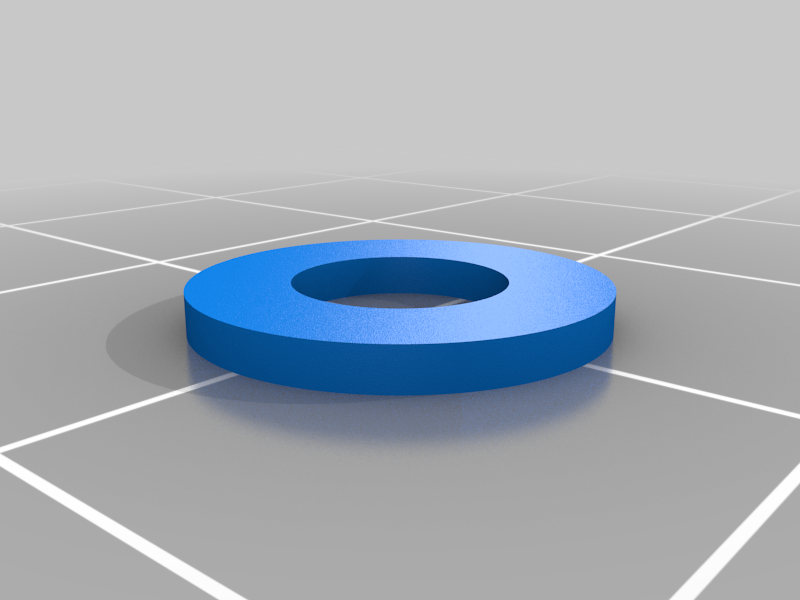
This is my take on the linear rail mod for the CR-30. I did not find one that I liked, so I made my own. This mod does not require the alteration of any of the stock parts. So, it is 100% reversible. Another benefit of this mod over others is, you should not have to relevel or alter/move your endstop(s). It is also one of the cheaper mods and requires no special tools (i.e., drill, tapping bits, etc..) <h2>Purchased items:</h2> MGN12H 300mm Linear Rail (https://www.amazon.com/gp/product/B07SN6MT6T) (2) MGN12H 350mm Linear Rail (https://www.amazon.com/gp/product/B097C1BH2K) M3x8 socket head screws (for linear rail mounting) (12) M3x6 button head screws (for linear rail carriage attachment) (12) M3 washers (for linear rail carriage attachment) (12) M3 lock washers (for linear rail carriage attachment) M3 V-Slot nuts (for linear rail attachment) (12) M5x55mm (12) M5 Washers (12) M5 Nylon Lock Nut (should already have these from removing v-slot wheels) <h2>Printed Parts:</h2> (2) Y-Axis Linear Brackets (STL supplied) X-Axis Linear Bracket (STL supplied) (12) 37mm M5 Spacers (STL supplied) I used the 13mm diameter, but supplied a 10mm diameter as well MGN12 Linear Rail 2010 alignment tool (Do a search, you will find some) MGN12 Linear Rail 1010 alignment tool (Do a search, you will find some) <h2>Y-Axis Installation Directions:</h2> You do not need to remove any belts for this installation. The tension of the belts will keep the bracket in place once the v-slot wheels are removed. Carefully remove all V-Slot Wheels, one at a time. Keep Washers and Nylon Lock Nuts for later. Install MGN12 rail with printed alignment tools, M3 machine head screws, and M3 v-slot nuts. Install bracket onto MGN12H carriage using M3 button head screws, M3 Lock Washers, and M3 washers (respectively). Slot in bracket should point towards printer base. Align printed and original bracket. One at a time, use the M5 Screws, washers, nylon lock nuts, and printed spacers to connect the two brackets together. Order should be M5 Screw, M5 Washer, Printed Bracket, Spacer, Original Bracket, Washer, nylon lock nut. Do this for all mounting points. Tighten them a bit at a time, doing opposite corners then moving to the next set. this will hopefully ensure that the bracket is attached straight Repeat the steps for the second Y-Axis bracket. <h2>X-Axis Installation Directions:</h2> Follow the directions in this video (https://youtu.be/E7SOlJCnLEw), up to the point of installing the linear rail. Also, DO NOT drill the hot end carriage. Install the linear rail onto the back (opposite of hot end bracket) of the extrusion using M3 screws and linear rail alignment tools. Align printed and original bracket. One at a time, use the M5 Screws, washers, nylon lock nuts, and printed spacers to connect the two brackets together. Order should be M5 Screw, M5 Washer, Printed Bracket, Spacer, Original Bracket, Washer, nylon lock nut. Do this for all mounting points. Tighten them a bit at a time, doing opposite corners then moving to the next set. this will hopefully ensure that the bracket is attached straight Return to video to complete reassembly. Feel free to ask me any questions you might have. The attached STL(s) are of my own making and design. This is not a remix or a copy.
With this file you will be able to print CR-30 Linear Rail Mod with your 3D printer. Click on the button and save the file on your computer to work, edit or customize your design. You can also find more 3D designs for printers on CR-30 Linear Rail Mod.
