CR-10S PRO Z TIMING SYNC
thingiverse
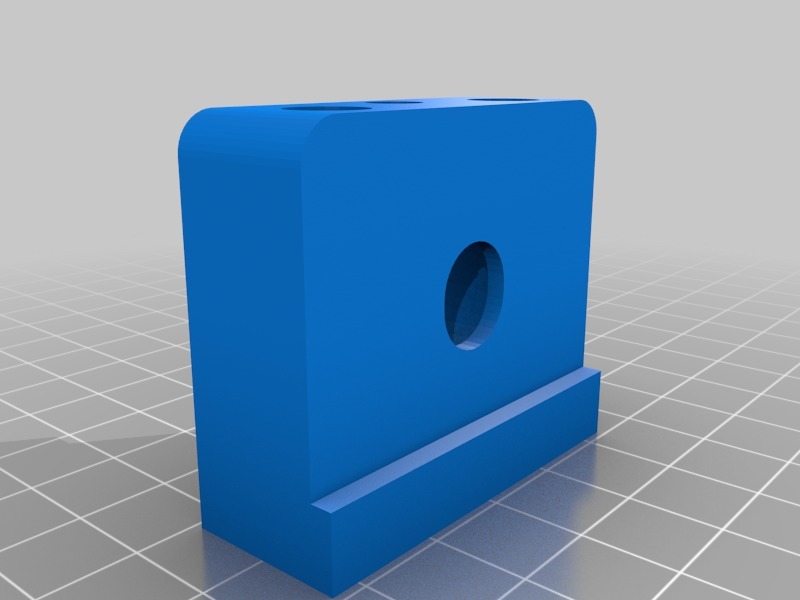
I created this project to synchronize the two lead screws on my CR-10S PRO, ensuring that printing height is maintained without having to adjust the steppers. To accomplish this, you will need: 1. A print of Z Axis Timing Belt Mod A or B 2. A print of Z Axis Timing Belt Mod A or B Reverse (either use the provided STL file or mirror it yourself) 3. A 76 cm GT2 Timing Belt - 2GT 760mm 380T 4. Two 20 Teeth GT2 Pulleys - 20T W6 B8 I am uploading both the design I installed and a newer version that provides easy access to both set screws. However, I have not printed the new design or completed reassembling my printer for testing purposes, so I'm leaving this as a work-in-progress for now. This project should be relatively straightforward to assemble, with most components going back together in the same way as the original OEM part. If you choose to use Z Axis Timing Belt Mod A, you'll need to attach everything, align one pulley's set screw with the small hole on the front to tighten it, and then detach and lower the mod to access the second set screw. Once you've done that, reattach the mod to the printer in its original position. If you opt for Z Axis Timing Belt Mod B, this step should be unnecessary. The recommended print orientation is shown in the second photo. If you decide to try out this project, please let me know how it works for you. I'll update this post once I've had a chance to thoroughly test it.
With this file you will be able to print CR-10S PRO Z TIMING SYNC with your 3D printer. Click on the button and save the file on your computer to work, edit or customize your design. You can also find more 3D designs for printers on CR-10S PRO Z TIMING SYNC.
