CR-10S Pro Z Sync Stepper Lift Mounts
thingiverse
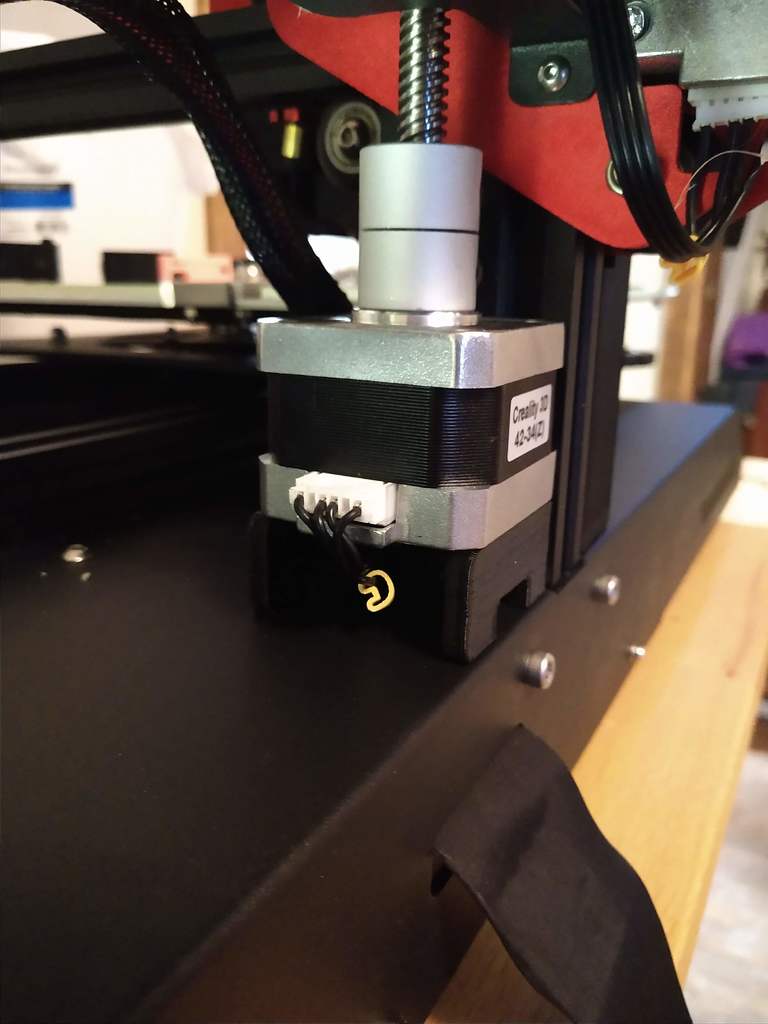
Synchronize your CR-10S Pro Z Axis steppers without sacrificing print capacity or risking damage to your printer! **Edit 3/3/19:** By request, I've added V2_Beta (untested at this point) to enable socket head cap screws for mounting the stepper motor to the lift mount. This involved increasing the counterbore from 5.5mm to 6.25mm and shrinking the holes used to attach the lift to the 2040 uprights from 5mm to 4mm due to clearance issues. Please comment if you try this version so I know it works or not, as I won't be testing it. After installing the Z Timing Belt Sync (https://www.thingiverse.com/thing:3387741), I noticed a reduced overall Z height. The X carriage would hit the bearing block since it was lower than the stock one. This reduced my overall printing height by 23mm to 377mm, which doesn't seem like much, but I paid for 400mm! I'm glad I caught this before deciding to print a tall model. To work around this issue, I designed a lift mount that replaces the stock Z stepper mounting plates. No permanent modifications are required to fit these lift mounts. The lead screws will be raised and the timing belt will ride above the top rail of the printer, so ensure you don't have anything mounted on the top rail that will get in the way. **Parts List:** * 2x - Stepper Lift Mounts * 4x - 3x30mm screws * 4x - 3mm washers * 4x - 3mm T-Nuts If you haven't already installed the timing belt Z sync, you'll also need: * 2x - 20T 6mm width, 8mm bore GT2 pulleys (https://www.amazon.com/gp/product/B077GMKW1C/ref=ppx_yo_dt_b_asin_title_o02__o00_s00?ie=UTF8&psc=1) * 1x - 760mm x 6mm width GT2 Timing Belt (https://www.ebay.com/itm/GT2-Timing-Belt-Fiberglass-Reinforced-Width-6mm-Pitch-2mm-for-3D-Printer-CNC/152834326397?ssPageName=STRK_1_X_XTRC_X_S4_Q0_T0_HX&var=&trkparms=algo%3DLISTING_PROMPT_X_S4_Q0_T0_HX%26itu%3DSingleVariation%26pmv%3Dmsg2%26sbcc%3DFalse%26aid%3D1110007) **Installation Instructions:** 1. Install the lift mount to the stepper using 3x30mm screws. 2. Place 3mm washers onto the 3x16mm screws from the original mount and run them through the mounting holes, loosely installing 3mm t-nuts onto the screws. 3. Slide the stepper into place, ensuring t-nuts are oriented properly to engage with the rails. 4. Begin tightening 3mm screws, ensuring t-nuts engage with the upright properly. 5. Run the lead screw back into place and sit it on top of the stepper shaft, adjusting the mount until the lead screw is centered on the shaft. 6. Finish tightening 3mm screws to secure the mount. 7. Run wiring through the wiring pass-through in the side of the lift mount and plug the stepper in. 8. Perform the same procedure for the opposite side. **Important!** Applies to the left side of the printer only: If you completely removed the lead screw coupler, slide it back onto the stepper shaft but don't tighten the set screw yet. If it's still installed, loosen the set screw and allow it to slide all the way down and rest on the stepper. 9. Lower the X carriage so that your nozzle is sitting on the print bed, paying close attention to the black metal cover over the extruder wiring. 10. Slide the coupler up, leaving a little room between it and the metal cover. 11. If you had already installed the Z axis timing sync modification, relocate the top bearing mount to the top rail or reinstall the OEM mount. 12. Reinstall the lead screw and tighten the set screw in the coupler. You should now have plenty of lead screw above the bearing block to install GT2 pulleys and timing belt.
With this file you will be able to print CR-10S Pro Z Sync Stepper Lift Mounts with your 3D printer. Click on the button and save the file on your computer to work, edit or customize your design. You can also find more 3D designs for printers on CR-10S Pro Z Sync Stepper Lift Mounts.