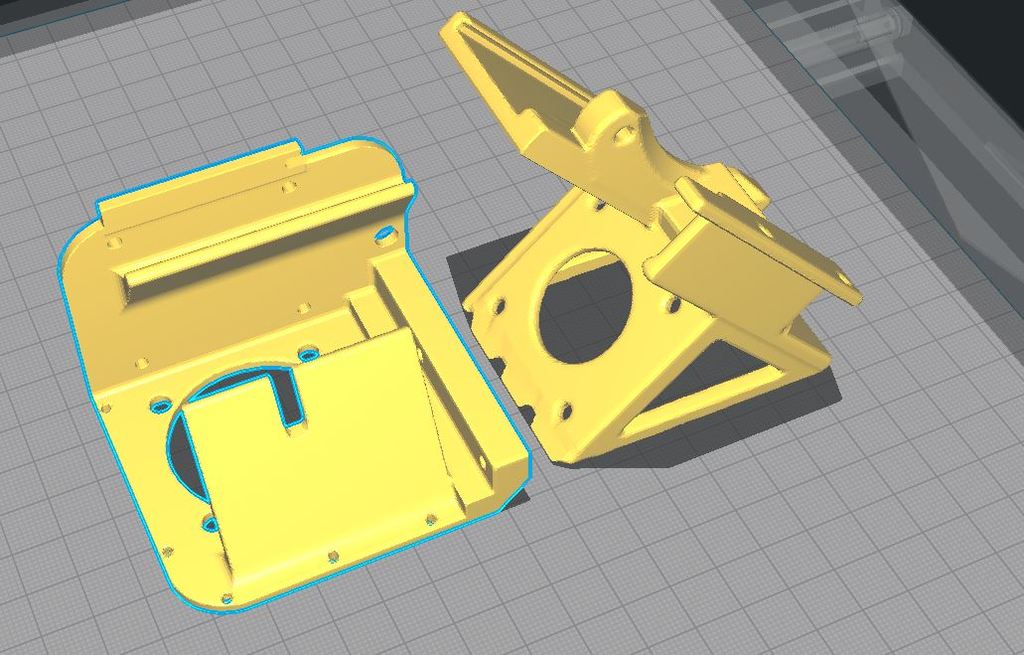
CR-10s PRO V2 Direct drive converstion
thingiverse
Restructured with back plate clip and front clip, tightened up a bit, but significantly better than before. Removed cable tie bracket as it hindered the forward cables needed to run across the stepper motor. Printed almost all types of materials with this setup - TPU/PETG/PC/PET/ABS without issue, especially with TPU. Word to the wise: if you're experiencing start-up issues, your filament is probably damaged, cut it off and try again. If this is your first upgrade for the Pro V2, replace that fan shroud quickly. Here's my time-lapse video and assembly still shots: https://www.youtube.com/watch?v=qEjxJS8D-94&list=PL8nGOWCrCc7X23cVErwKekWdnxI3OaeU3&index=17&t=0s Also, for your fan upgrades: 12v + 12v = 24v. I wired in a 12v LED light on a Noc 12v 40/10 fan, just make sure to run them in series - positive to negative for those who don't know.
With this file you will be able to print CR-10s PRO V2 Direct drive converstion with your 3D printer. Click on the button and save the file on your computer to work, edit or customize your design. You can also find more 3D designs for printers on CR-10s PRO V2 Direct drive converstion.
