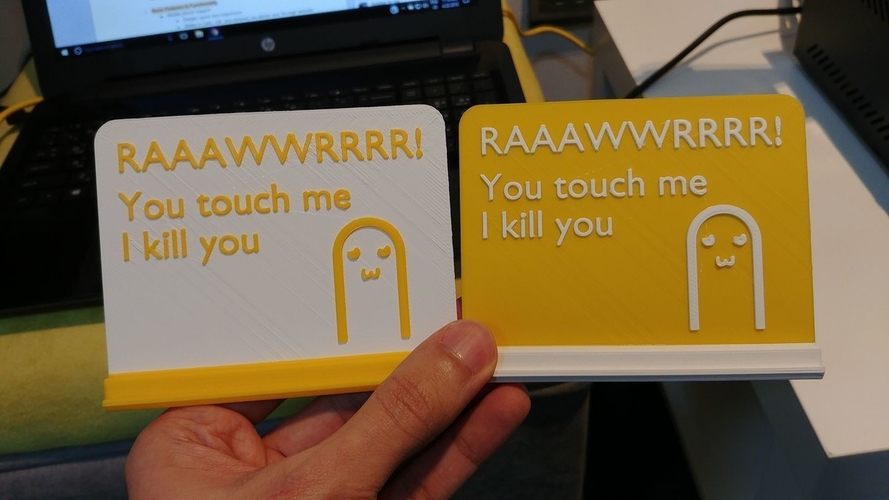
CR-10 Warning Sign
pinshape
This sign is tailored to fit perfectly on the CR-10's top rail, providing a seamless installation experience. To get it up and running, follow these simple steps: 1. Start by removing the screw located on the right side of the printer. 2. Next, carefully slide the sign into place along the top rail. 3. Finally, secure the sign with the screws you removed earlier.
Download Model from pinshape
With this file you will be able to print CR-10 Warning Sign with your 3D printer. Click on the button and save the file on your computer to work, edit or customize your design. You can also find more 3D designs for printers on CR-10 Warning Sign.
