CR-10 V2 Standalone
thingiverse
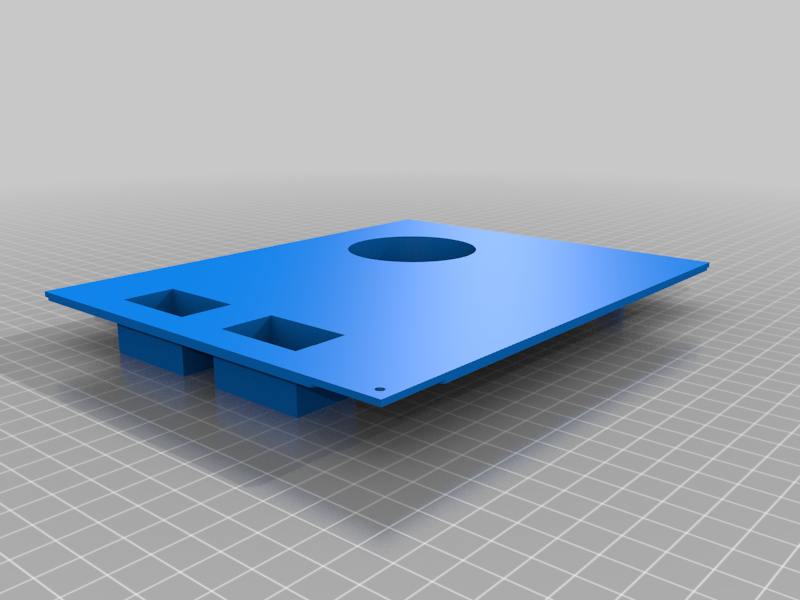
Standalone Enclosure for the CR-10 V2. The power supply and board fit perfectly Plug & Play, only the cables from the input connector to the power supply need to be extended. It is designed for a Raspberry Pi, 2x Relays, and a Stepdown converter. Used parts from me: 2x 120x120 fans that bring air into the enclosure. https://www.amazon.com/gp/product/B002KTVFTE/ref=ppx_yo_dt_b_asin_title_o07_s01?ie=UTF8&th=1 2x Relay switches for lighting and on/off control of the printer or other projects. https://www.amazon.com/gp/product/B07CNR7K9B/ref=ppx_yo_dt_b_asin_title_o06_s00?ie=UTF8&psc=1 1x Stepdown converter for fans 24V -> 12V. https://www.amazon.com/gp/product/B077VW4BTY/ref=ppx_yo_dt_b_search_asin_title?ie=UTF8&psc=1 M3; M4; M5 screws and T-NUTs. https://www.amazon.com/gp/product/B07CJD21R3/ref=ppx_yo_dt_b_search_asin_title?ie=UTF8&psc=1 1x Raspberry Pi 4. https://www.amazon.com/Raspberry-Pi-ARM-Cortex-A72-Bluetooth-Micro-HDMI/dp/B07TC2BK1X/ref=sr_1_3?__mk_en_US=%C5M%C5Z%C5d%C5%b8%C5f%C6&keywords=pi+4&qid=1580575506&s=computers&sr=1-3 1x Power supply for Pi. https://www.amazon.com/Raspberry-Pi-official-power-supply-Model/dp/B07TZ89BT7/ref=pd_aw_sbs_147_7?_encoding=UTF8&pd_rd_i=B07TZ89BT7&pd_rd_r=b51e5f36-90d4-430d-990e-6da5e5a5bf30&pd_rd_w=T3cyO&pd_rd_wg=oAYp2&pf_rd_p=c35e9330-5a0a-4f10-958d-98313df38778&pf_rd_r=JHK5XPWYND4XF13TT71C&psc=1&refRID=JHK5XPWYND4XF13TT71C 2x Cables for display. https://www.amazon.com/Extension-cable-connector-A1917/dp/B07D3DYHPR/ref=pd_day0_hl_107_7?_encoding=UTF8&pd_rd_i=B07D3DYHPR&pd_rd_r=ab11f60a-ef48-4fc2-a81a-703ac307b63e&pd_rd_w=TaFUV&pd_rd_wg=5kwpl&pf_rd_p=18fb0ab8-abcc-472e-885d-49de22bb68a7&pf_rd_r=QK2ZZZNM5293BA0P9WP3&psc=1&refRID=QK2ZZZNM5293BA0P9WP3
With this file you will be able to print CR-10 V2 Standalone with your 3D printer. Click on the button and save the file on your computer to work, edit or customize your design. You can also find more 3D designs for printers on CR-10 V2 Standalone.
