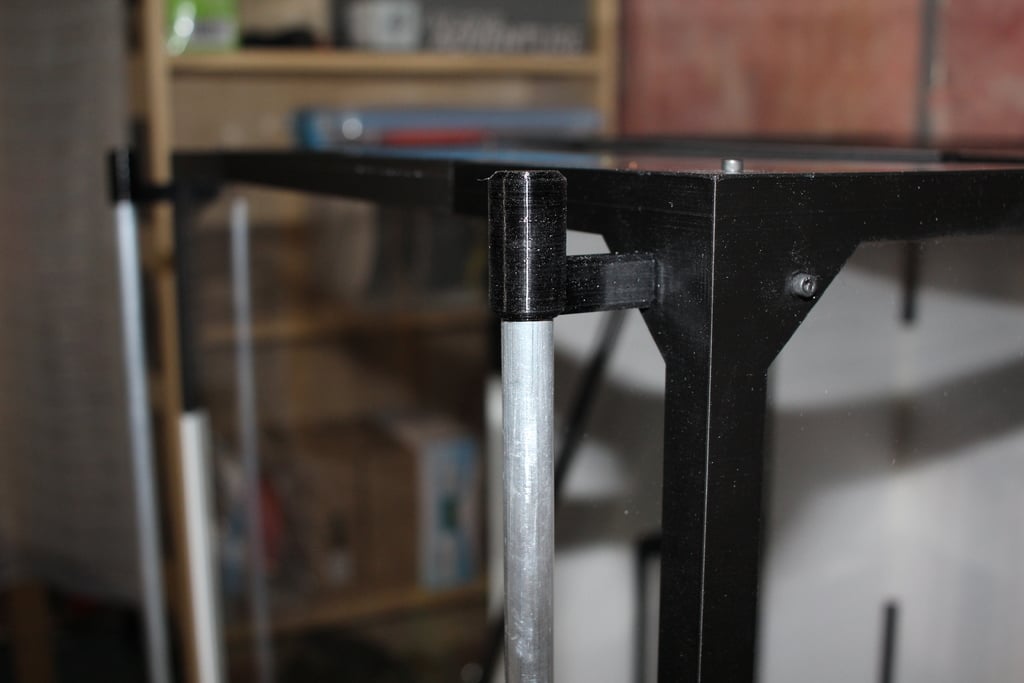
CR-10 table top enclosure frame
thingiverse
https://youtu.be/Ok9uSThp73A Update : 2019-07-15 1) Air filter / scrubber : https://www.thingiverse.com/thing:3749365 Update : 2018-03-12 1) 2 and 3 are 38mm short, uploaded correct files to match assembly guide Update : 2018-01-02 1) handle_washer and handle_bracket added, use 1/2 inch aluminum tube This enclosure is specifically designed for a CR-10 (printer only). I wanted to build an enclosure that's light, using printed parts and materials that are easy to work with. For panels you can use thin flexiglass, plywood, cardboard, foamboard, corrugated plastic, etc., or any combination. I used 2mm thick plexiglass for the panels. The panel slots are 3mm wide. I used 4mm thick foam board and corrugated plastic for the back sections, just had to squish the sides to make them fit. The enclosure can be enlarged by scaling the frames (not the corners). The two-section design allows for easy access of the print, distributing the weight and bulk for easy removal from the table. Before you start creating this thing, consider the following: 1) Where should I locate the controller box? 2) Are the cables long enough? 3) Will moving cables cause any issues? 4) Where should I put filament? 5) Is it big enough for my current setup and other mods? Materials: 1) Printed parts 2) Panels - your choice of material 3) Bolts and nuts - M4 or 6-32 (locking nuts recommended, those with plastic inserts) 4) Super Glue - gel type recommended 5) Foam sheets https://www.michaels.com/creatology-adhesive-foam-sheet/M10032002.html Assembly Tips: 1) Print a pin and test the fit, scale accordingly. 2) Tap the pieces in place, don't force them in. 3) Don't over tighten the bolt / nuts 4) Measure twice, cut/glue once 5) Be patient and enjoy the build process, don't rush to eliminate mistakes Assembly Overview: See PDF file and pictures for reference, scale in mm. 1) Using the pins, dry-fit the corners, frames and panels. 2) Confirm the dimensions 3) When satisfied with measurements, pull the frame/corner apart just enough to expose the pin, apply a dab of superglue and press the parts together. 4) Drill through the panels and bolt the panel to the frame, bolt latch where applicable 5) Cut foam sheets and stick at the bottom of sections and opening of back section 6) Cut opening for side access and install side access frame and door
With this file you will be able to print CR-10 table top enclosure frame with your 3D printer. Click on the button and save the file on your computer to work, edit or customize your design. You can also find more 3D designs for printers on CR-10 table top enclosure frame.
