CR-10 Smart Klipper Conversion
prusaprinters
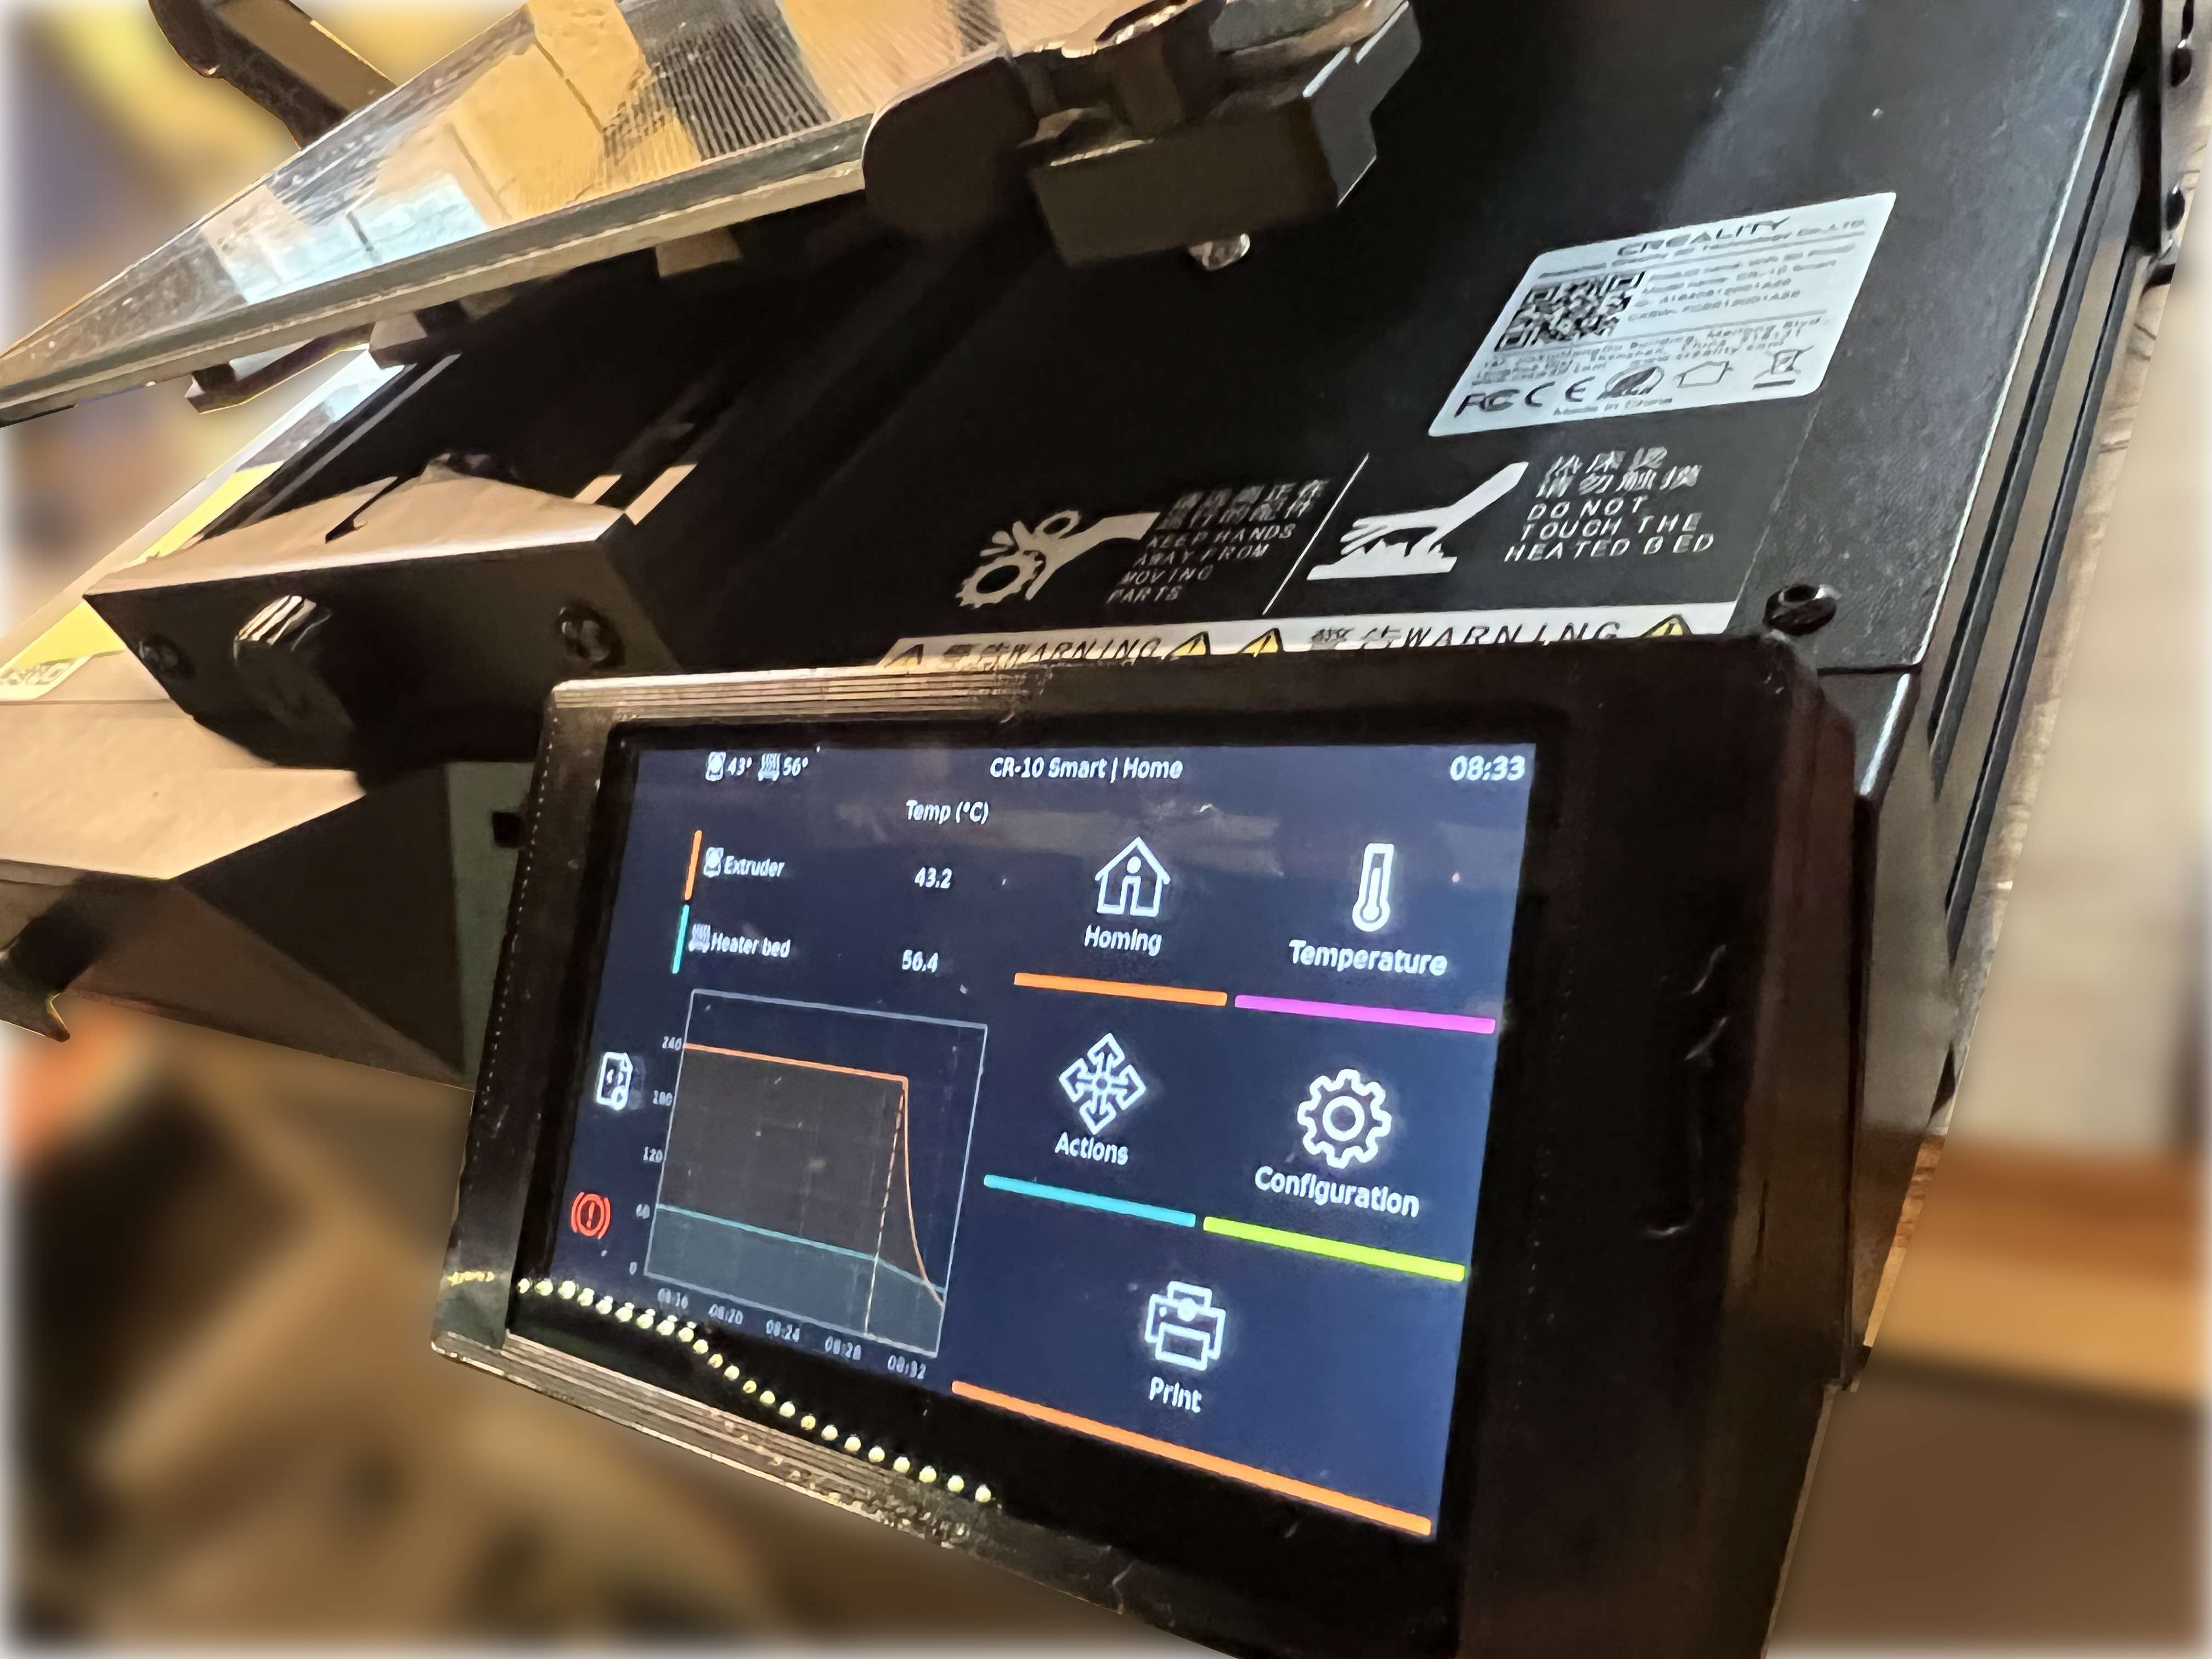
<p>The CR-10 Smart has its issues. But after a bunch of tinkering and fixing, I was able to eke out a reliable printer with a nice sized build plate. Specifically, I added a <a href="https://amzn.to/3MDBelv">MicroSwiss hot-end</a>, pretty much tightened every screw, and adjusted every eccentric screw. Also I installed a dual drive geared extruder because the extruder that comes with it is awful and needs an upgrade.</p><p>The last weak link was the firmware. I had originally hoped to try the <a href="https://damsteen.nl/blog/2021/03/27/creality-cr6-community-firmware-release-6-is-here">Community Firmware</a>, but it did not support the stock CRC-2405v1.2 mainboard that comes in the CR-10 Smart. So I ordered the (now discontinued) BTT SKR CR-6. They still had them in the Czech Warehouse, but they don't ship to the USA, so I had a friend re-ship. As you can imagine, this took a while.</p><p>While I waited, I started playing with Klipper, and liked what I saw. I decided to do a full conversion and keep the BTT CR6 board for a rainy day.</p><p>Install Klipper using the following guide: <a href="https://forum.3dprintbeginner.com/t/creality-cr-10-smart-klipper-firmware-with-internal-creality-box/124">https://forum.3dprintbeginner.com/t/creality-cr-10-smart-klipper-firmware-with-internal-creality-box/124</a> Compile the firmware for the CR-10's stock mainboard using the settings shown in the screenshot. The configuration file works pretty much out of the box, but you might need to tweak values a little if you have a different extruder.</p><p>You also need to <a href="https://damsteen.nl/blog/2021/04/24/connect-creality-cr-10-to-computer-or-octopi">re-route the USB connection to the mainboard from the Creality box to the internal micro USB</a>. I just used a short MicroUSB cable to go from this connector directly to the Pi. With some custom cabling, you could probably do away with this USB/power board entirely and go direct, but I didn't have the ambition to do that.</p><p>Parts:</p><ul><li>I chose a <a href="https://www.aliexpress.com/item/3256801084308737.html">BTT Pi TFT 43</a>, as it is similar in size to the stock Creality display. You'll need a longer ribbon cable.</li><li>I decided to use a <a href="https://amzn.to/3LAEFIj">5v power supply</a> attached to the AC power switch (I tapped one of the relay lugs through a small fuse, and the neutral lug from the 24v supply). This allows the Pi to boot without turning on the 24v supply, and keeps it running after the 24v supply is switched off by the software. You still need to press the button on the side of the printer to “kickstart” the 24v supply, so the relay is only good for shutdown in this configuration.</li><li>A Pi 3 that I had on hand. You can probably use any Pi-like thing you want within reason, if it has the same mounting holes.</li><li>Some connectors and wire and whatnot to hook it all up.</li></ul><p>3D Printed Parts:</p><ul><li>An <strong>internal mounting plate </strong>that holds the Pi and the Power Supply. Remove the Creality Box PCB. This plate is double-stick taped into place, but uses the standoffs for the Creality Box PCB to align in place. I also replaced the screws so that there's a mechanical backup to the double stick tape.</li><li>The <strong>display housing</strong> that holds the Pi TFT 43 display. I printed it with supports, but you might? be able to get away without them?</li><li>The <strong>bezel</strong> that snaps over the top just to pretty things up.</li></ul><p>Additional Notes:</p><ul><li>The Creality box has a Wifi and BT antenna mounted in front plastic face of the printer. I was worried that mounting the Pi inside (pretty much a metal box) would block the WiFi, but it seems to work for me. Your mileage may vary. I had considered a CM4 module or finding someone to add an antenna connector to my Pi (there are people on Etsy that do it) but since it works, I'm just leaving it.</li><li>I apologize, but the 3D models aren't super well constructed. They're kind of layer upon layer of tweaks until I got something that works. Its not a holistically designed parametric model like I prefer. Even still it can probably be tweaked or remixed if you wanted to. You can find the model files in OnShape at the following link: <a href="https://cad.onshape.com/documents/d7d819f61322c6bfa1184cc4/w/cff2924249282c0d39ac1acf/e/b6b6d6ea5f94a4d7eff7f5cd?renderMode=0&uiState=628a31992e97426b3e8c6fb9">here</a></li></ul>
With this file you will be able to print CR-10 Smart Klipper Conversion with your 3D printer. Click on the button and save the file on your computer to work, edit or customize your design. You can also find more 3D designs for printers on CR-10 Smart Klipper Conversion.