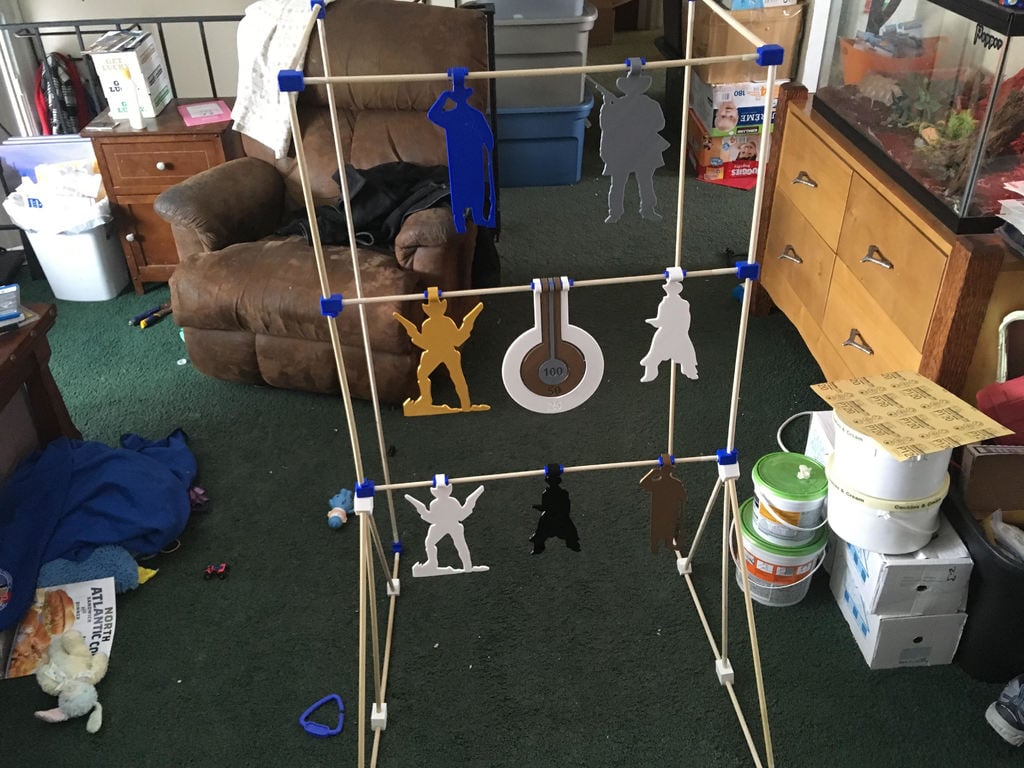
Cowboy Nerf Target Gallery
thingiverse
We're hosting a Blue and Gold banquet with a Western theme, and I'm excited to share that I've put together a fantastic Nerf target set. This setup will be highly adaptable, yet still rock-solid secure. You can expect to see plenty of pictures once it's complete. The STL files for this project have been carefully designed to match my CR-10 specifications, so the performance may vary slightly depending on your printer model. To assemble the stand and backdrop, you'll need several key components, including triangular-based brackets, corner connectors, top crossbeam connectors, pair of crossbeam connectors per level, pair of crossbeam braces per crossbeam, pair of target braces per target, and circular target spacers if you're using the round targets. One notable exception is the weighted target, which I'm still tweaking to get the screw fitting just right – stay tuned for updates! When printing these components, consider dialing in at 98-99% infill density, as this should provide a snug fit without sacrificing structural integrity. If you want the absolute best results, printing the brackets at 100% should yield excellent outcomes. As an added precaution, it's a good idea to print extra spacers and braces on hand – just in case any stray Nerf darts or balls cause damage during play.
With this file you will be able to print Cowboy Nerf Target Gallery with your 3D printer. Click on the button and save the file on your computer to work, edit or customize your design. You can also find more 3D designs for printers on Cowboy Nerf Target Gallery.
