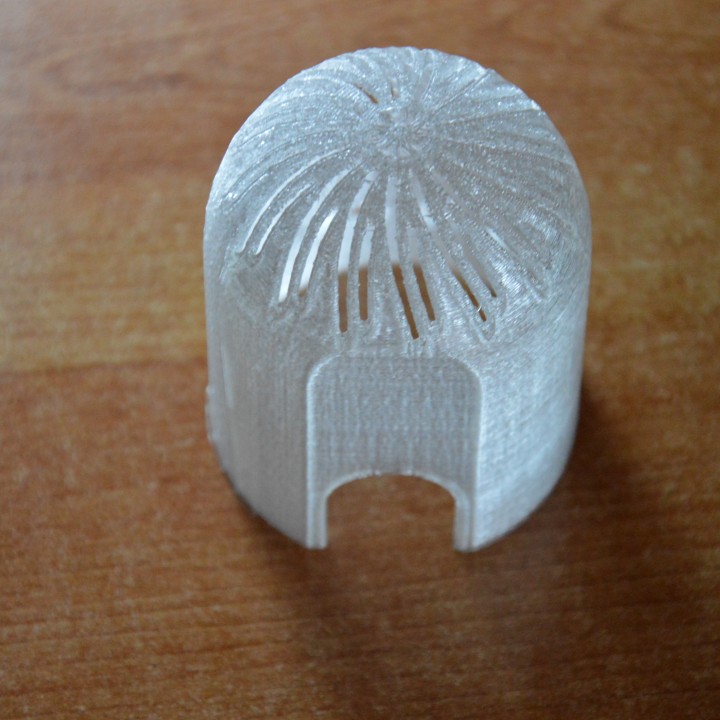
Cover fan motor replacement
myminifactory
Replacing a human-sized fan motor requires some planning and elbow grease. First, shut off the power to the fan at the circuit breaker or fuse box. This will prevent any accidental starts that could injure you or damage your equipment. Next, take out the screws holding the fan's housing in place. Gently pry the housing away from the motor and set it aside. Be careful not to touch any of the electrical components inside. Now it's time to remove the old motor. You'll need a wrench or pliers to loosen the mounting bolts that hold it in place. Once they're loose, you should be able to lift the motor out of its mounting bracket. Inspect the area where the new motor will go and make sure it's free from any debris or obstructions. If everything looks good, you can start installing the new motor. Just screw it into place and tighten the bolts firmly. Finally, put the housing back on and replace the screws you removed earlier. Turn the power back on at the circuit breaker or fuse box and test the fan to make sure it's working properly.
With this file you will be able to print Cover fan motor replacement with your 3D printer. Click on the button and save the file on your computer to work, edit or customize your design. You can also find more 3D designs for printers on Cover fan motor replacement.
