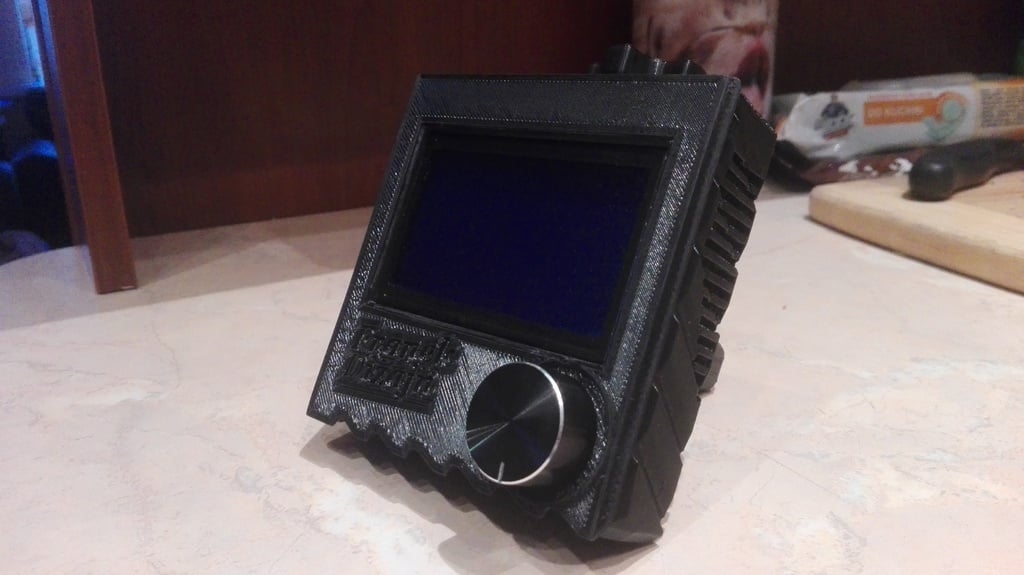
Cover Ender screen on ball hinge
thingiverse
My Innovative Ender Screen Cover Design: A Masterpiece of Precision Engineering! Assembling this masterpiece requires attention to detail and a few simple yet essential components: First, secure the ball hinge to the bottom cover using 4 M3 10mm bolts. This is the foundation upon which your entire design rests. Next, join the bottom and top covers together with another set of 4 M3 10mm bolts. This sturdy connection ensures that your Ender screen remains stable and secure. Finally, attach the ball hinge to the V-slot using 2 M4 20mm bolts with t-nuts. This precise alignment guarantees a smooth and seamless experience when adjusting your Ender screen's position. To achieve optimal results, it's crucial to maintain a low layer height when printing parts that incorporate ball hinges. I strongly recommend printing these components in horizontal positions for maximum strength and accuracy of thread engagement. Future updates will include the addition of a custom-designed knob, crafted with precision and flair by yours truly! Update (21.07.2019): Top Cover Revamped! Unfortunately, the original .STL version contained a bug. My apologies for any inconvenience this may have caused.
With this file you will be able to print Cover Ender screen on ball hinge with your 3D printer. Click on the button and save the file on your computer to work, edit or customize your design. You can also find more 3D designs for printers on Cover Ender screen on ball hinge.
