Course Work: Husky
sketchfab
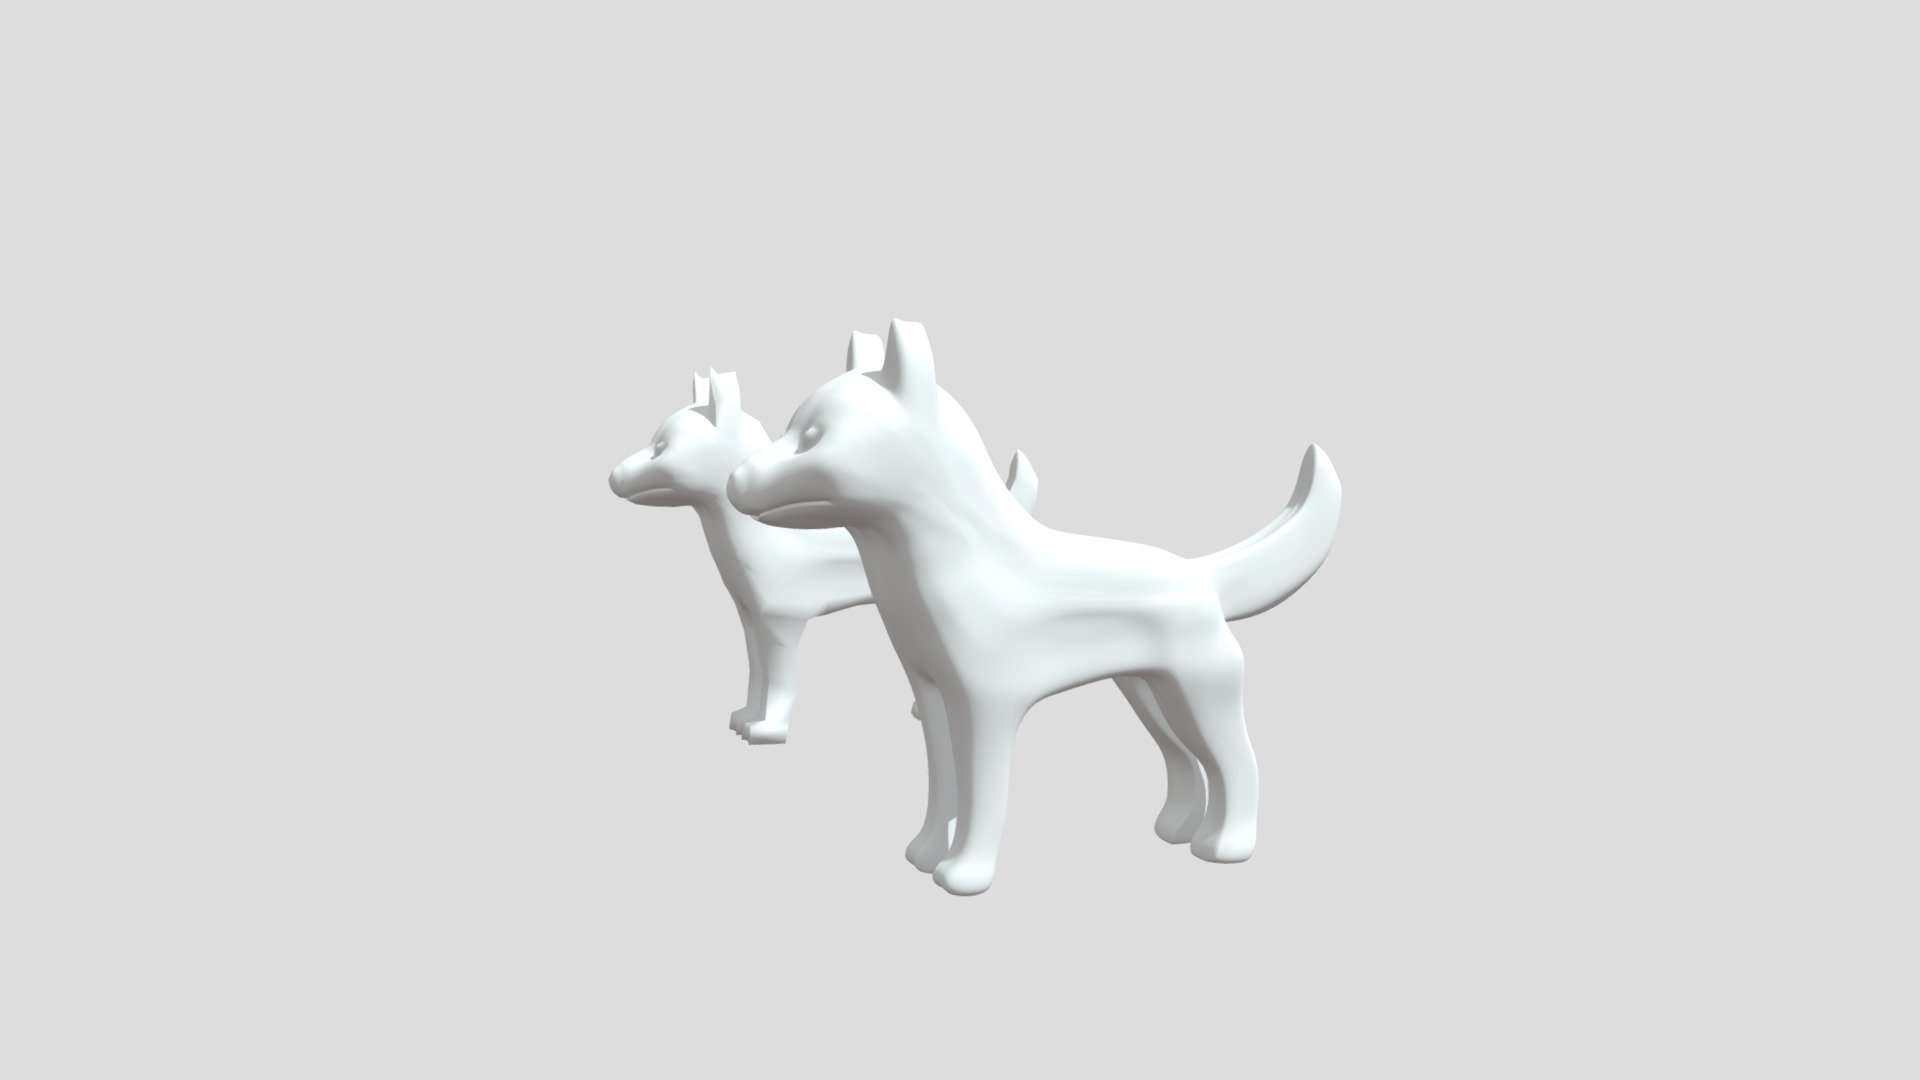
CGCookie's Blender Mesh Modeling Bootcamp is now live. In this exercise, we're modeling a husky with two distinct versions: one standard and another featuring two iterations of subsurface division. Let's get started! First, let's create the basic shape of our husky using Blender's mesh modeling tools. We'll use a combination of extrusions, loops cuts, and subdivisions to define the dog's body and facial features. Once we have the initial shape, we can move on to adding more details such as eyes, nose, mouth, and ears. For this exercise, we will also create a second version of our husky model with two rounds of subsurface division applied to it. This will allow us to see how subsurface division affects the overall look and feel of the model. With each iteration, we'll make adjustments as needed until we achieve the desired level of detail. By following these steps, you'll gain a deeper understanding of Blender's mesh modeling capabilities and learn how to create detailed 3D models from scratch.
With this file you will be able to print Course Work: Husky with your 3D printer. Click on the button and save the file on your computer to work, edit or customize your design. You can also find more 3D designs for printers on Course Work: Husky.
