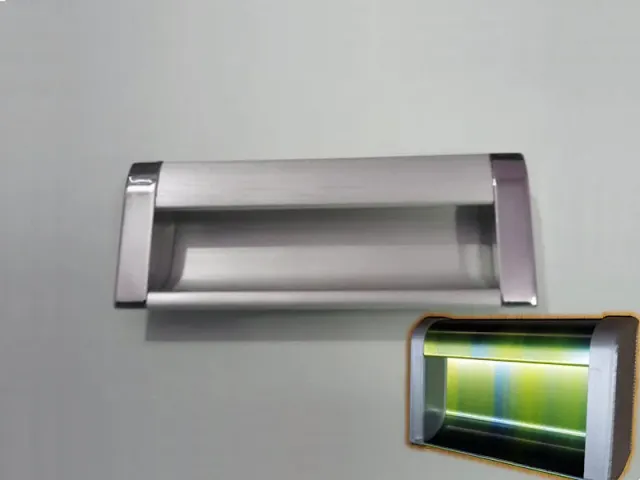
Council Handle
prusaprinters
Council Handle, made to the model of a commercially available one (Flatter design)Print the grip upright. The two side supports with the groove upwards. No support or brim.After printing just mount it by pushing the grip in the side supports. It was a super tight fit for me. I had to knock a bit to put them together. This made the whole thing very stiff.* If you cannot fit the handle into the groove of both side supports (because of shrinking after printing), use the modified model of the side supports with the slightly widened grooves.Mounting can be done by means of the holes on the back. A screw Ø4 or a bolt M4 can be mounted in this. Standard pitch holes is 80mm.The handle can be easily extended by means of scaling in longitudinal (Z) direction in the Slicer. Keep in mind that the pitch of the mounting holes will also change! (this pitch is the same as the total length of the grip part). Do not go beyond 180%, otherwise the cutouts for the mounting screws/bolt will be visible, and the total strength will probably be insufficient! Shortening will not work, because the necessary mounting cutt-outs for the screws/bolts will then be shrunked. If there is a wish for a shorter grip, let me know, I will add it then.Update 06-11: added 2 photos of printed 2 side supports in magic PLA green/blue with a DLP print in Translucent green for the grip.Advise for scaling up:ScalePitchHoleBoltRemark:100%80mm Ø3,7M4As printed (set perimeters to 4)125%100mm Ø4,6M5(set perimeters to 4)150%120mm Ø5,6M6Advisable to use a tap! (set perimeters to 5)
With this file you will be able to print Council Handle with your 3D printer. Click on the button and save the file on your computer to work, edit or customize your design. You can also find more 3D designs for printers on Council Handle.
