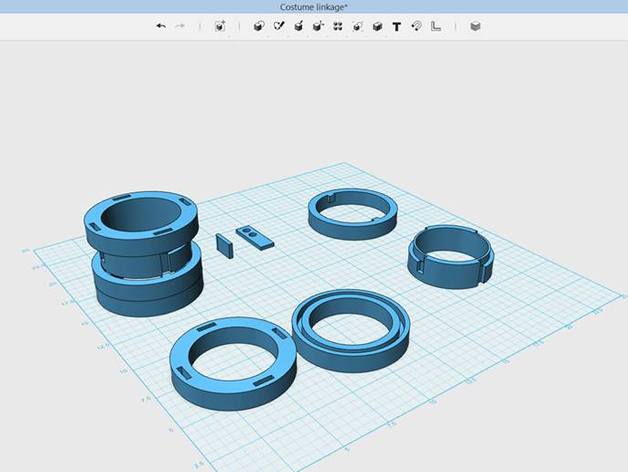
Costume Linkage
thingiverse
As part of the XRobots Challenge by James Burton, people are invited to invent innovative ways to assemble a costume that can be accomplished by one person in no time. This is my contribution. **Instructions** To make this design come together seamlessly, I broke it down into distinct parts that need to be bonded securely. Since the overall width should not exceed 6 cm, precision scaling was also crucial. These are the instructions so far: 1) The initial step involves attaching the four fabric mounts into the fabric mount holder. 2) The flat side of the fabric mount holder needs to be glued to a bearing mount - two of these are required. 3) Next, assemble the inner and outer bearing lock components carefully. 4) Attach a bearing mount holder to each of the two interlocking pieces for extra stability. 5) Install the bearings into their respective mounts. 6) Once everything is aligned properly, snap the pieces together and you're done. Please feel free to offer feedback or modify this design as you see fit, and don't hesitate to print out these instructions for personal reference.
With this file you will be able to print Costume Linkage with your 3D printer. Click on the button and save the file on your computer to work, edit or customize your design. You can also find more 3D designs for printers on Costume Linkage.
