Cosplay armor
thingiverse
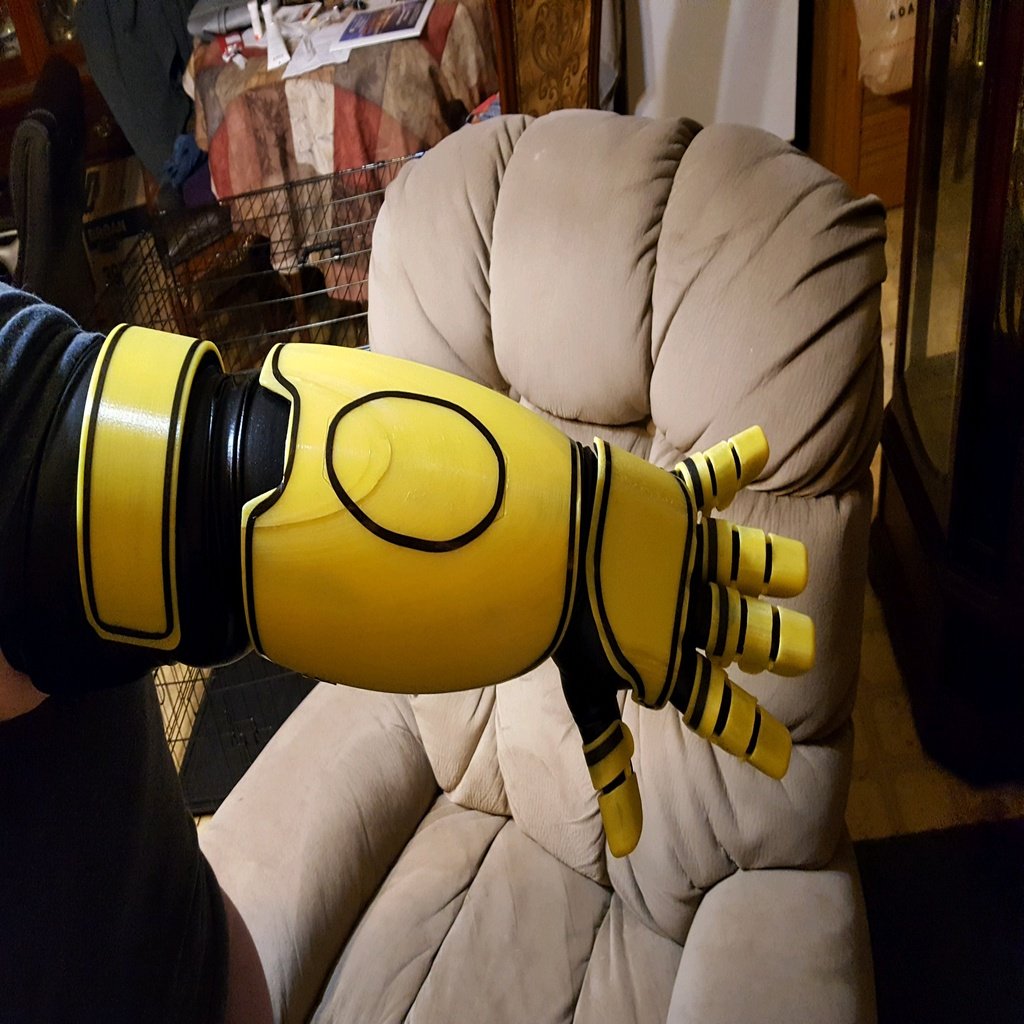
Cosplayer's Dream Armor Takes Shape: A Step-by-Step Guide As cosplayers, we've all been there - pushing the limits of our creativity with homemade armor. But have you ever wondered how to craft forearm and finger armor that's both durable and visually stunning? I'm here to share my personal experience with you. First things first, I used filament for hinge pins on the fingers. This was a clever move, as it allowed me to create a seamless connection between each segment. However, it did require some grinding on the hand piece to get everything just right. To give my armor that extra edge, I employed auto pin striping to define the edges and contours of the design. The result was nothing short of breathtaking - a true masterpiece that's sure to turn heads at any cosplay event. But let's not forget about the forearm - that critical component that ties everything together. Mine shifted significantly during printing, which made for an interesting challenge. To mitigate this issue, I used a small brim and no support on print, but it became clear that I needed to repair some areas. If you're planning to attempt something similar, be sure to use a wider brim and employ touching base support for the fingers. This will help prevent any future mishaps and ensure your armor turns out as envisioned. With these tips in mind, you'll be well on your way to crafting an impressive set of forearm and finger armor that's both functional and visually stunning. So go ahead, get creative, and show off your unique style at the next cosplay event!
With this file you will be able to print Cosplay armor with your 3D printer. Click on the button and save the file on your computer to work, edit or customize your design. You can also find more 3D designs for printers on Cosplay armor.