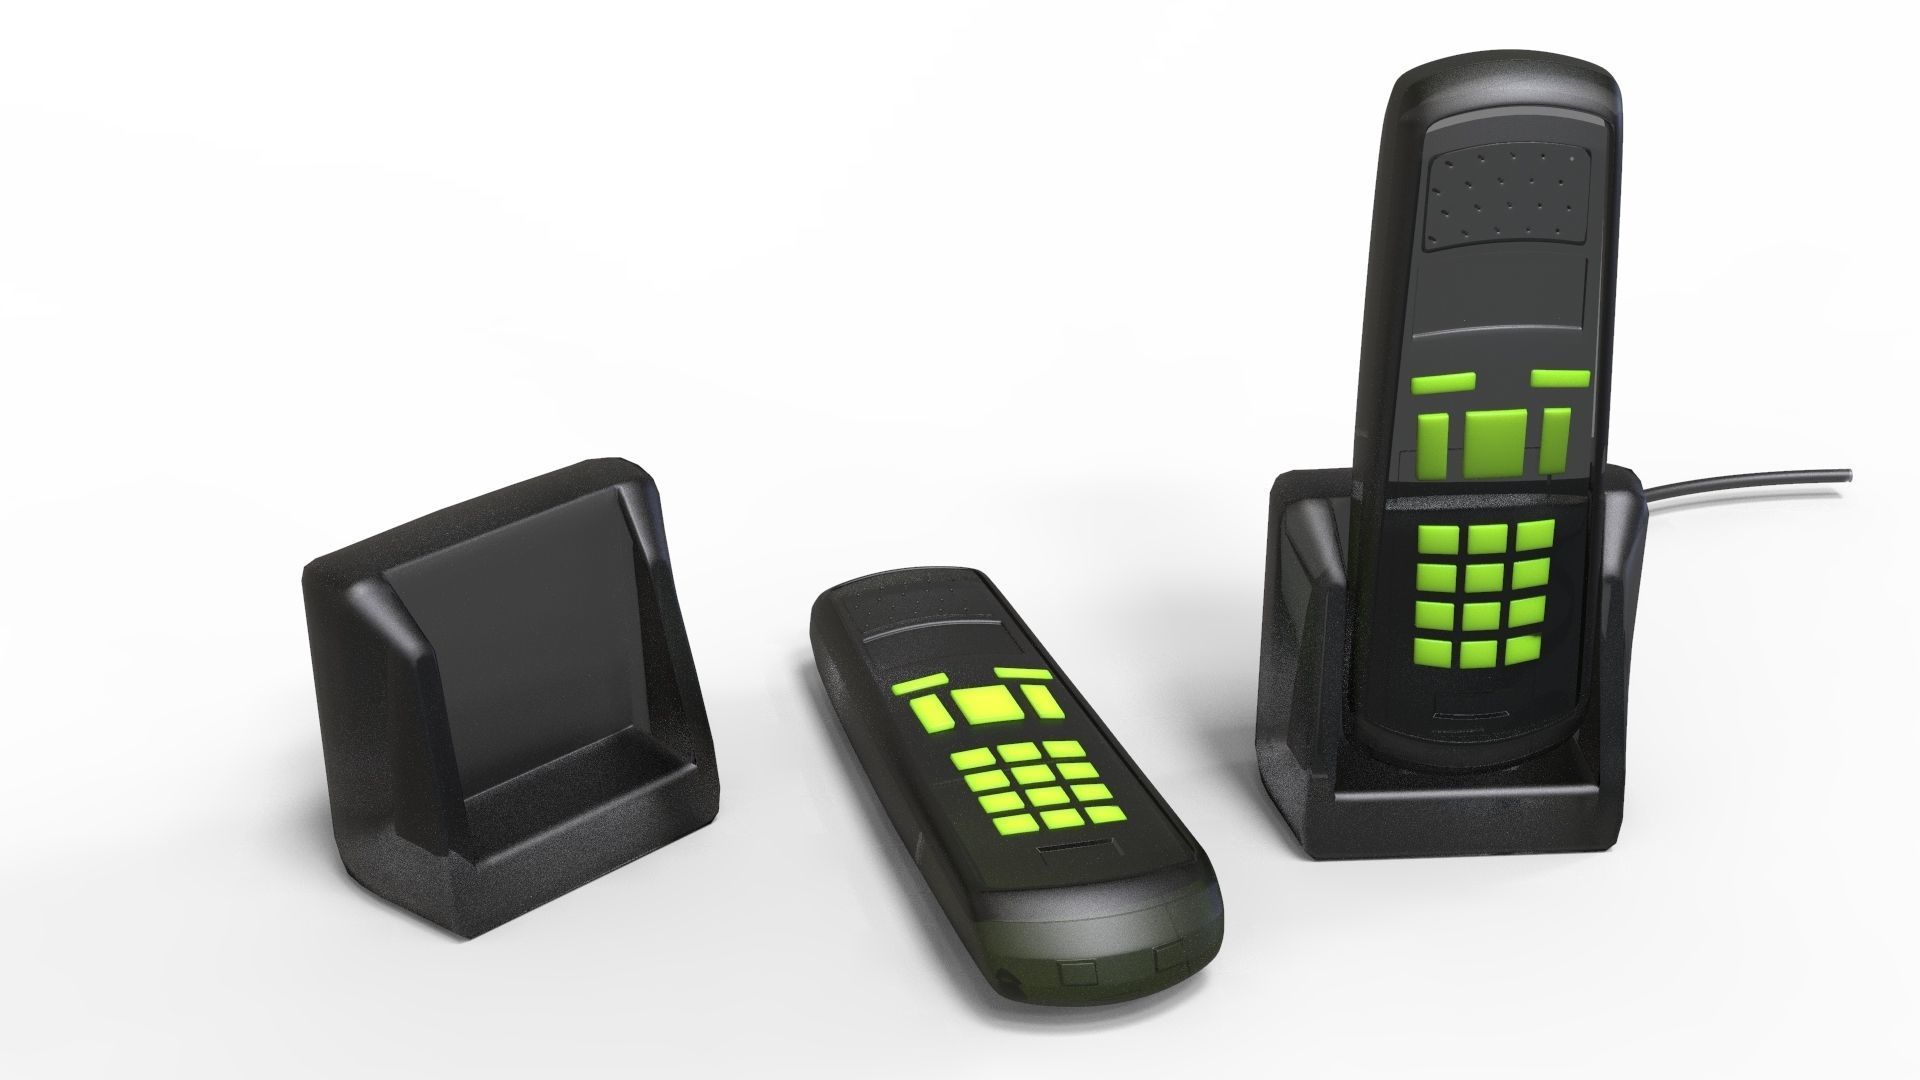
cordless 3D model
cgtrader
I'd love to chat with you about our new workflow - starting with the 3D modeling and rendering in Autodesk's Max, where we bring designs to life with precision and control, before exporting to KeyShot for final polish and photorealistic output. The result is nothing short of breathtaking. However, for those not yet familiar with these software solutions, allow me to walk you through each stage so that we're on the same page: 1.) Our modeling expert in 3ds Max meticulously crafts our design using their vast array of tools - be it mesh, subdivision surface (or "sub-d") curves, or NURBS - each suited for unique shapes and surfaces. 2.) Next up, with a precise plan, the data is transferred to KeyShot. This marks a turning point where KeyShot begins analyzing how various components will interact when combined together within your rendered scene Here's how this translates practically into visual output: 1st you need an established setup using either one key shot's standard animation tool OR using any custom made scenes by adding custom camera paths - both providing users more possibilities with controlling visuals without changing software configurations during the animation itself. To further ensure seamless integration between the two apps I recommend establishing a KeyShot session BEFORE actually starting work ON your project so all information remains properly sorted and at your fingertips at ALL times making sure NOTHING goes unaccounted for throughout creation process thus giving maximum precision desired
With this file you will be able to print cordless 3D model with your 3D printer. Click on the button and save the file on your computer to work, edit or customize your design. You can also find more 3D designs for printers on cordless 3D model.