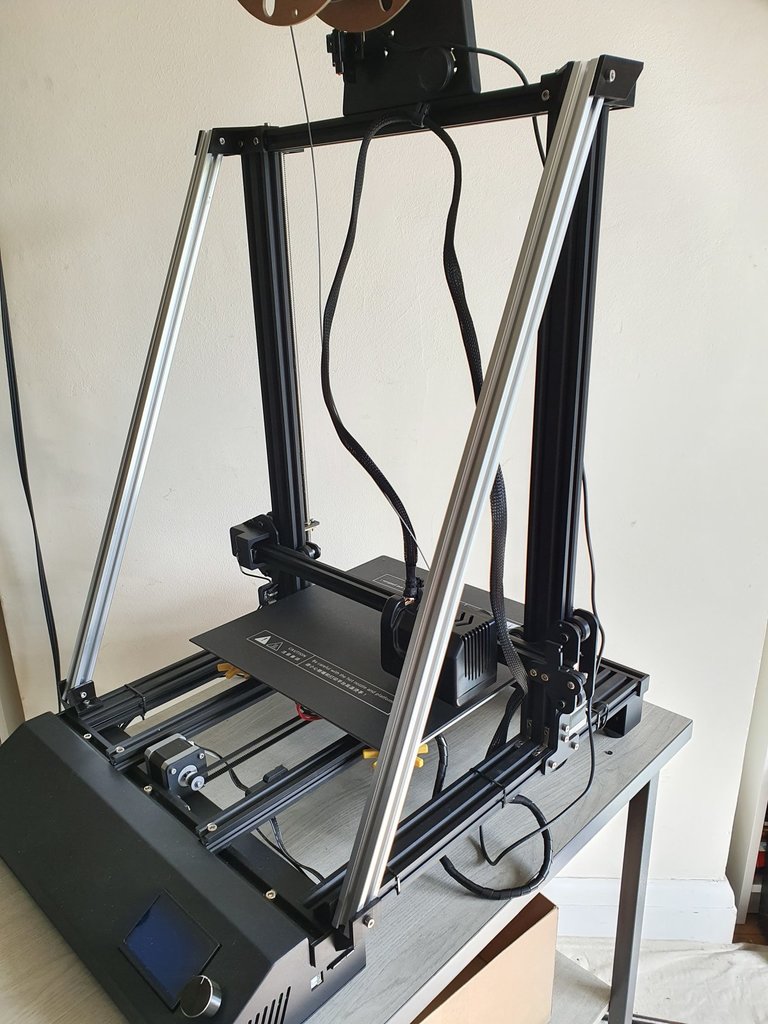
Copymaster 3D 300 brace bar brackets
thingiverse
Brace bars are designed for the Copymaster 3D 300. Bars are offset outboard to ensure a clear path for the Z axis. Important: I modified my original design for the Copymaster 500 and didn't check the Z axis clearance initially. Now that I've checked, I know the nozzle can be placed 392mm from the magnetic bed without hitting the brace bars. However, this distance will decrease even further with a glass bed in place. If you need the full 400mm height, just let me know and I'll adjust the brackets accordingly. To complete your Copymaster 3D 300, you'll also need: - Two lengths of 2020 aluminium extrusion, each measuring 644mm - Eighteen M4 x 8mm socket cap screws - Eighteen M4 T nuts The bars are positioned at an angle of 22.7 degrees from the vertical. To assemble your Copymaster 3D 300: 1. Install all ten T nuts into the printer frame. 2. Cut one end of a bar at 22.7 degrees. 3. Attach the bottom bracket to the cut end, but only lightly tighten the bolts. 4. Temporarily attach the corresponding top bracket to the printer using just one bolt. 5. Place the bar in position and mark it for cutting length. 6. Once you've cut the bar to size, remove the top bracket from the printer and loosely attach it to the brace bar. 7. Install the bar assembly into the printer, starting with the inboard bottom bracket bolt to avoid any clashing bolt heads. 8. Finally, tighten the bolts holding the brackets on the bar last. 9. Repeat this process for the other side. Edit: I've added a filament clip that secures the 2020 section. This now allows you to detach the filament from the spool and position it near the extruder, ready for swapping when it reaches the correct temperature.
With this file you will be able to print Copymaster 3D 300 brace bar brackets with your 3D printer. Click on the button and save the file on your computer to work, edit or customize your design. You can also find more 3D designs for printers on Copymaster 3D 300 brace bar brackets.
