continuous clearance test
prusaprinters
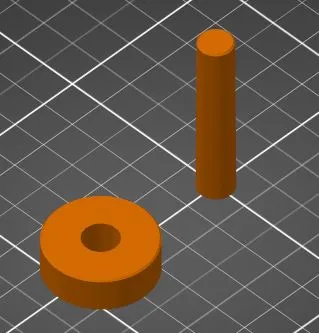
This is a continuous clearance test for your printer. With this test parts you can choose a clearance suitable for your task. Print instructionsGeneral information: The hole and the pin are cones with 0,01 mm diameter change per mm height of the cone. Both parts are without a top layer to show the orientation of the cones (and to save on filament). The pin doesn't have an infill to reduce marks of the infill on the outside of the pin. It uses some more layers instead. This parts have a size of 10 mm on the connection. If you need another size you can easily scale the model. How it works: Print the parts in the size you need (100% = 10 mm). Stick them into each other. The cones must have the same direction (open side in same direction). Move them until you're happy with friction and clearance. If you need something with high speed choose less friction, if you need more accuracy choose less clearance. Measure the distance between closed sides of both parts. Use something like a caliper or more accurate. Multiply the distance in mm with 0,01 and you get your theoretical clearance (for diameter, half of it for radius) for your model. Note: If the print have some konvex marks on them it's your decision to remove or keep them. If you plan a mass production part it may be useful to make the test with this artifacts. Otherwise it is more useful to remove them like you will do on the final part.
With this file you will be able to print continuous clearance test with your 3D printer. Click on the button and save the file on your computer to work, edit or customize your design. You can also find more 3D designs for printers on continuous clearance test.
