Concrete planter/pot mold
thingiverse
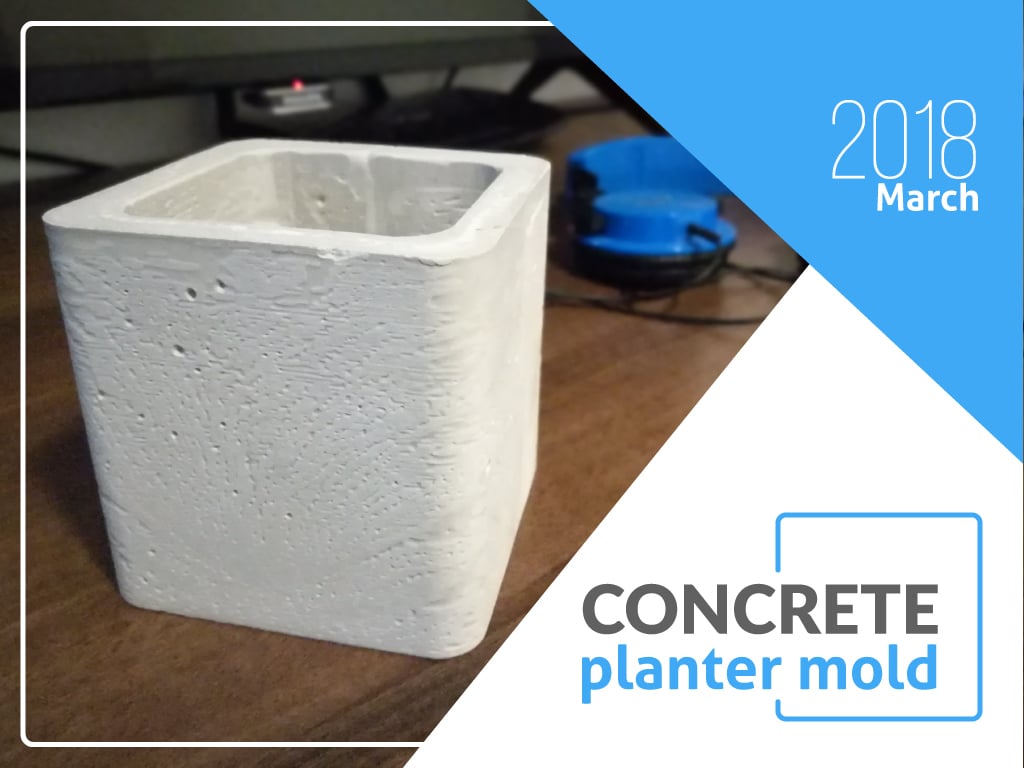
This is my first Fusion 360 project, still a work in progress, so keep an eye here for future updates and other projects that are on the way. How to: You have two files: the base and one side, both duplicable because they're identical. I printed with a 0.2mm layer height, 10% infill, five top layers (though I see very little gaps, so I recommend six), three bottom layers, and three perimeters at 100mm/s speed, 60 bed temperature, and 220 nozzle temperature. Before placing the concrete or plaster in the mold, make sure to secure the printed parts with zip ties, clamps, sticky tape, or something similar. After that, oil the inside of the mold for easy release. Then you can pour the concrete into the mold; you can also vibrate it with a rubber mallet or something that vibrates. I used fast-drying construction plaster, which took 15-20 minutes to set before I could remove the planter. Note: You may need to apply some force when pulling out the base because it's vacuum-sealed. Design updates will come soon for built-in clamps to make securing parts easier.
With this file you will be able to print Concrete planter/pot mold with your 3D printer. Click on the button and save the file on your computer to work, edit or customize your design. You can also find more 3D designs for printers on Concrete planter/pot mold.