Concrete lamp
thingiverse
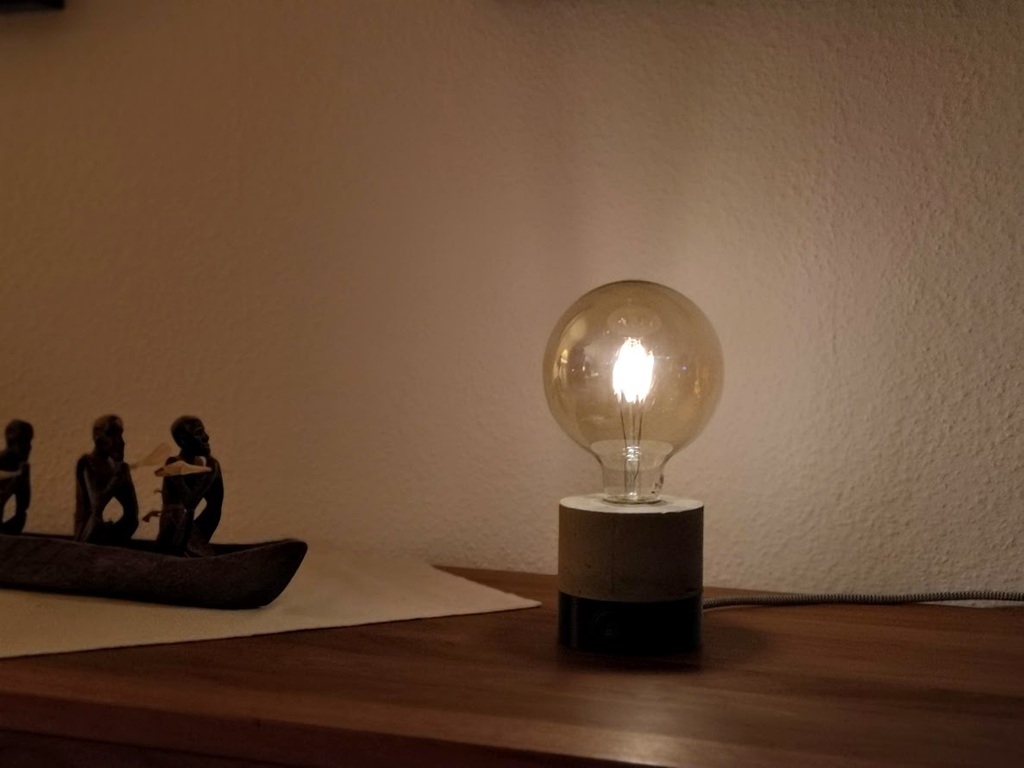
This design combines a mold for concrete with a remaining 3D printed part that securely holds the switch and strain-relief for the cord, ensuring a seamless electrical connection. The predetermined breaking point in this design simplifies the process of breaking away from the mold, reducing the risk of damage to the surrounding area. Before proceeding, it is crucial to allow at least 5 days for the hardening process to complete, guaranteeing a strong and durable bond between the concrete and the printed part. Electrical safety should be your top priority when working on this project. Ensure that you possess the necessary knowledge and skills to handle electrical components safely and effectively. Several bulb sockets from local hardware stores can be used in conjunction with this design. The switch, which has a diameter of 20mm, will fit securely within the socket once installed. To ensure a perfect fit, it is advisable to apply glue to the bulb holder before placing it into the lamp case cavity after installation and prior to molding.
With this file you will be able to print Concrete lamp with your 3D printer. Click on the button and save the file on your computer to work, edit or customize your design. You can also find more 3D designs for printers on Concrete lamp.