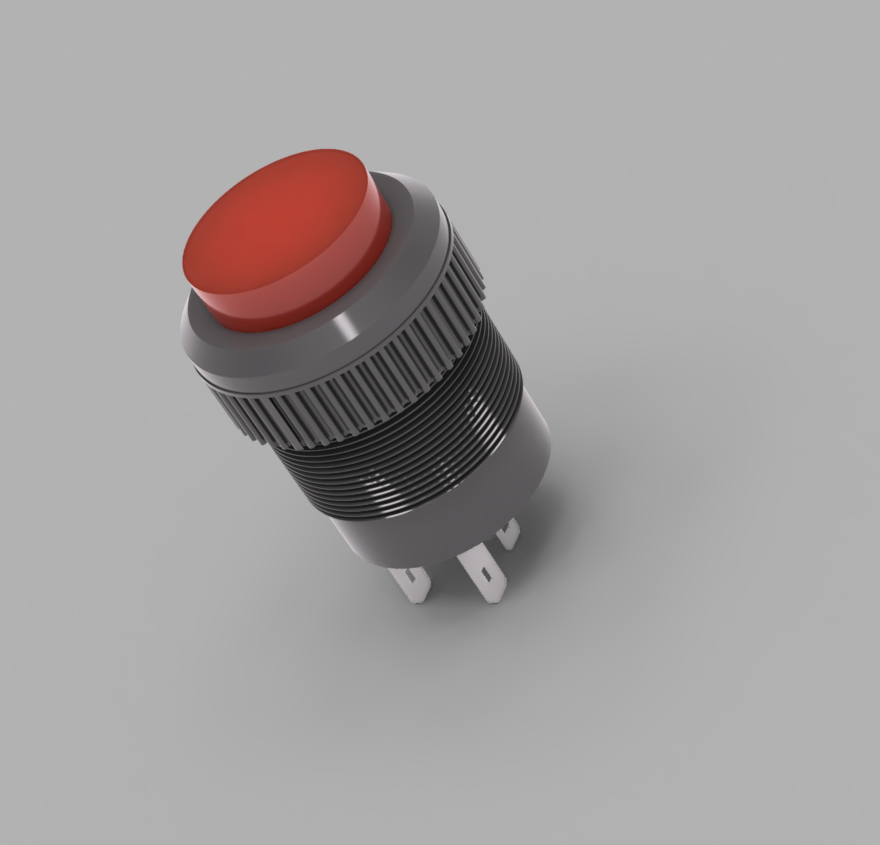
components_model_Push led button R16-503AD 16MM
thingiverse
Designing a custom LED push button in Fusion 360 is a straightforward process that requires minimal expertise. To get started, open Fusion 360 and create a new part. Select the Extrude tool from the toolbar and draw a rectangle with the dimensions you want your button to have. Next, use the Sweep tool to add a cylindrical shape to one end of the rectangle. This will create the button's stem. You can adjust the diameter and height of the cylinder as needed. Now, use the Loft tool to give your button a rounded edge. Select the rectangular face and the cylindrical face, then click on the Loft icon in the toolbar. Move the cursor around the face to define the loft path. When you're satisfied with the shape, click the "OK" button. Finally, add some threads to the stem using the Sweep tool again. Simply draw a helix along the length of the cylinder and adjust its pitch as needed. Your custom LED push button is now complete! You can export it as an STL file or use it directly in your Fusion 360 project.
With this file you will be able to print components_model_Push led button R16-503AD 16MM with your 3D printer. Click on the button and save the file on your computer to work, edit or customize your design. You can also find more 3D designs for printers on components_model_Push led button R16-503AD 16MM .