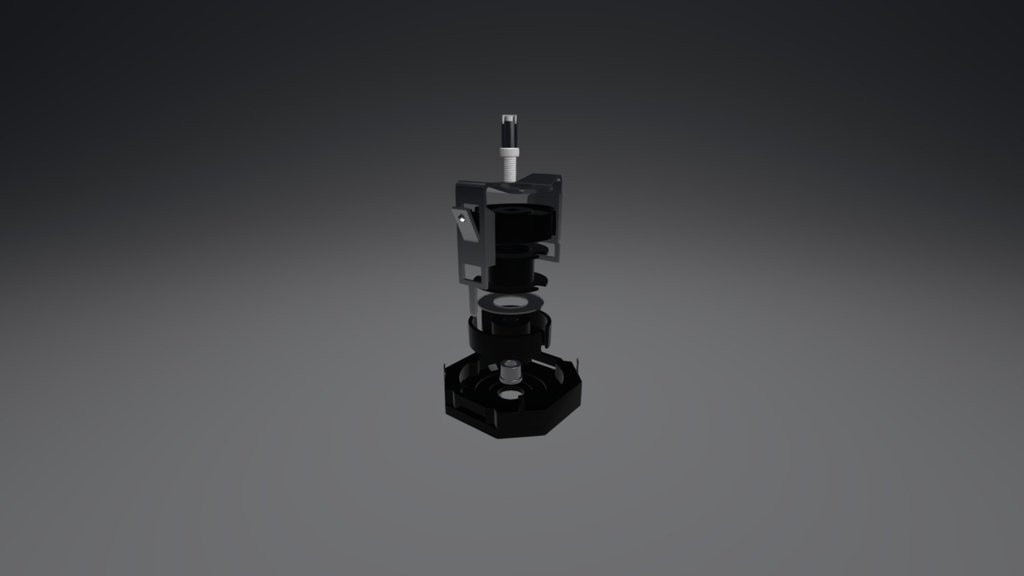
Complete Ferrite Assembly 14X8 Pot Core
sketchfab
Assemble Ferrite Core Components to Construct Magnetic Cores Gather ferrite core components and inspect each part thoroughly prior to assembly. This includes the ferrite core itself, magnetic wire windings, and any necessary attachment hardware. To begin assembly, carefully thread the magnetic wire winding through the center of the ferrite core, ensuring it is centered and evenly spaced. Secure the winding in place using specialized fasteners or adhesives, taking care not to damage the core's surface. Next, attach the ferrite core to a base or mounting system, ensuring proper alignment and secure fastening. This may involve drilling holes for screw attachment or applying adhesive to bond the parts together. Once the ferrite core is securely attached, complete the assembly by adding any additional components, such as shielding or electrical connections. Ensure all parts are properly aligned and securely fastened before moving on to the next step. Finally, inspect the completed assembly to ensure it meets specifications and is free from defects. This may involve visual inspection, testing for magnetic field strength, or other quality control measures. By following these steps, you can successfully assemble ferrite cores for use in various magnetic applications.
With this file you will be able to print Complete Ferrite Assembly 14X8 Pot Core with your 3D printer. Click on the button and save the file on your computer to work, edit or customize your design. You can also find more 3D designs for printers on Complete Ferrite Assembly 14X8 Pot Core.
