Compact Self Centering Marker
prusaprinters
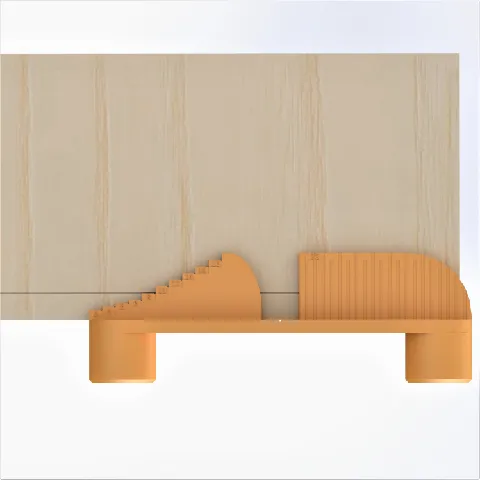
UpdateWith this updated version of the centering gauge the markings are now indented instead of extruded outwards and a fair bit larger. This should improve visibility and printability a fair bit. Thanks to all makers and reviews for the feedback! DetailsThis is a compact device to get a centered marking, regardless of the width of whatever you want to mark (up to 80mm). It works by placing the feet on either side of the beam, bar, etc. and twisting the device until both touch the sides. The geometry ensures that the marking hole is then centered between the feet.The gauge can also be used to get a marking along the edge of something at a distance of 3-20 mm from the edge. For this, turn the gauge 90° and align it against the edge (as shown in the picture), place a pencil or something similar at the distance of your choosing and slide along the edge.Compared to the other version I made, this one is more compact and only consists of one part. Printing and assemblyFor printing I would advise to use 4 perimeters and 30% cubic infill to increase the strength of the gauge. To get nice and detailed numbers on the distance markings, 0.1mm layer height will be a sweetspot in my opinion. You can also make use of the height range modifier in Prusa Slicer to decrease printing time and still get nice and sharp numbers. I would go up to 0.2mm layer height right up to the top surface of the horizontal part of the gauge and switch to 0.1mm layers for the rest. If you don't need or want the distance markings and handle at the top, you can also turn the model upside down and move the part down in your slicer, until the flat top is level with the printbed. I also uploaded a Prusa Slicer project for this.An option to consider when printing this is also “Print external perimeter first”, as it is called in Prusa Slicer. This may also help with dimensional accuracy. But this also comes down to your personal printer and printing experiences, but it may be worth considering for a nice and accurate print. About the modelI made this version of my other centering gauge for people who want something compact and faster to print. If you mainly use this for woodworking, this will fit beams up to 80mm width. If you're looking for something bigger, you may want to take a look at this model, as it can accommodate wider parts and beams.
With this file you will be able to print Compact Self Centering Marker with your 3D printer. Click on the button and save the file on your computer to work, edit or customize your design. You can also find more 3D designs for printers on Compact Self Centering Marker.
