Commodore VIC-20 Latch Repair - Case Repair
thingiverse
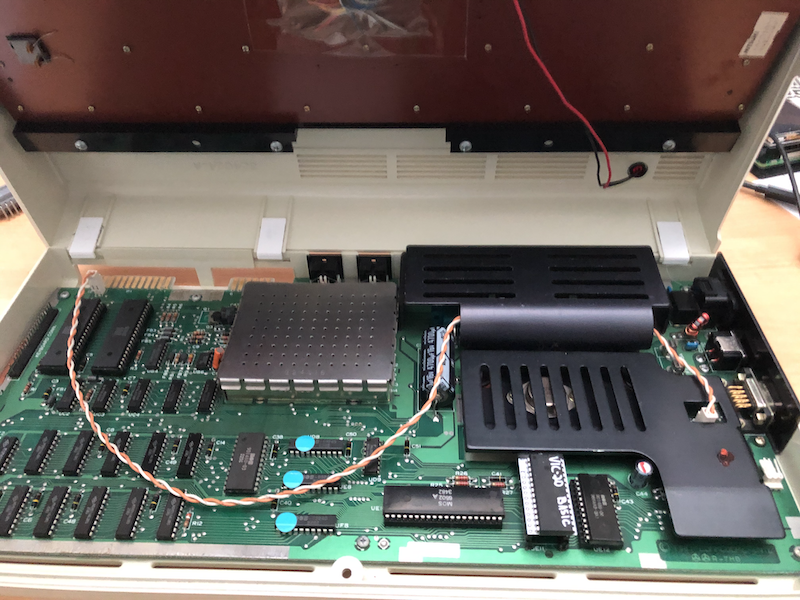
I recently managed to fix one of my broken VIC-20s, but unfortunately, I discovered that all the latches were broken, preventing the case from closing properly. I decided to design and print new replacement latches, specifically a 15mm version for my case. To create these latches, I used a C16 as a reference point and noticed it also had a 10mm latch, so I included that option as well. To get started, simply print out the number of latches you need, making sure they fit snugly between the existing supports on your VIC-20. If needed, use packing tape or another makeshift solution to test-fit the new latches and ensure everything lines up properly before proceeding with the installation. Once you have your printed latches, secure them to the case using epoxy - I personally used J-B weld epoxy for this project. Apply the epoxy to the ribs, making sure to align the top of the ribs with the edge of the case. To complete the process, clamp everything in place and let the epoxy fully cure before reassembling your VIC-20.
With this file you will be able to print Commodore VIC-20 Latch Repair - Case Repair with your 3D printer. Click on the button and save the file on your computer to work, edit or customize your design. You can also find more 3D designs for printers on Commodore VIC-20 Latch Repair - Case Repair.